 返回首页
返回首页
 回到顶部
回到顶部
柚子相机篇
一、采集数据
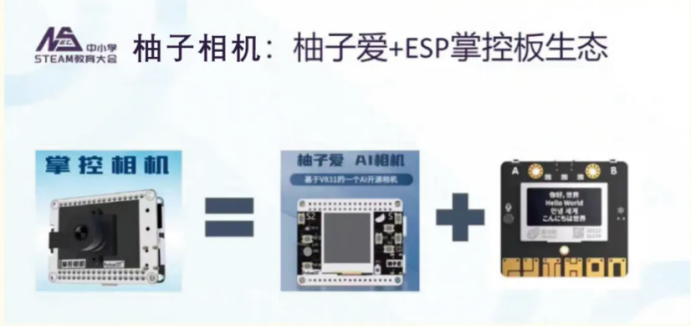
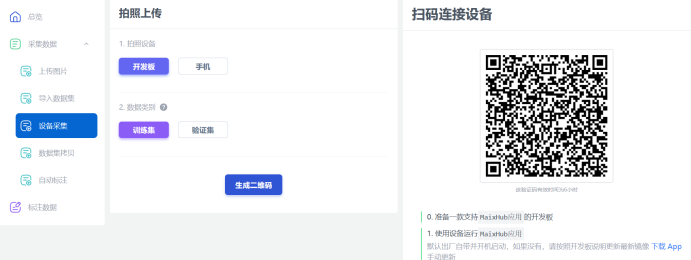
柚子相机芯片用的是V831不是Maix-II V831开发板,不能直接扫描联网。扫码联网的目的是用柚子相机的摄像头拍照学习,柚子爱不支持这个功能。柚子相机是柚子爱和掌控板的结合,掌控板用的是ESP32芯片,可以联网。两者虽然结合在一起,掌控板的联网和柚子爱相机没关系。是掌控板调用柚子相机的数据,掌控板要经过编程才能上网。Maix-II V831开发板是直接相机扫码上网。
因此,用柚子相机拍照上传功能不可用,不要在试这一步了。
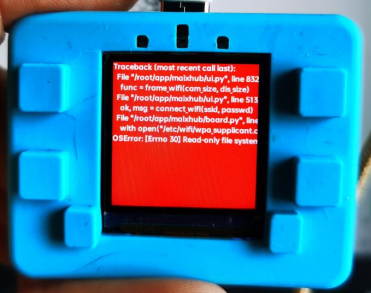
我也尝试建立WiFi,下载上网APP拷入相机的APP文件夹。柚子相机扫码上网,结果出现的相机红色错误屏幕。
正确的做法是选择上传图片和设备采集手机设备、导入数据集三种方式。
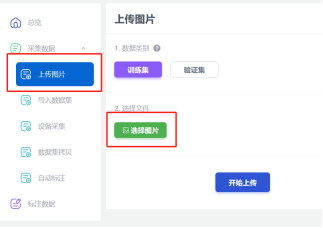

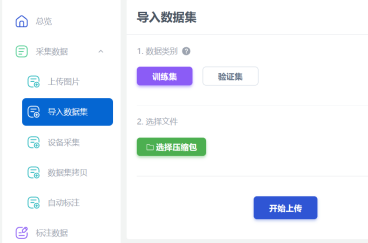
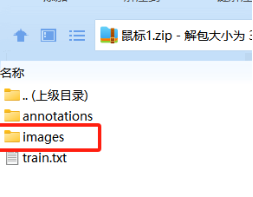
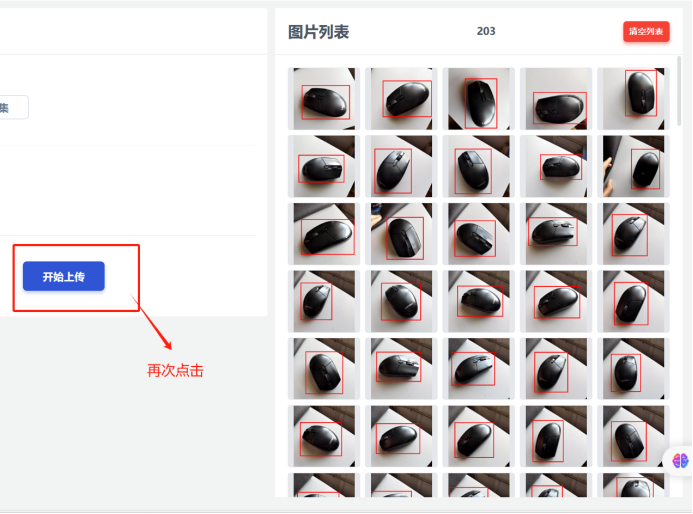
我用手机拍照训练过模型,下载原先的模拟数据压缩包,可以选择导入数据集直接上传。选择上传图片的话,压缩包里面有图片文件夹解压缩后选择需要的图片上传。一导入数据集为例,选择压缩包,点击开始上传。照片全部上传后,再次点击开始上传。可以看到,照片都是用红色框标记过的。

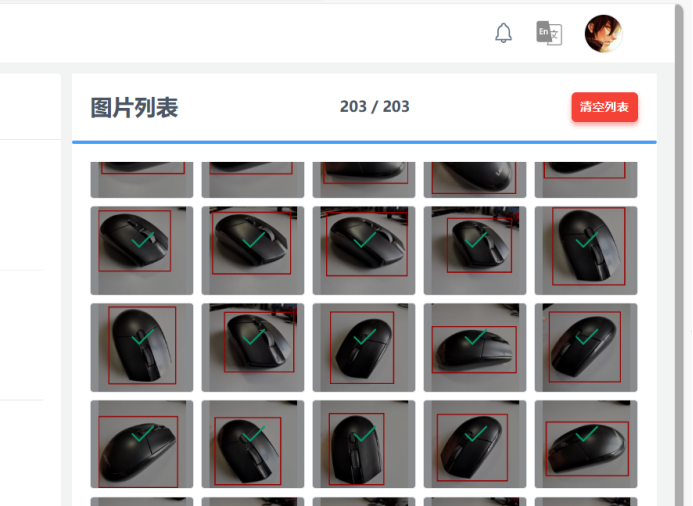
上传结束后,界面如下:
二、创建任务
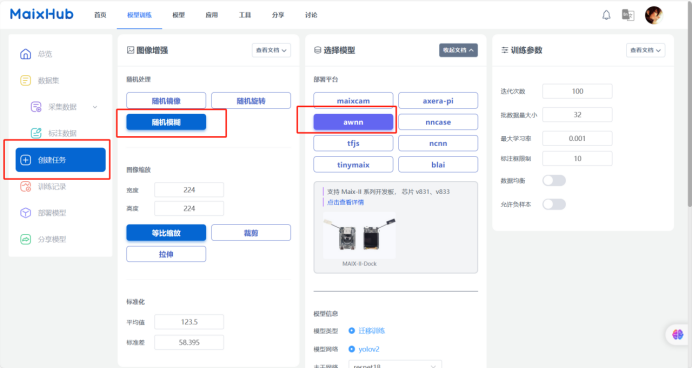
返回MaixHub主页,选择开始训练,出现页面选择最新的训练集。进入训练集后会看到模型训练流程,选择左侧创建任务。

创建任务页面各选项可以是默认,但是选择模型一定要选择awnn,这个是针对V831芯片。柚子相机使用的是V831芯片。
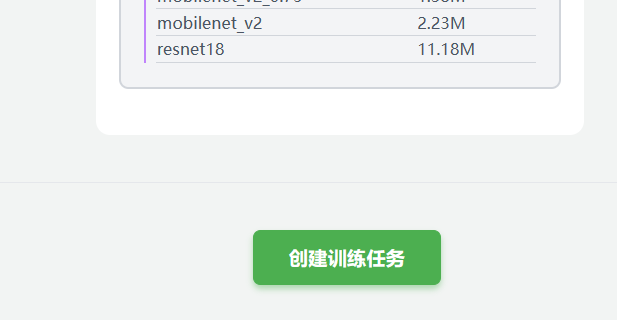
下拉页面点选创建训练任务
训练名称起个英文名,或者汉语拼音也行。
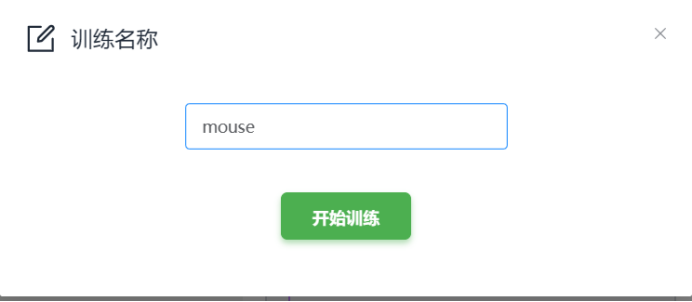
开始训练等待2分钟左右,训练完成。

模型训练结束后,点击右上方部署按钮,部署模型。
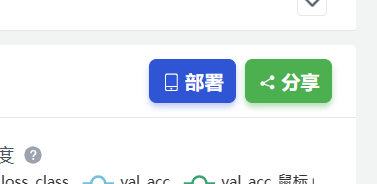
点击手动部署按钮,出现下载模型,点击下载模型。
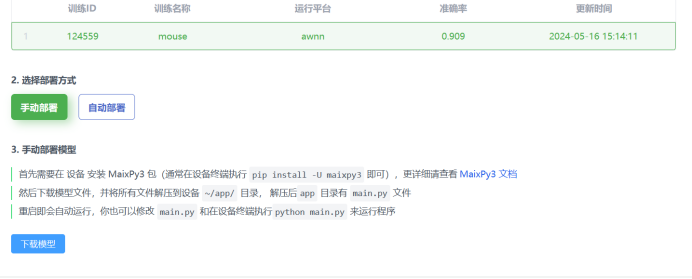
下载的模型压缩包,解压缩后全部文件拷入柚子相机APP文件夹里。原先文件夹里的文件全部删除,弹出U盘柚子相机重新连电脑。文件main要做修改,柚子相机就可以使用。


 他的勋章
他的勋章


评论