 返回首页
返回首页
 回到顶部
回到顶部
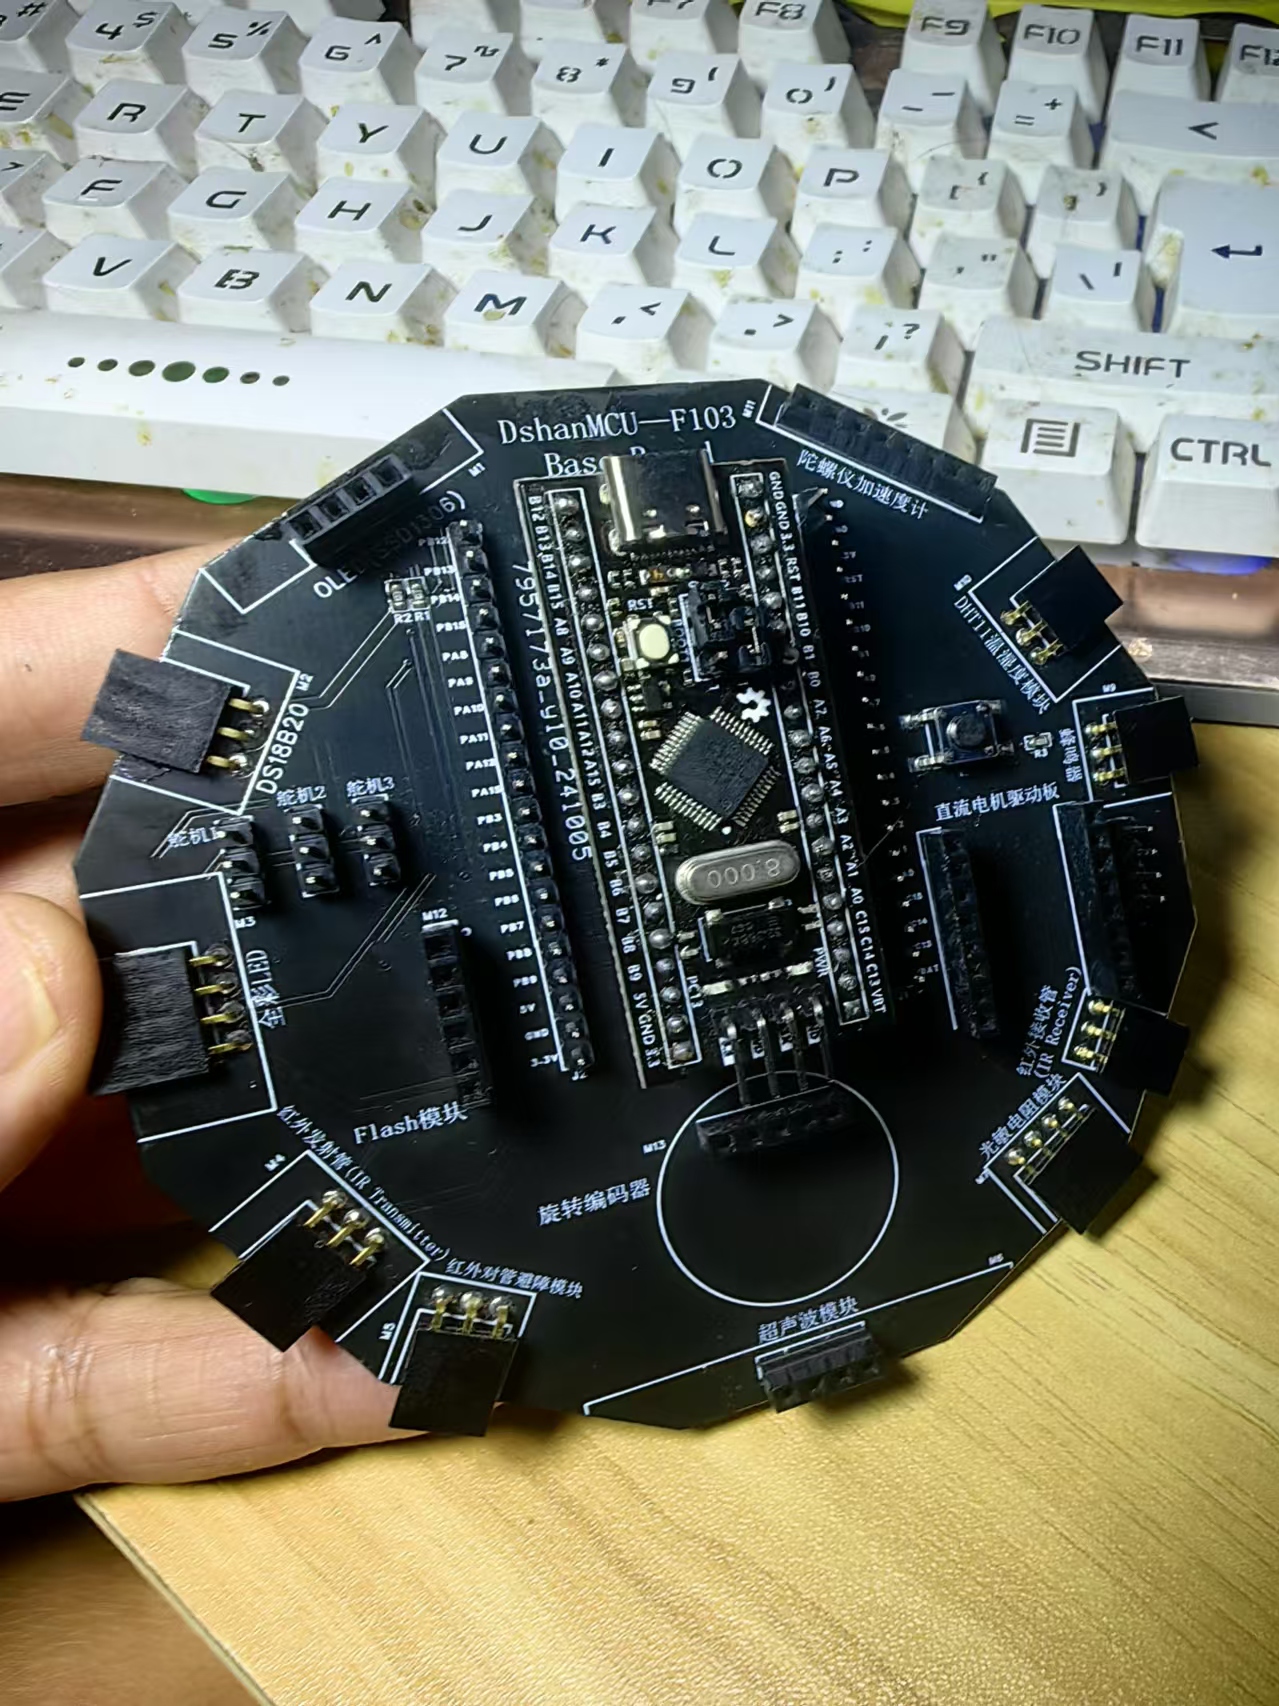
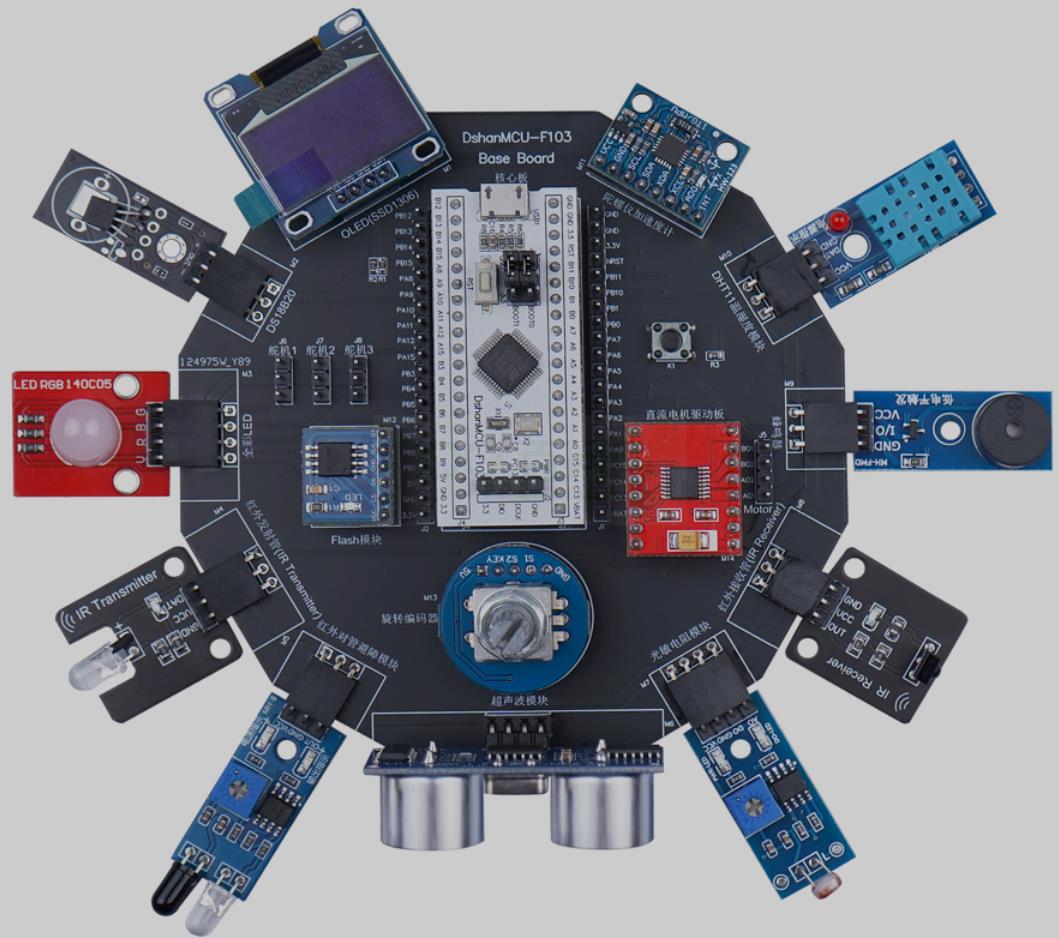
偶然在咸鱼上发现了这款开发板,感觉挺有意思,集合了一些常用的传感器和执行器,于是就收了二片,争取尝试做做小实验。大概搜索了一下,相关资料如下:
1、百问网
https://www.100ask.net/
2、视频
https://www.100ask.net/video
3、资料下载中心
https://download.100ask.net/
https://forums.100ask.net
4、STM32F103_瑞士军刀开发板
https://download.100ask.net/boards/St/DShanMCU-F103/index.html
5、开发板配套资料
百度云网盘 链接:https://pan.baidu.com/s/1c2H1SaqeM54HXPT6FrihDA?pwd=root 密码:root
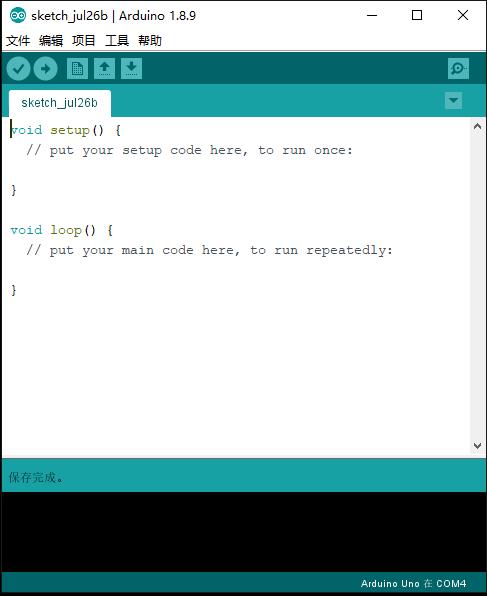
在 Arduino IDE 配置 STM32 开发环境
1、首先安装 Arduino IDE:https://www.arduino.cc/en/software
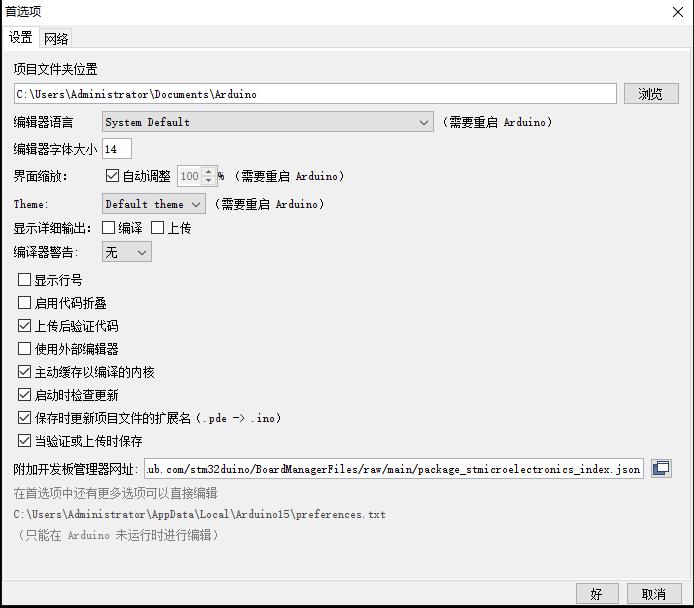
2、安装后打开它,点开文件-首选项,在其它开发板管理地址处填:
https://github.com/stm32duino/BoardManagerFiles/raw/main/package_stmicroelectronics_index.json
https://github.com/stm32duino/BoardManagerFiles/raw/master/STM32/package_stm_index.json
http://mcu.lvjianze.cn/study/stm32/package_stmicroelectronics_index.json
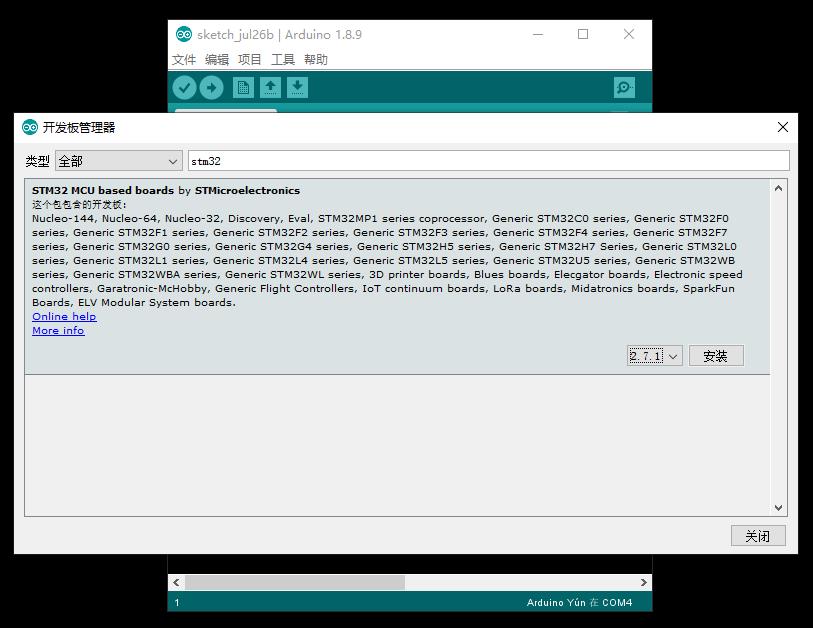
3、然后打开开发板管理器
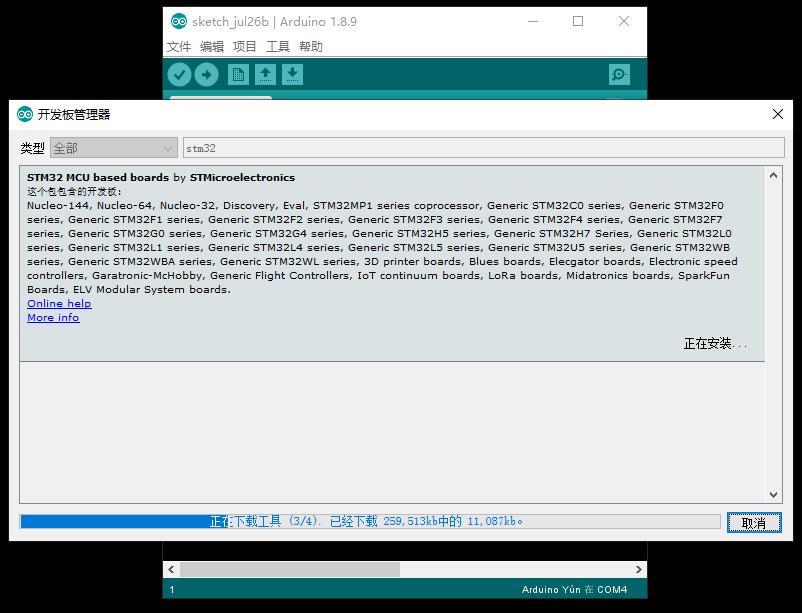
4、搜索STM32并安装,如果有魔法上网代理,可以在首选项的网络中配置,否则下载会很慢
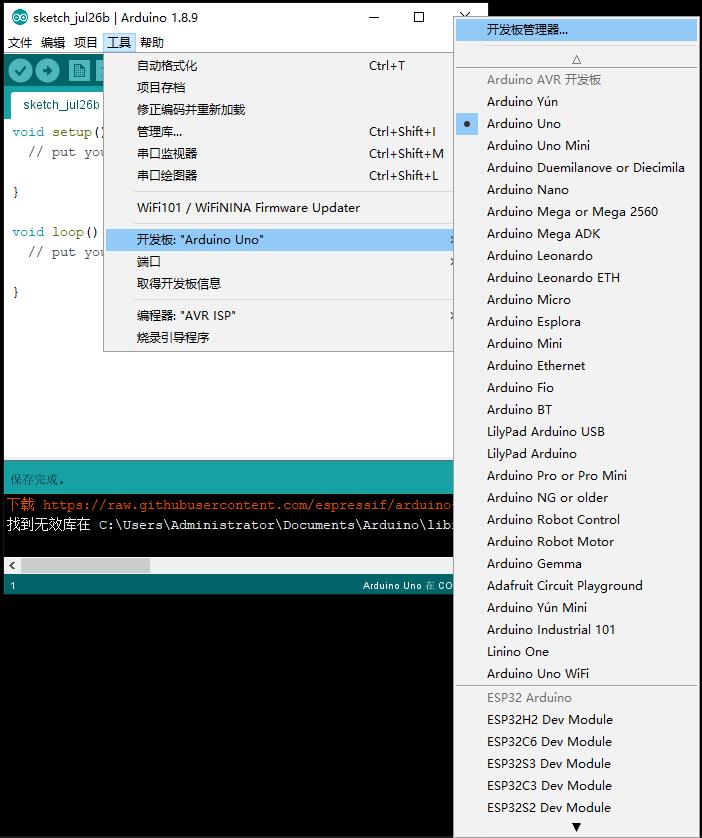
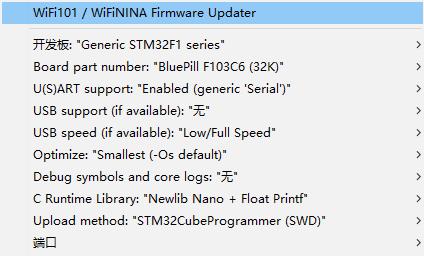
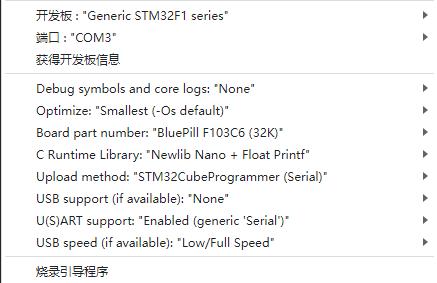
6、打开工具,选择开发板

7、相关配置
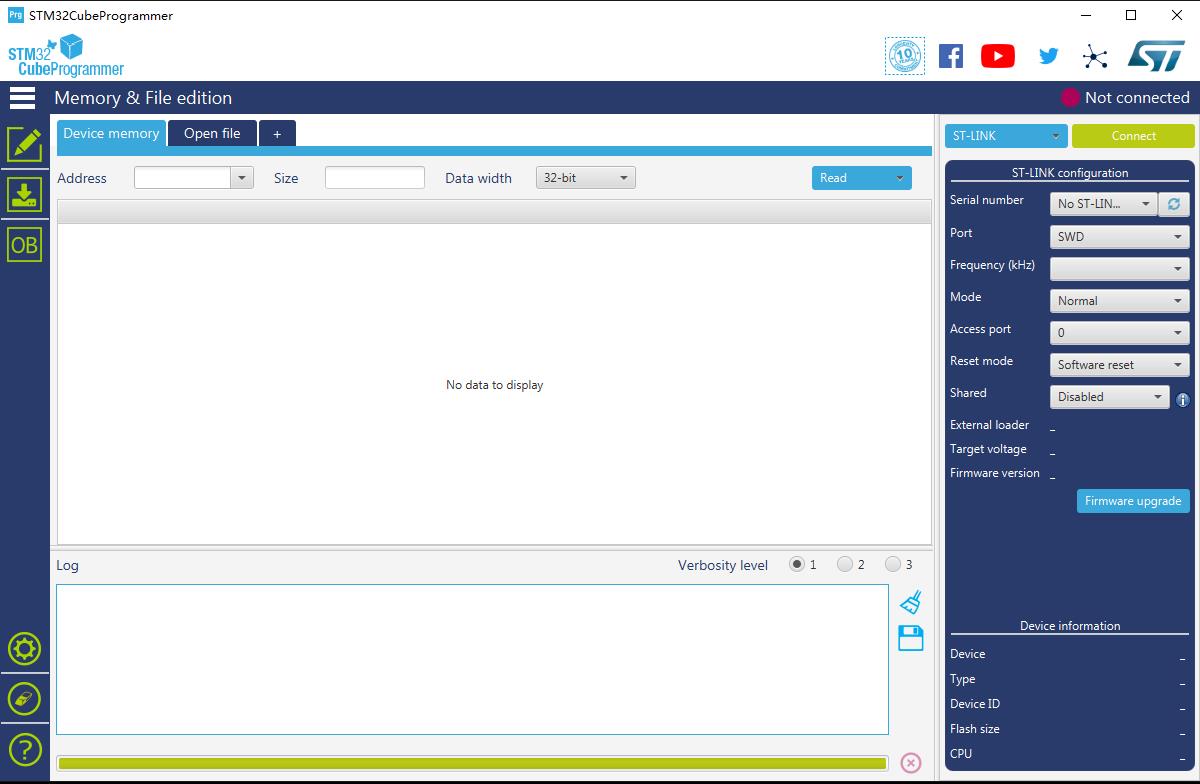
8、如果要使用 ST-Link、串口、DFU 来下载程序的话还要安装 STM32CubeProgrammer:
https://www.st.com/zh/development-tools/stm32cubeprog.html#get-software
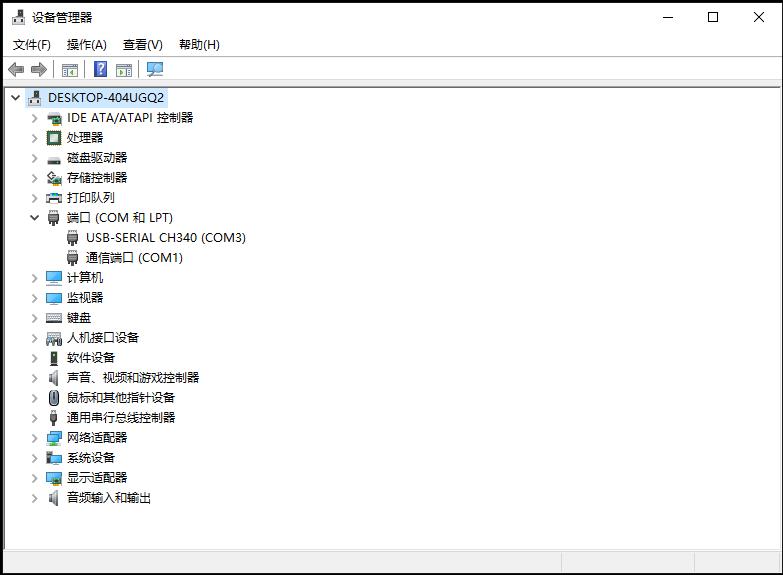
9、安装CH340驱动,打开电脑设备管理器查看
10、使用CH340G土豪金USB转TTL模块进行烧录
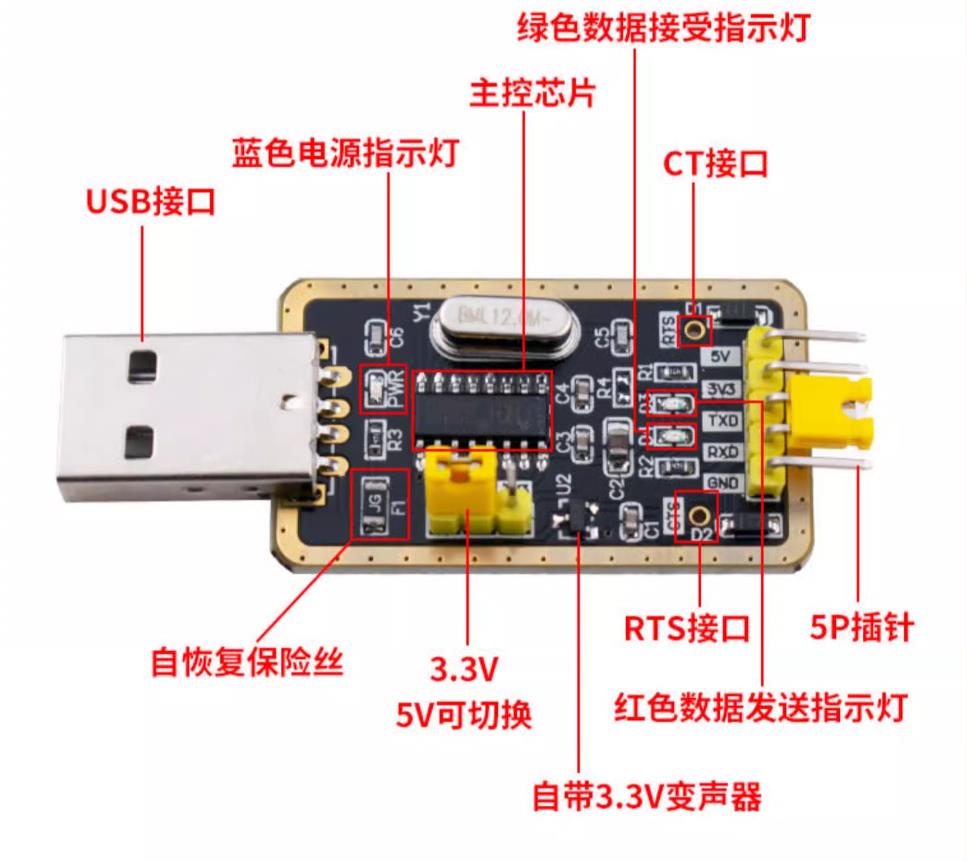
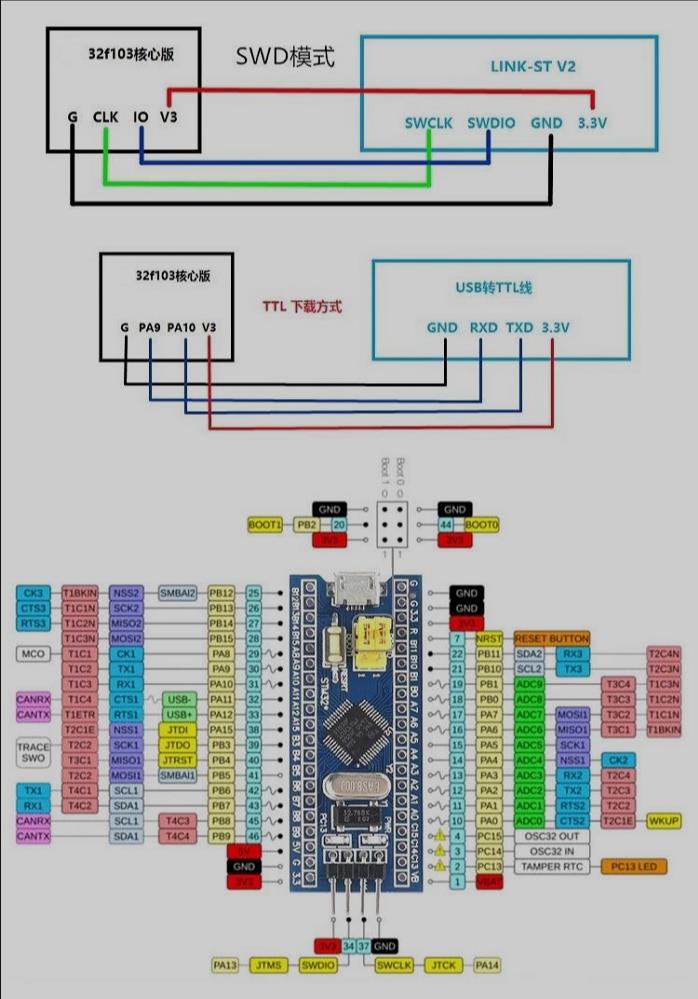
11、烧录接线为(USB转TTL线)
PA9——RX
PA10——TX
GND——GND
3V3——3V3
12、 【Arduino】168种传感器模块系列实验(资料代码+仿真编程+图形编程)
实验二百三十六:Arduino FreeRTOS组合实验开发扩展板 韦东山DshanMCU-F103核心板
项目实验之一:在 Arduino IDE 配置 STM32 开发环境——点亮板载LED
实验开源代码
/*
  【Arduino】168种传感器模块系列实验(资料代码+仿真编程+图形编程)
  实验二百三十六:Arduino FreeRTOS组合实验开发扩展板  韦东山DshanMCU-F103核心板
  项目实验之一:在 Arduino IDE 配置 STM32 开发环境——点亮板载LED
*/

void setup(){
    pinMode(PC13, OUTPUT);
}

void loop(){
    digitalWrite(PC13, HIGH);
    delay(300);
    digitalWrite(PC13, LOW);
    delay(600);
}
13、多次调试的最终配置
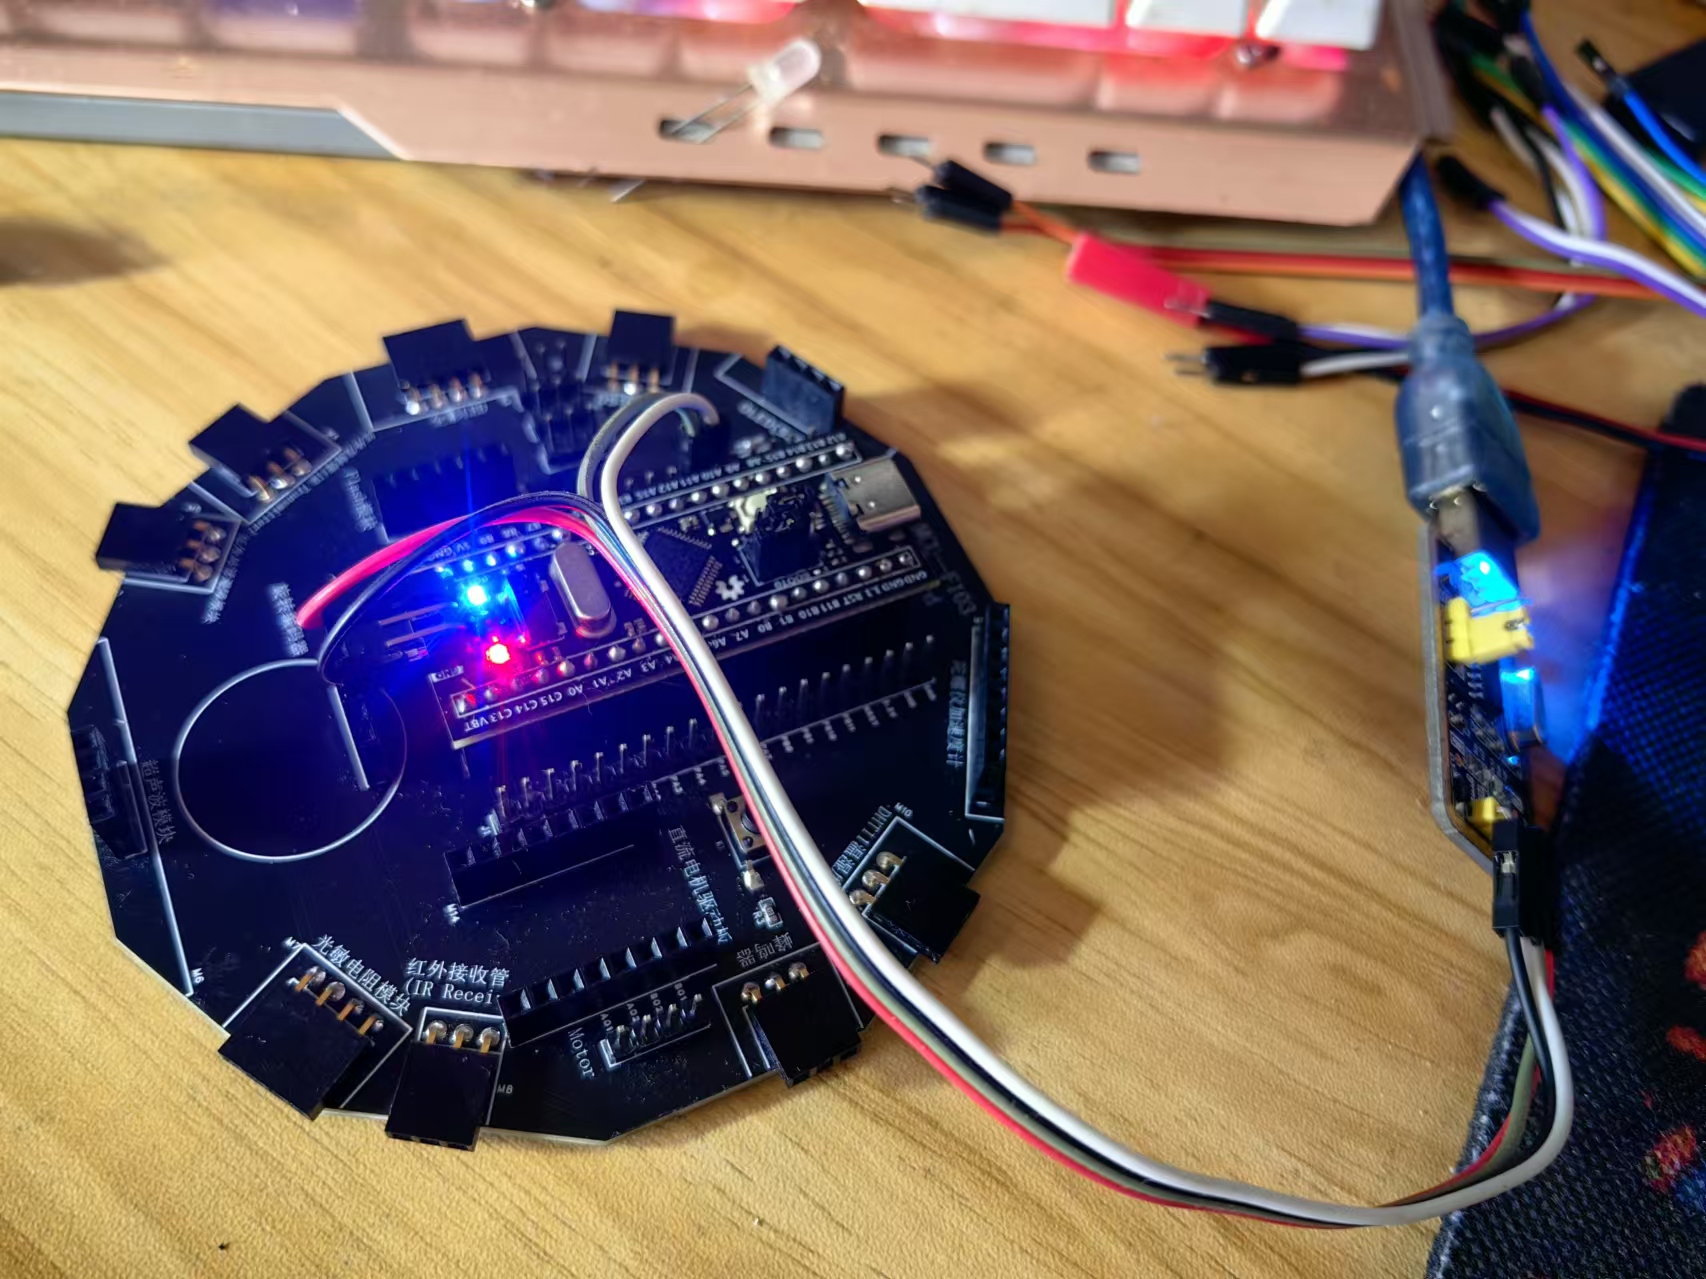
14、实验场景图


 他的勋章
他的勋章

评论