 返回首页
返回首页
 回到顶部
回到顶部
闯关关卡
进阶岛 | |||
|---|---|---|---|
| 关卡编号 | 关卡名称 | 关卡资料 | |
| 第4关 | L2G4000 | InternVL 多模态模型部署微调实践 | 任务 https://github.com/InternLM/Tutorial/blob/camp4/docs/L2/InternVL/task.md 文档 https://github.com/InternLM/Tutorial/blob/camp4/docs/L2/InternVL 视频 |
基础任务(完成此任务即完成闯关)
理解多模态大模型的常见设计模式,可以大概讲出多模态大模型的工作原理。
了解InternVL2的设计模式,可以大概描述InternVL2的模型架构和训练流程。
了解LMDeploy部署多模态大模型的核心代码,并运行提供的gradio代码,在UI界面体验与InternVL2的对话。
了解XTuner,并利用给定数据集微调InternVL2-2B后,再次启动UI界面,体验模型美食鉴赏能力的变化。
将训练好的模型上传到 Hugging Face 或 ModelScope 上,模型名称包含 InternVL 关键词(优秀学员必做)
0.开发机创建与使用
登录浦语开发平台studio.intern-ai.org.cn,登录账号后,点击“创建开发机”。(也可以使用自己的机器实践) 选择以下设置:
- 开发机名称:你自己喜欢的名字
- 镜像:Cuda12.2-conda
- 资源配置:50% A100 * 1
- 其余默认
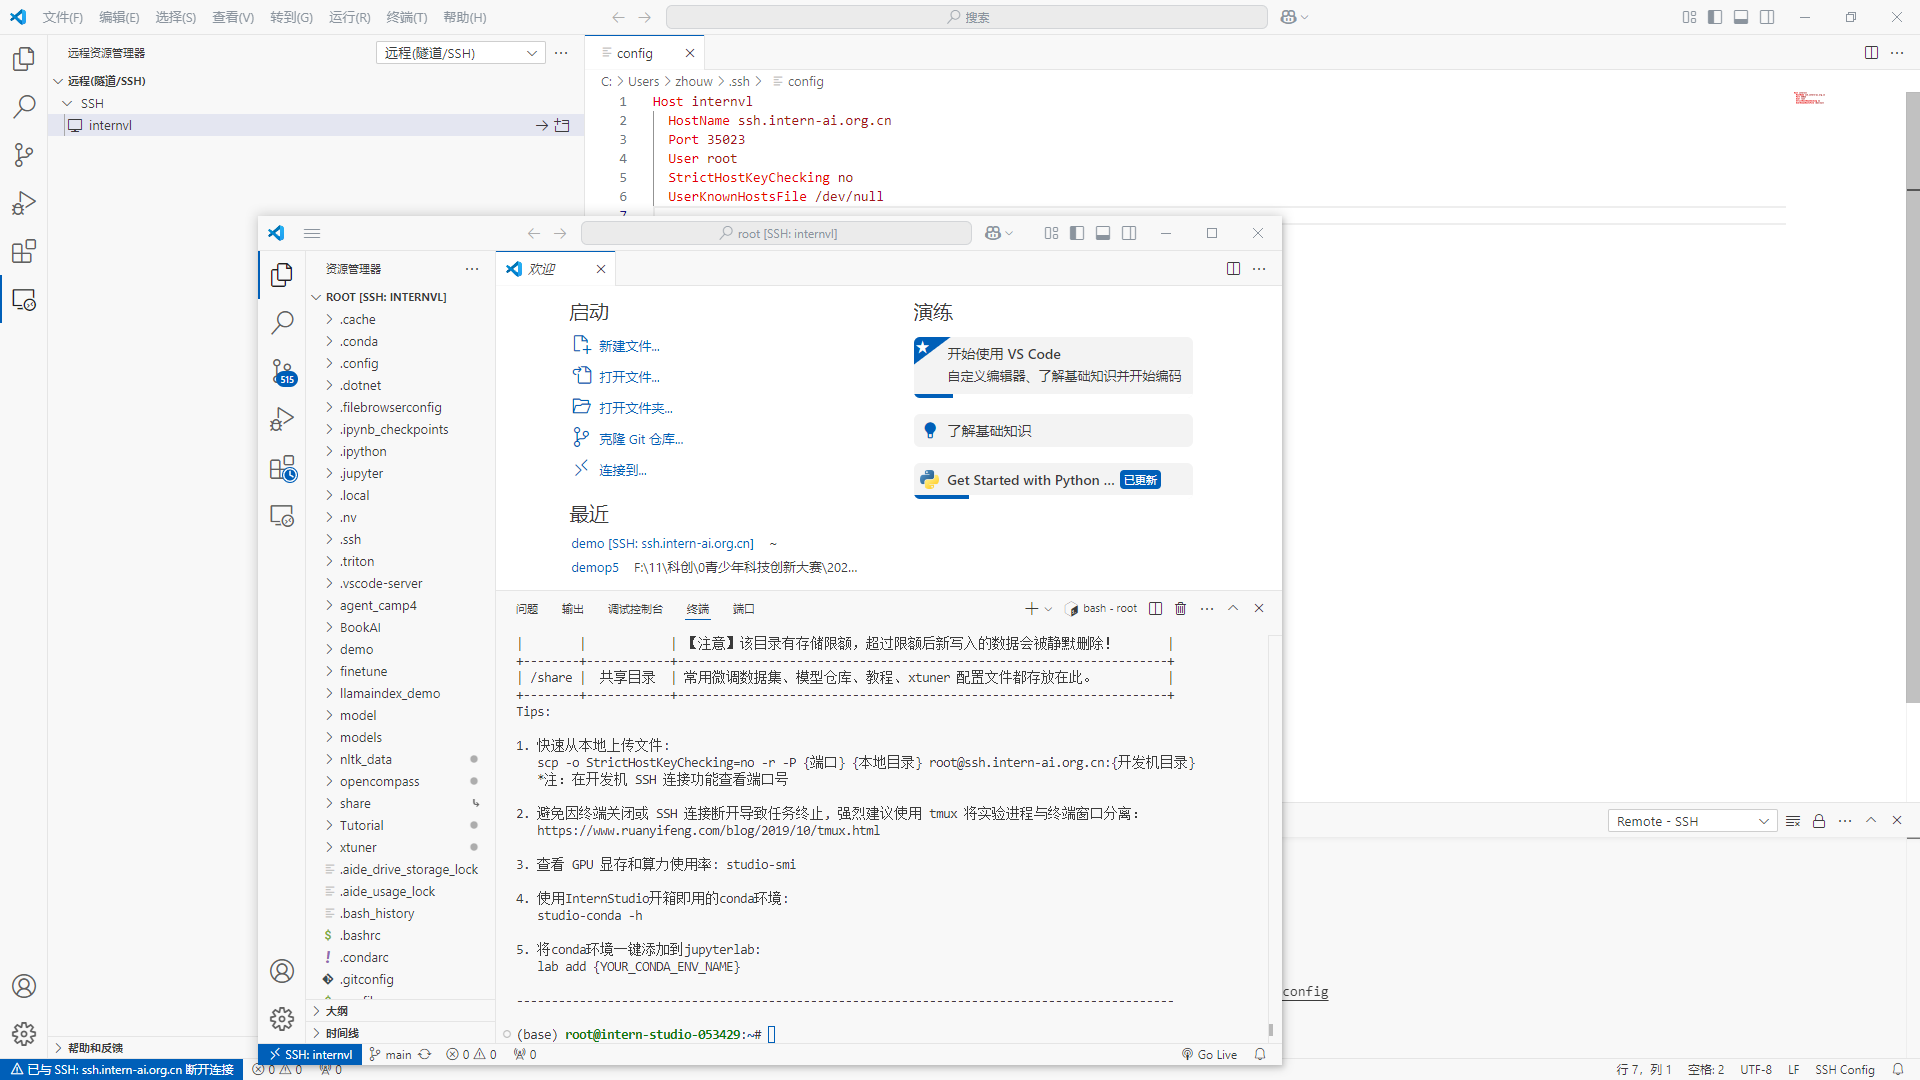
点击“立即创建”,成功后,可在“开发机”选栏中看到刚刚创建的开发机,可以点击“进入开发机”,利用terminal、code server进行开发。也可以使用本地的vscode通过“SSH链接”中的信息通过SSH链接进行开发。(强烈建议使用本地的vscode进行连接,前者可能有显示bug)
后续在命令行中的操作可在进入开发机的terminal或者vscode的terminal界面中进行。代码的修改在vscode中进行。
本地vscode连接服务器需要下载扩展:

然后根据SSH连接的信息,填写ssh连接配置文件。
1.环境配置
1.1.训练环境配置
新建虚拟环境并进入:
conda create --name xtuner-env python=3.10 -y
conda activate xtuner-env
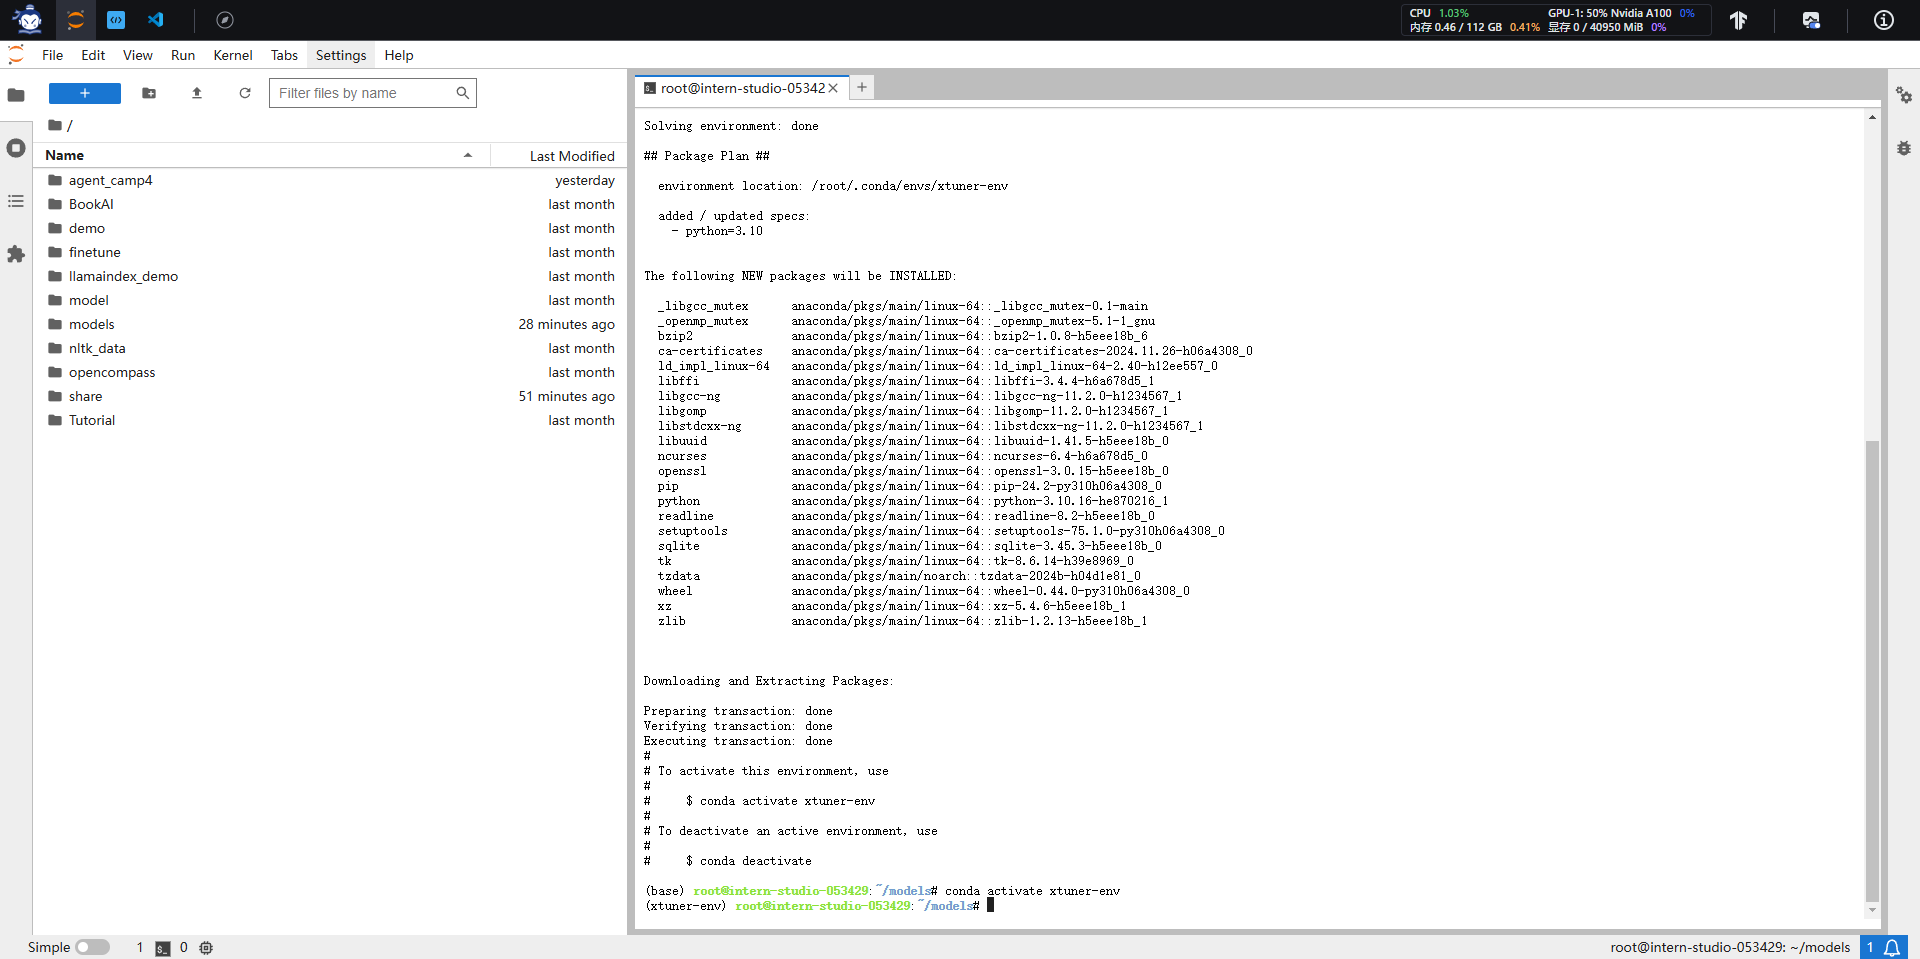
"xtuner-env"为训练环境名,可以根据个人喜好设置,在本教程中后续提到训练环境均指"xtuner-env"环境。
安装与deepspeed集成的xtuner和相关包:
pip install xtuner==0.1.23 timm==1.0.9
pip install 'xtuner[deepspeed]'
pip install torch==2.4.1 torchvision==0.19.1 torchaudio==2.4.1 --index-url https://download.pytorch.org/whl/cu121
pip install transformers==4.39.0 tokenizers==0.15.2 peft==0.13.2 datasets==3.1.0 accelerate==1.2.0 huggingface-hub==0.26.5
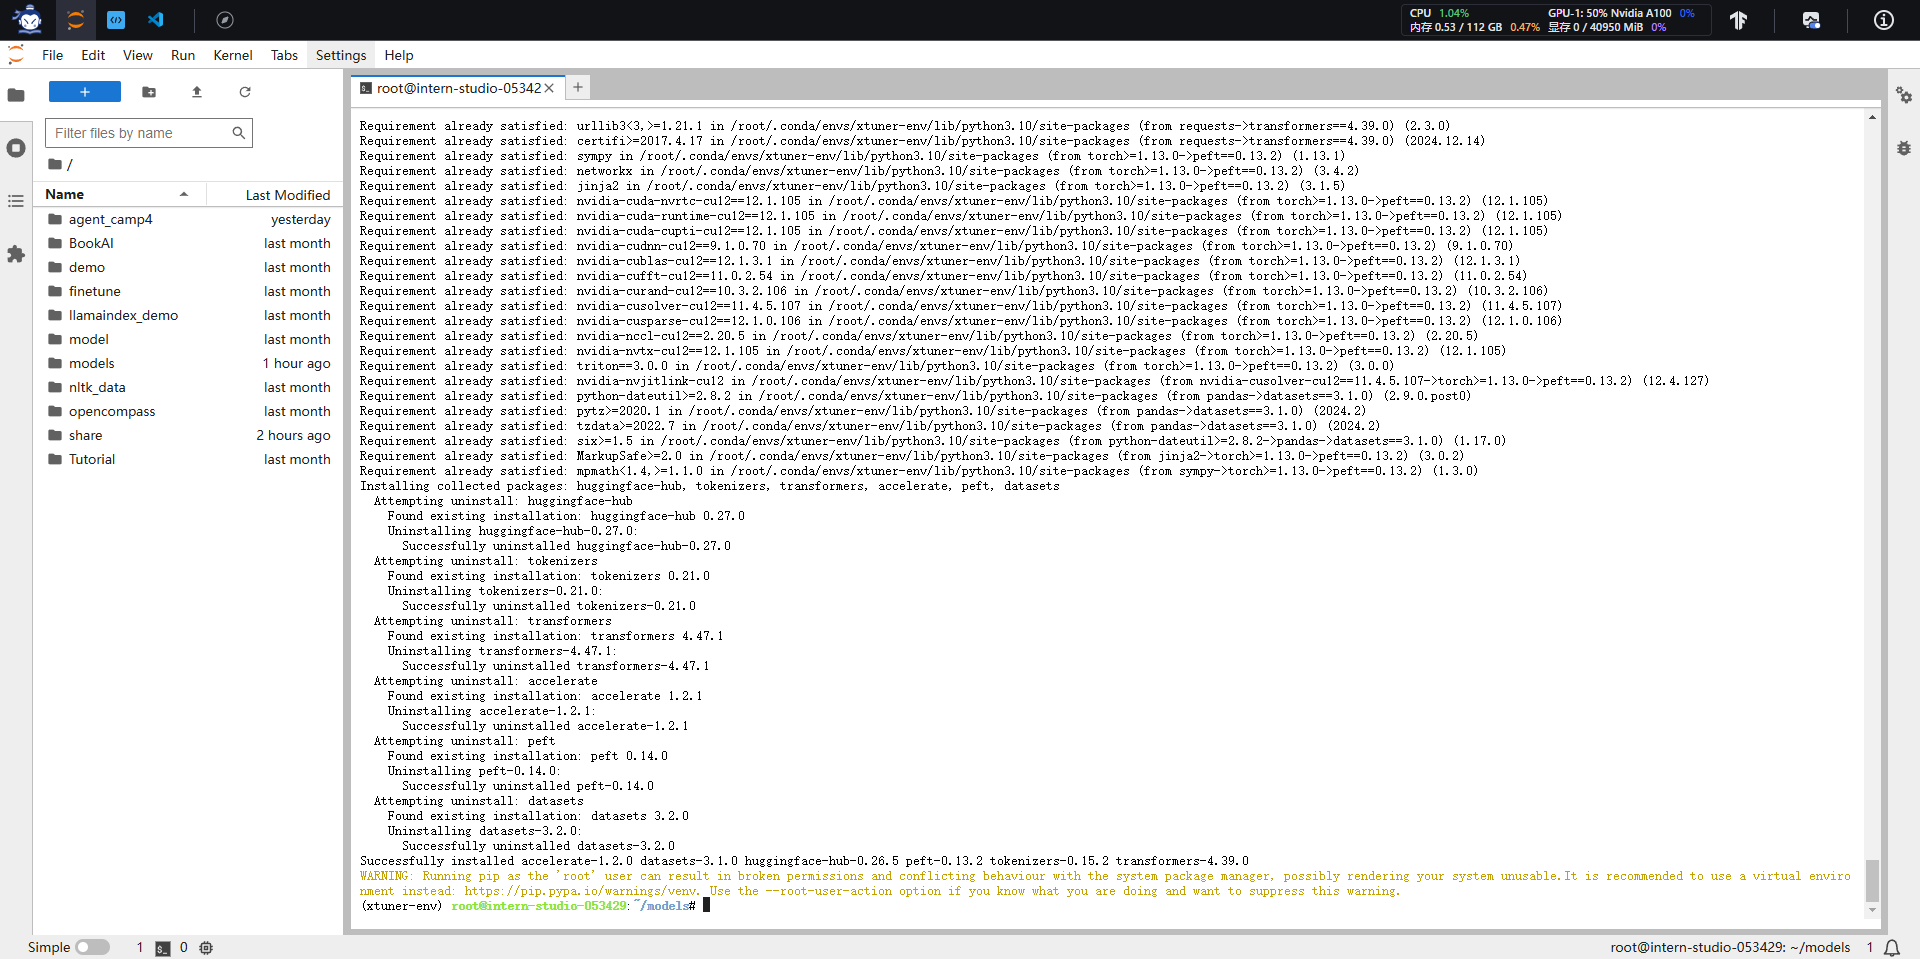
训练环境既为安装成功。
1.2.推理环境配置
配置推理所需环境:
conda create -n lmdeploy python=3.10 -y
conda activate lmdeploy
pip install lmdeploy==0.6.1 gradio==4.44.1 timm==1.0.9
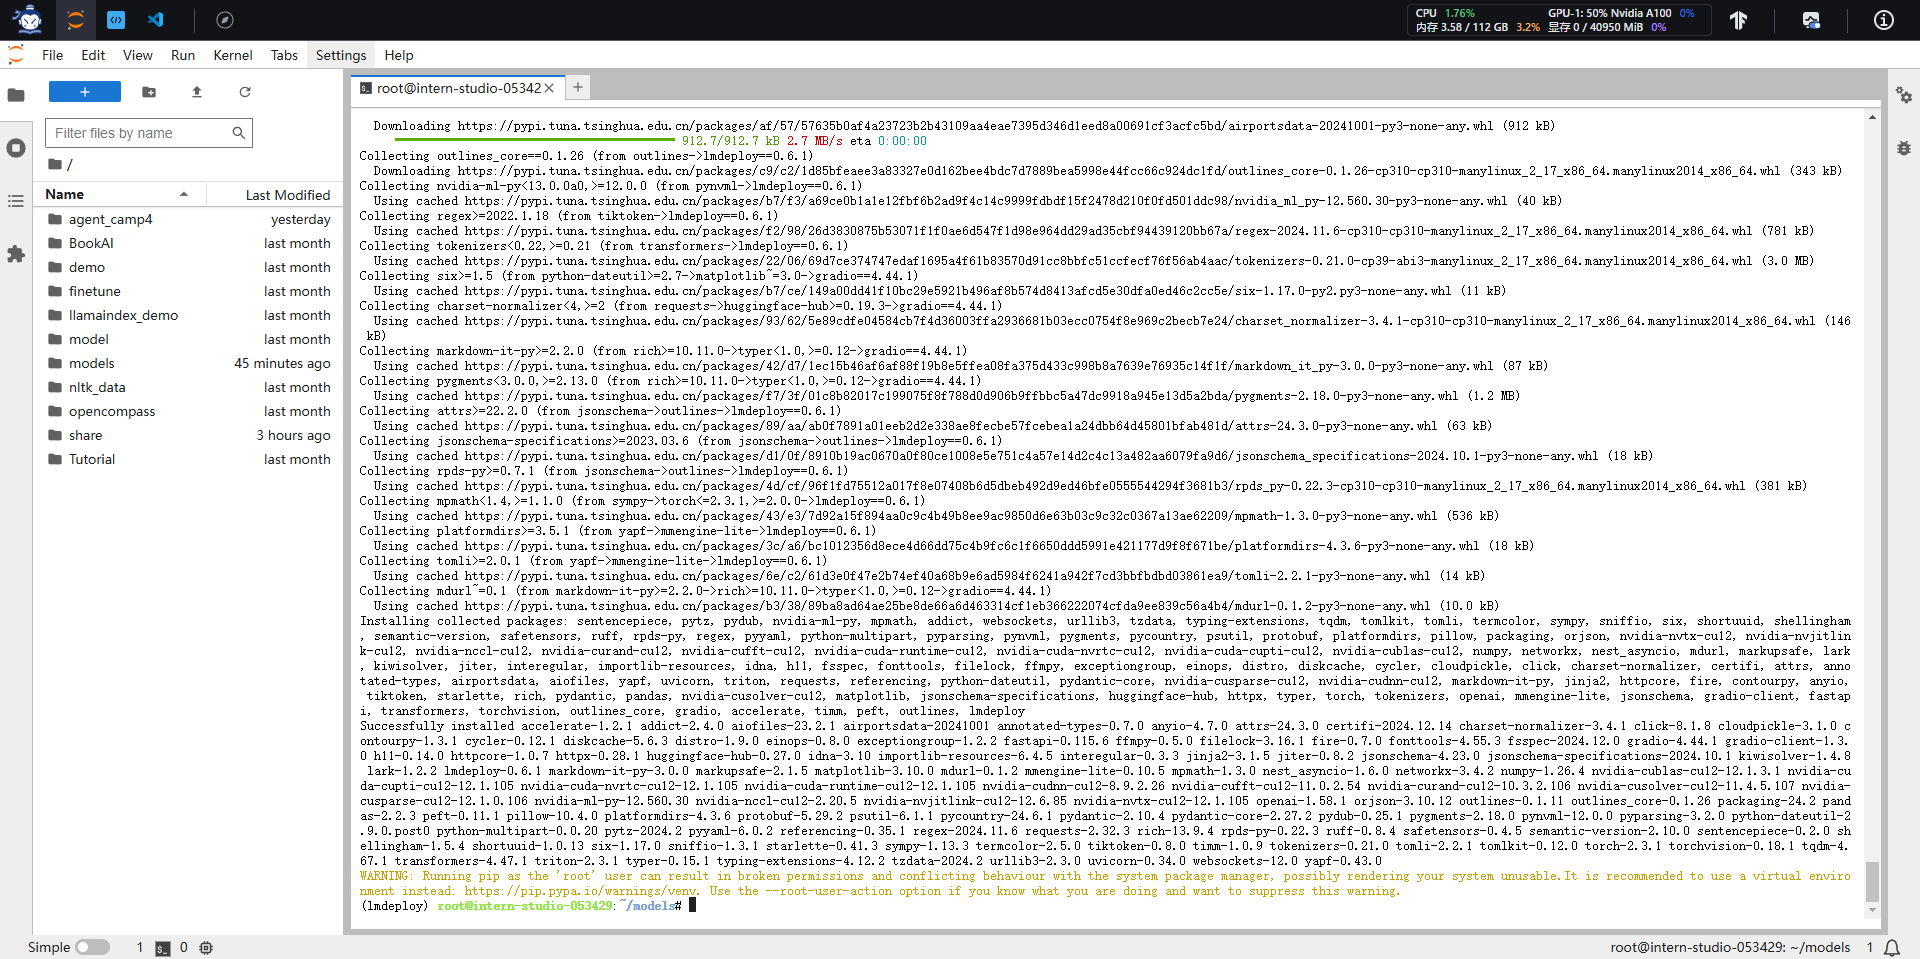
"lmdeploy"为推理使用环境名。
2.LMDeploy部署
2.1.LMDeploy基本用法介绍
我们主要通过pipeline.chat 接口来构造多轮对话管线,核心代码为:
lmdeploy推理的核心代码如下注释所述。
## 1.导入相关依赖包
from lmdeploy import pipeline, TurbomindEngineConfig, GenerationConfig
from lmdeploy.vl import load_image

## 2.使用你的模型初始化推理管线
model_path = "your_model_path"
pipe = pipeline(model_path,
                backend_config=TurbomindEngineConfig(session_len=8192))

## 3.读取图片(此处使用PIL读取也行)
image = load_image('your_image_path')

## 4.配置推理参数
gen_config = GenerationConfig(top_p=0.8, temperature=0.8)
## 5.利用 pipeline.chat 接口 进行对话,需传入生成参数
sess = pipe.chat(('describe this image', image), gen_config=gen_config)
print(sess.response.text)
## 6.之后的对话轮次需要传入之前的session,以告知模型历史上下文
sess = pipe.chat('What is the woman doing?', session=sess, gen_config=gen_config)
print(sess.response.text)
2.2.网页应用部署体验
我们可以使用UI界面先体验与InternVL对话:
拉取本教程的github仓库https://github.com/Control-derek/InternVL2-Tutorial.git:
git clone https://github.com/Control-derek/InternVL2-Tutorial.git
cd InternVL2-Tutorial
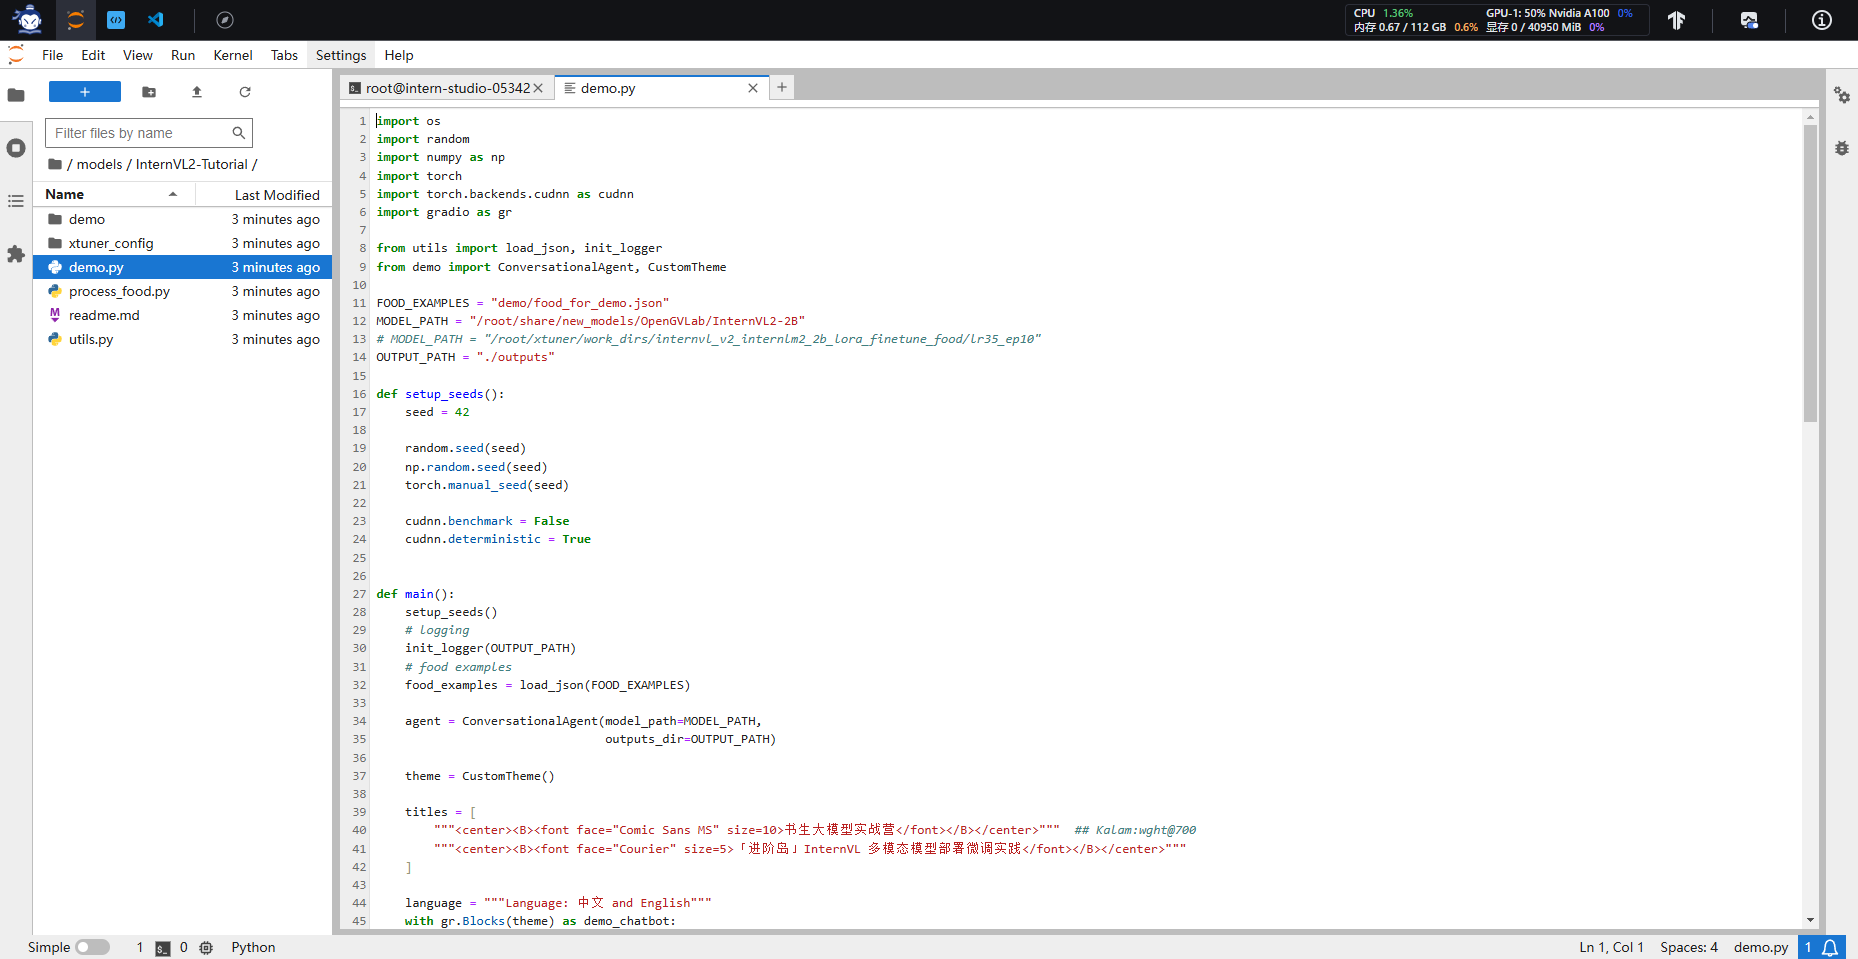
demo.py文件中,MODEL_PATH处传入InternVL2-2B的路径,如果使用的是InternStudio的开发机则无需修改,否则改为模型路径。
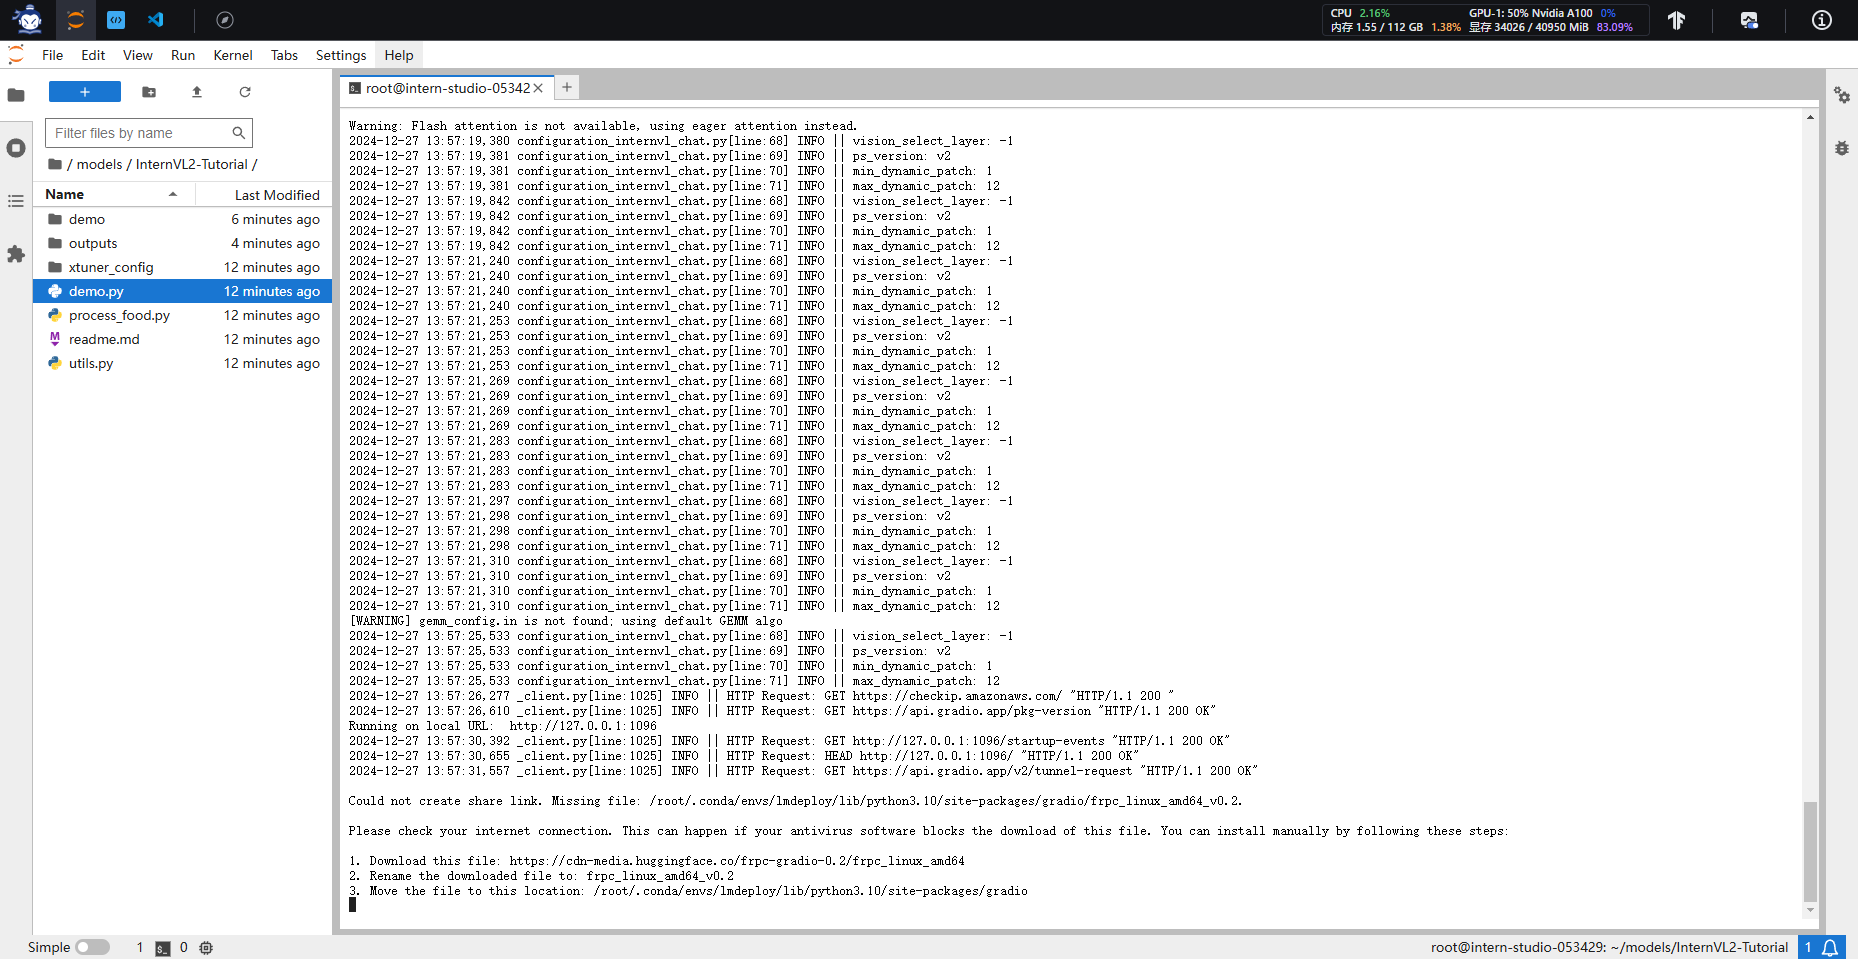
启动demo:
conda activate lmdeploy
python demo.py
上述命令请在vscode下运行,因为vscode自带端口转发,可以把部署在服务器上的网页服务转发到本地。
启动后,CTRL+鼠标左键点进这个链接或者复制链接到浏览器
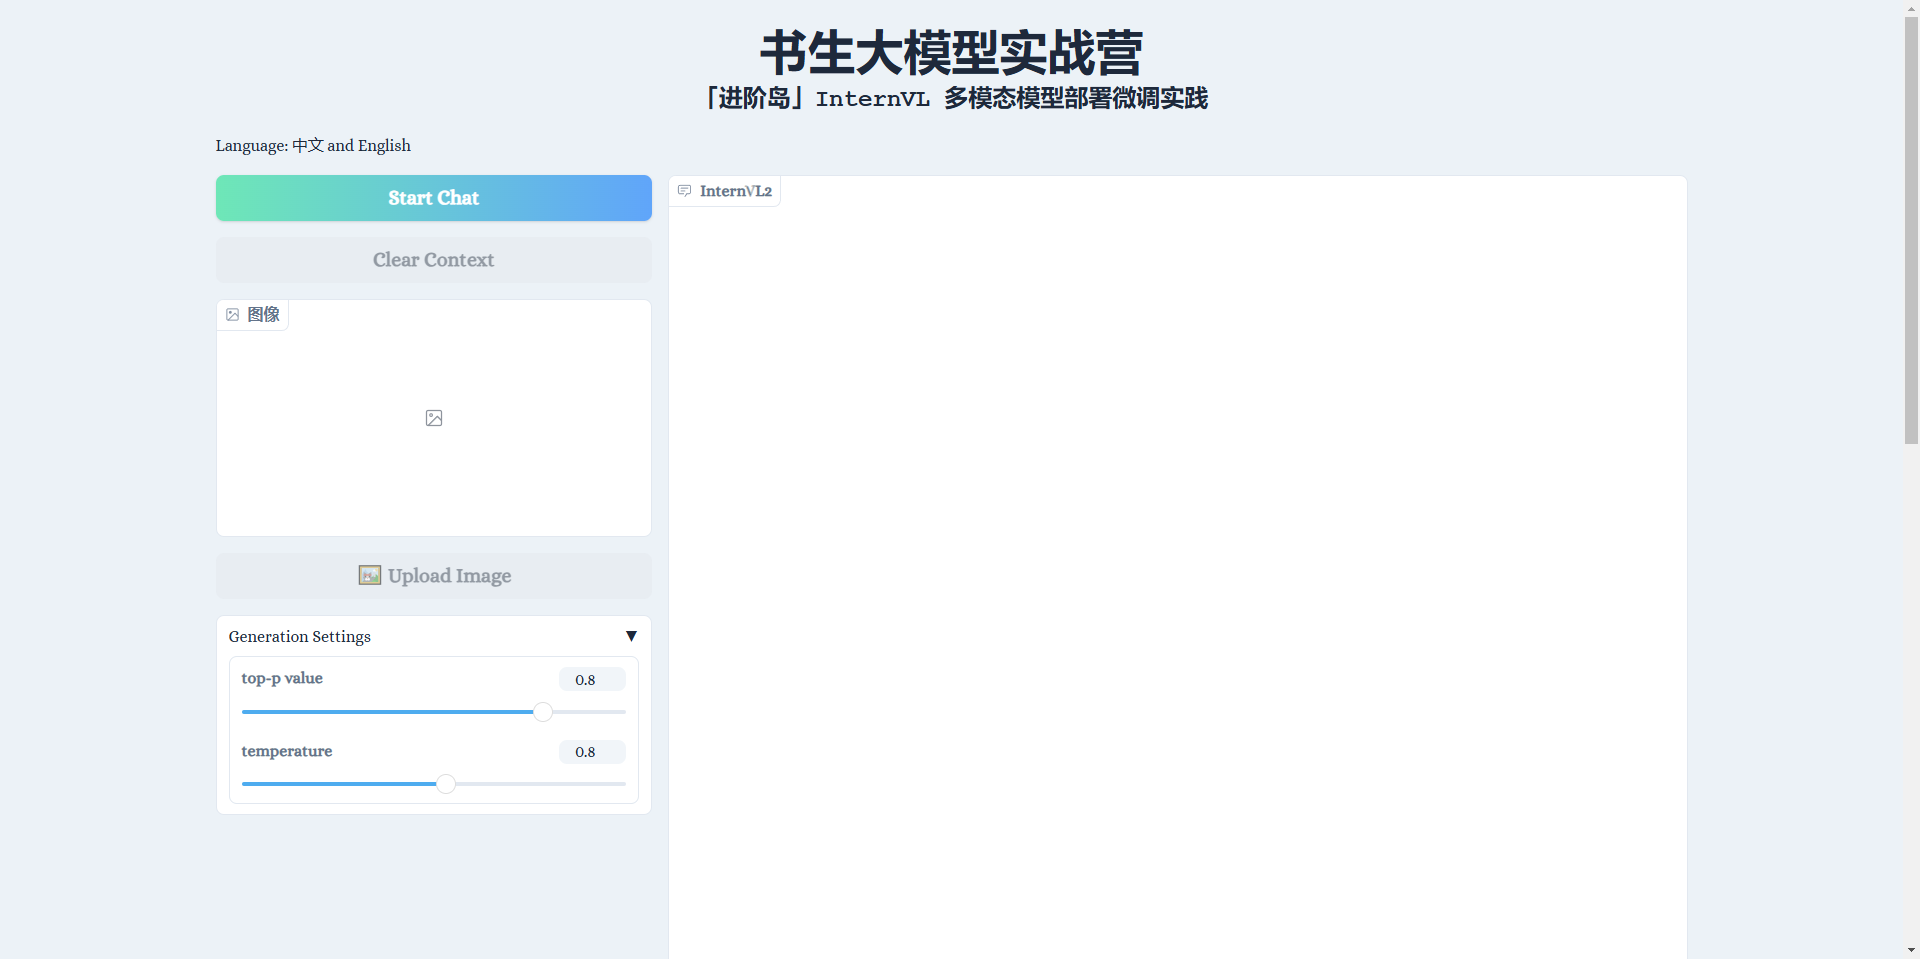
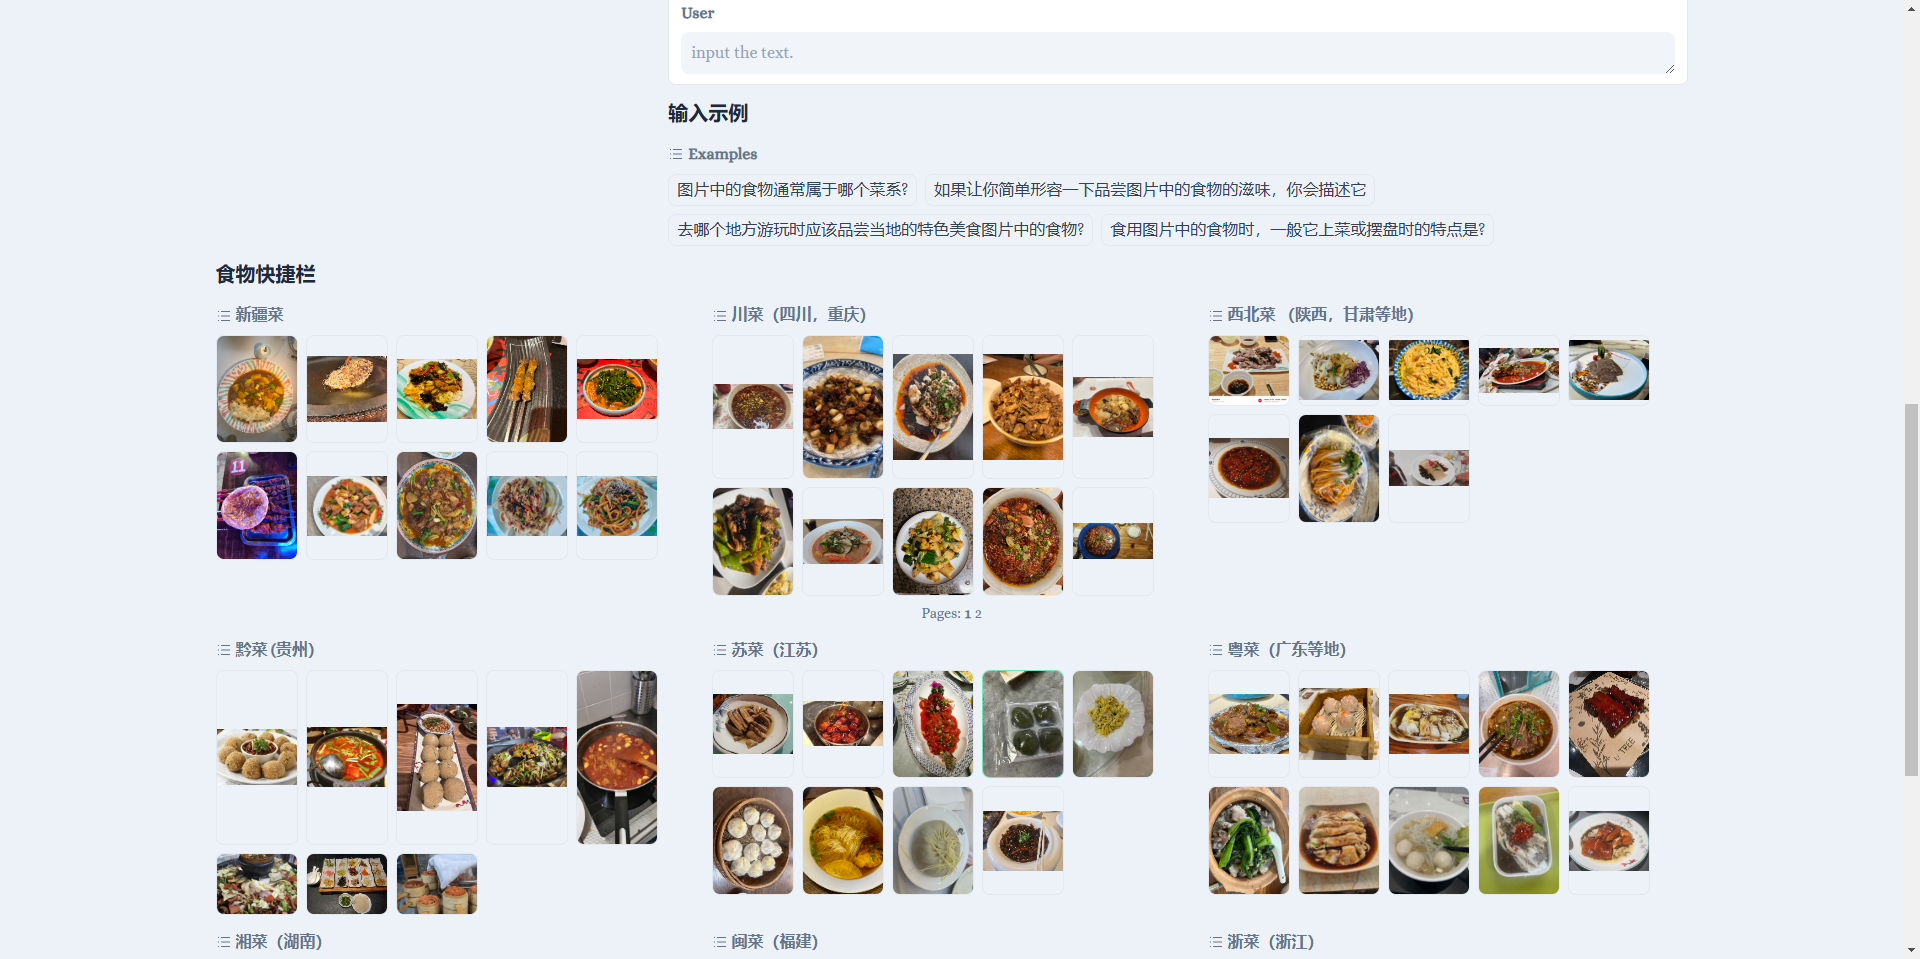
会看到如下界面:
点击Start Chat即可开始聊天,下方食物快捷栏可以快速输入图片,输入示例可以快速输入文字。输入完毕后,按enter键即可发送。
2.3.可能遇到棘手bug的解决
3.XTuner微调实践
3.1.准备基本配置文件
在InternStudio开发机的/root/xtuner路径下,即为开机自带的xtuner,先进入工作目录并激活训练环境:
cd /root/xtuner
conda activate xtuner-env # 或者是你自命名的训练环境
如果没有该路径,可以从GitHub上克隆一个:
cd /root
git clone https://github.com/InternLM/xtuner.git
conda activate xtuner-env
原始internvl的微调配置文件在路径./xtuner/configs/internvl/v2下,假设上面克隆的仓库在/root/InternVL2-Tutorial,复制配置文件到目标目录下:
cp /root/InternVL2-Tutorial/xtuner_config/internvl_v2_internlm2_2b_lora_finetune_food.py /root/xtuner/xtuner/configs/internvl/v2/internvl_v2_internlm2_2b_lora_finetune_food.py
3.2.配置文件参数解读
3.3.数据集下载
FoodieQA 是一个专门为研究中国各地美食文化而设计的数据集。它包含了大量关于食物的图片和问题,帮助多模态大模型更好地理解不同地区的饮食习惯和文化特色。这个数据集的推出,让我们能够更深入地探索和理解食物背后的文化意义。
可以通过3.2.a.和3.2.b.两种方式获取数据集,根据获取方式的不同,可能需要修改配置文件中的data_root变量为你数据集的路径:

3.3.a.通过huggingface下载
3.3.b.利用share目录下处理好的数据集
3.4.开始微调
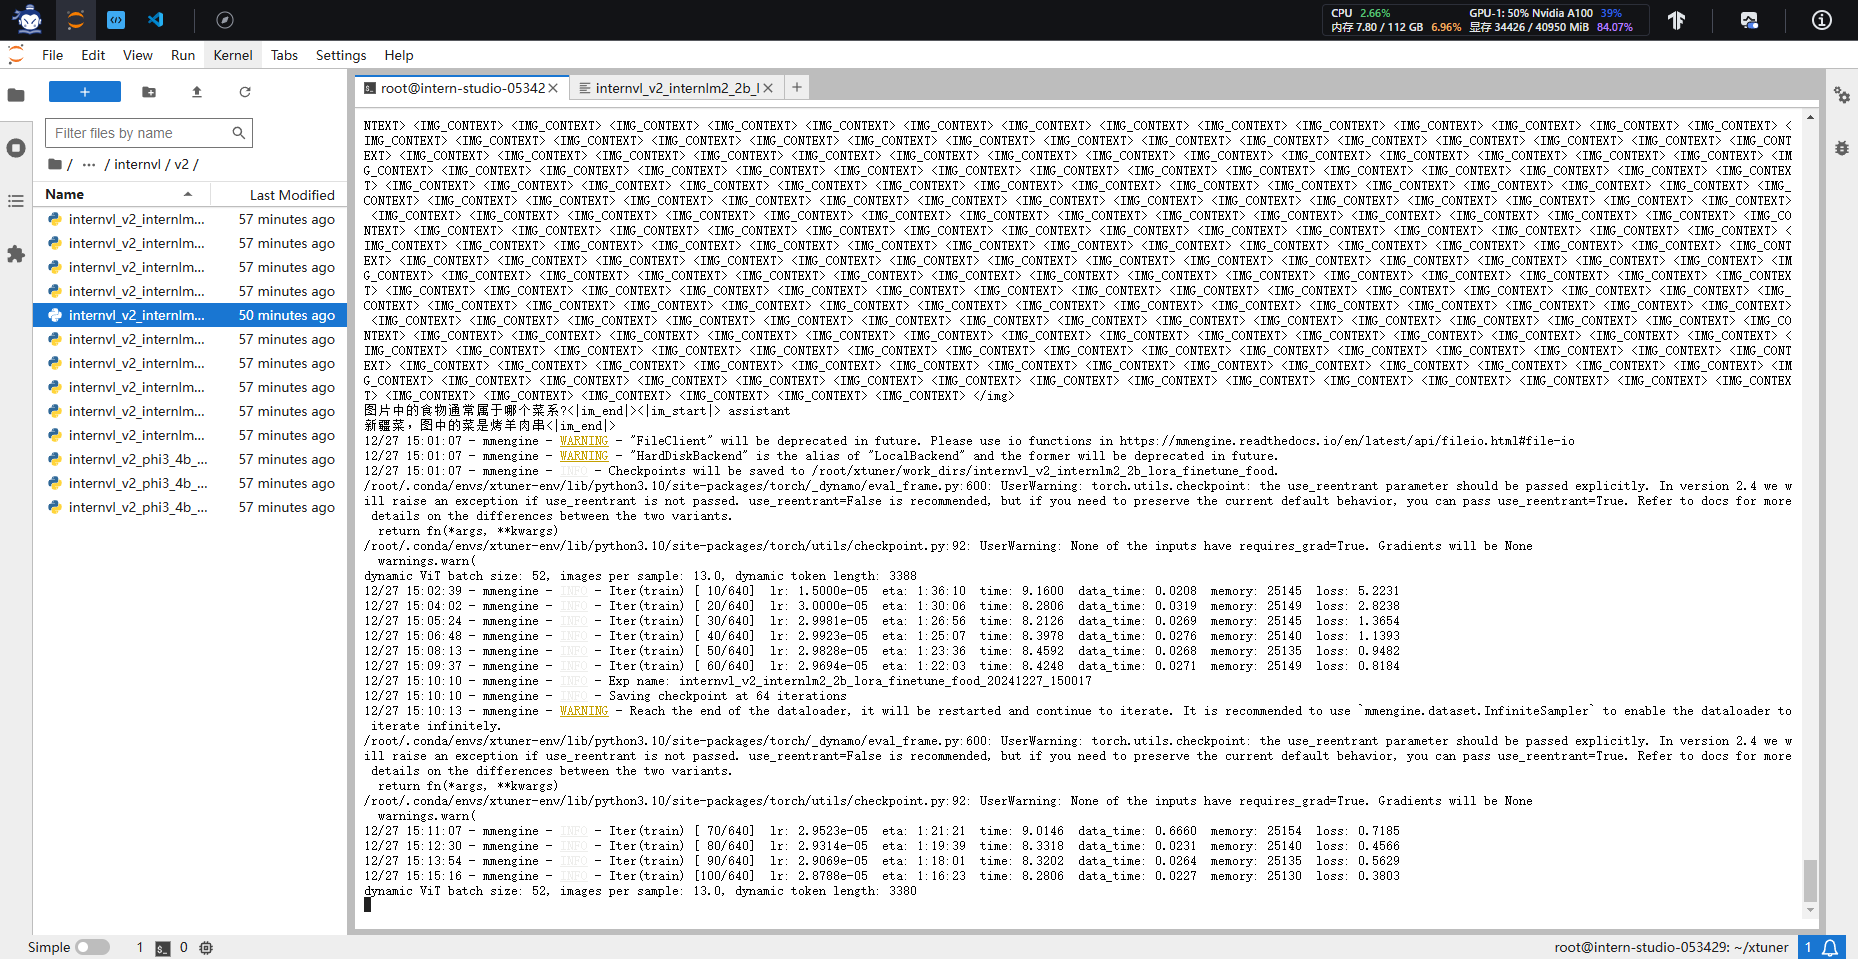
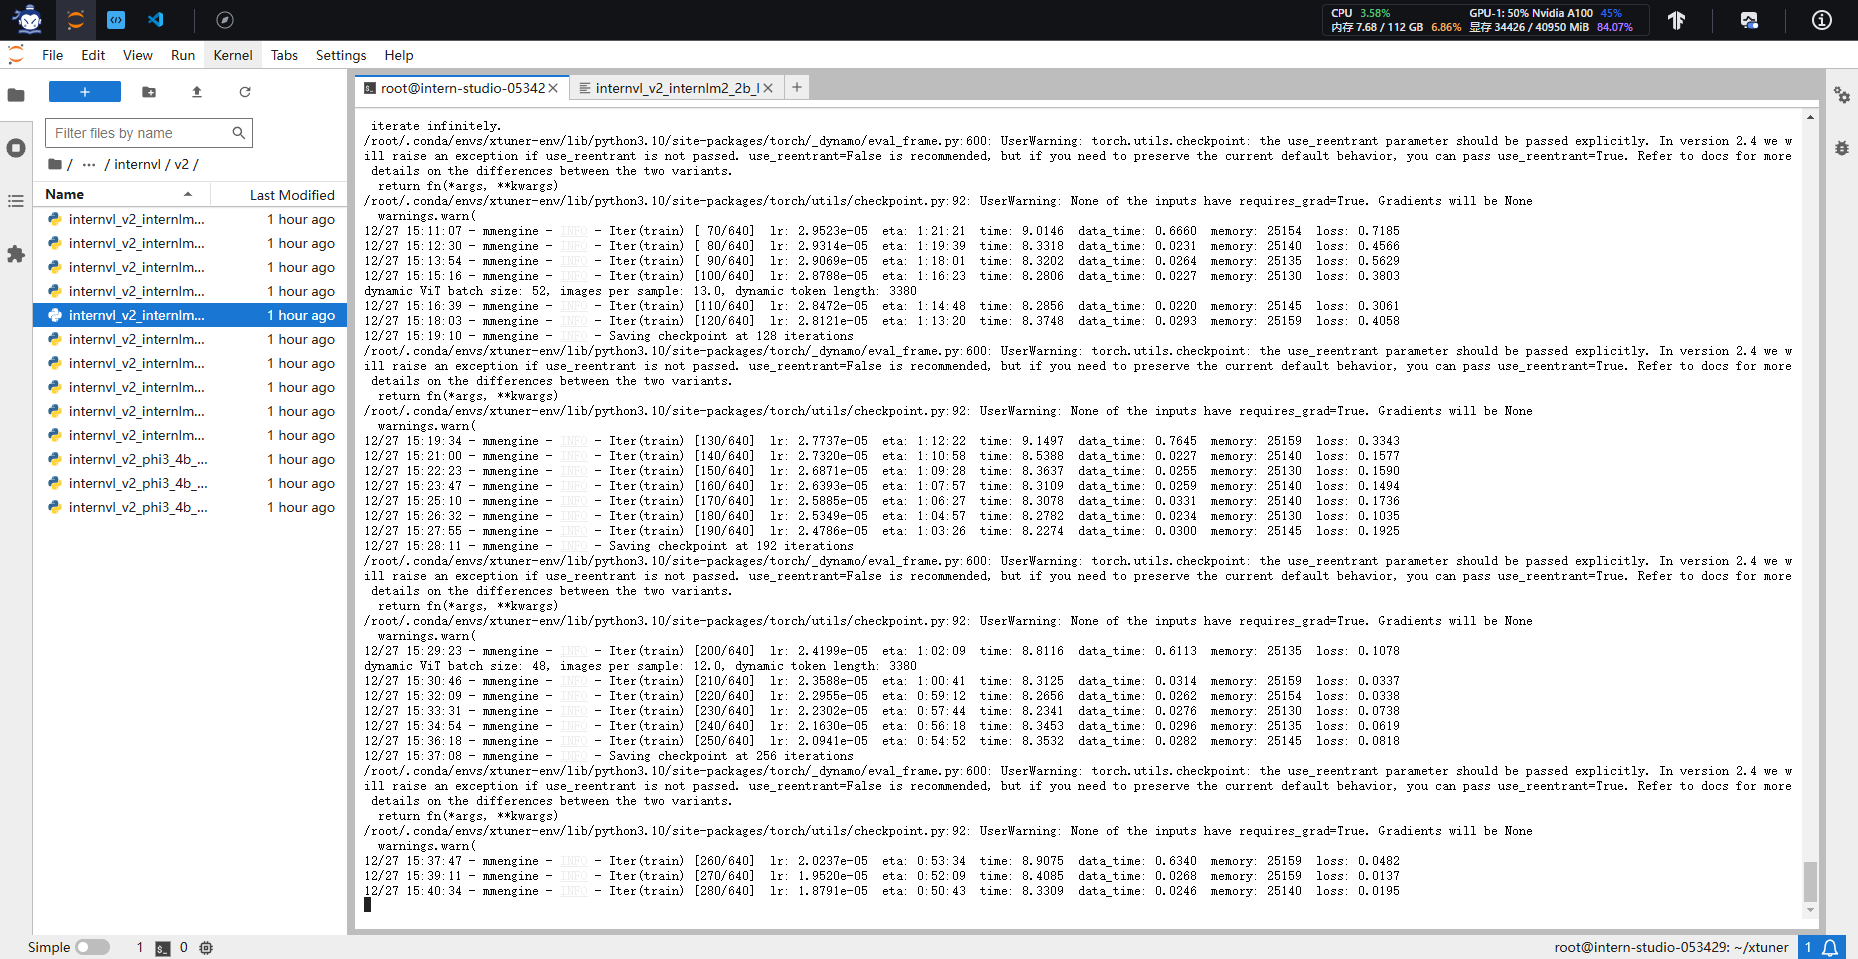
运行命令,开始微调:
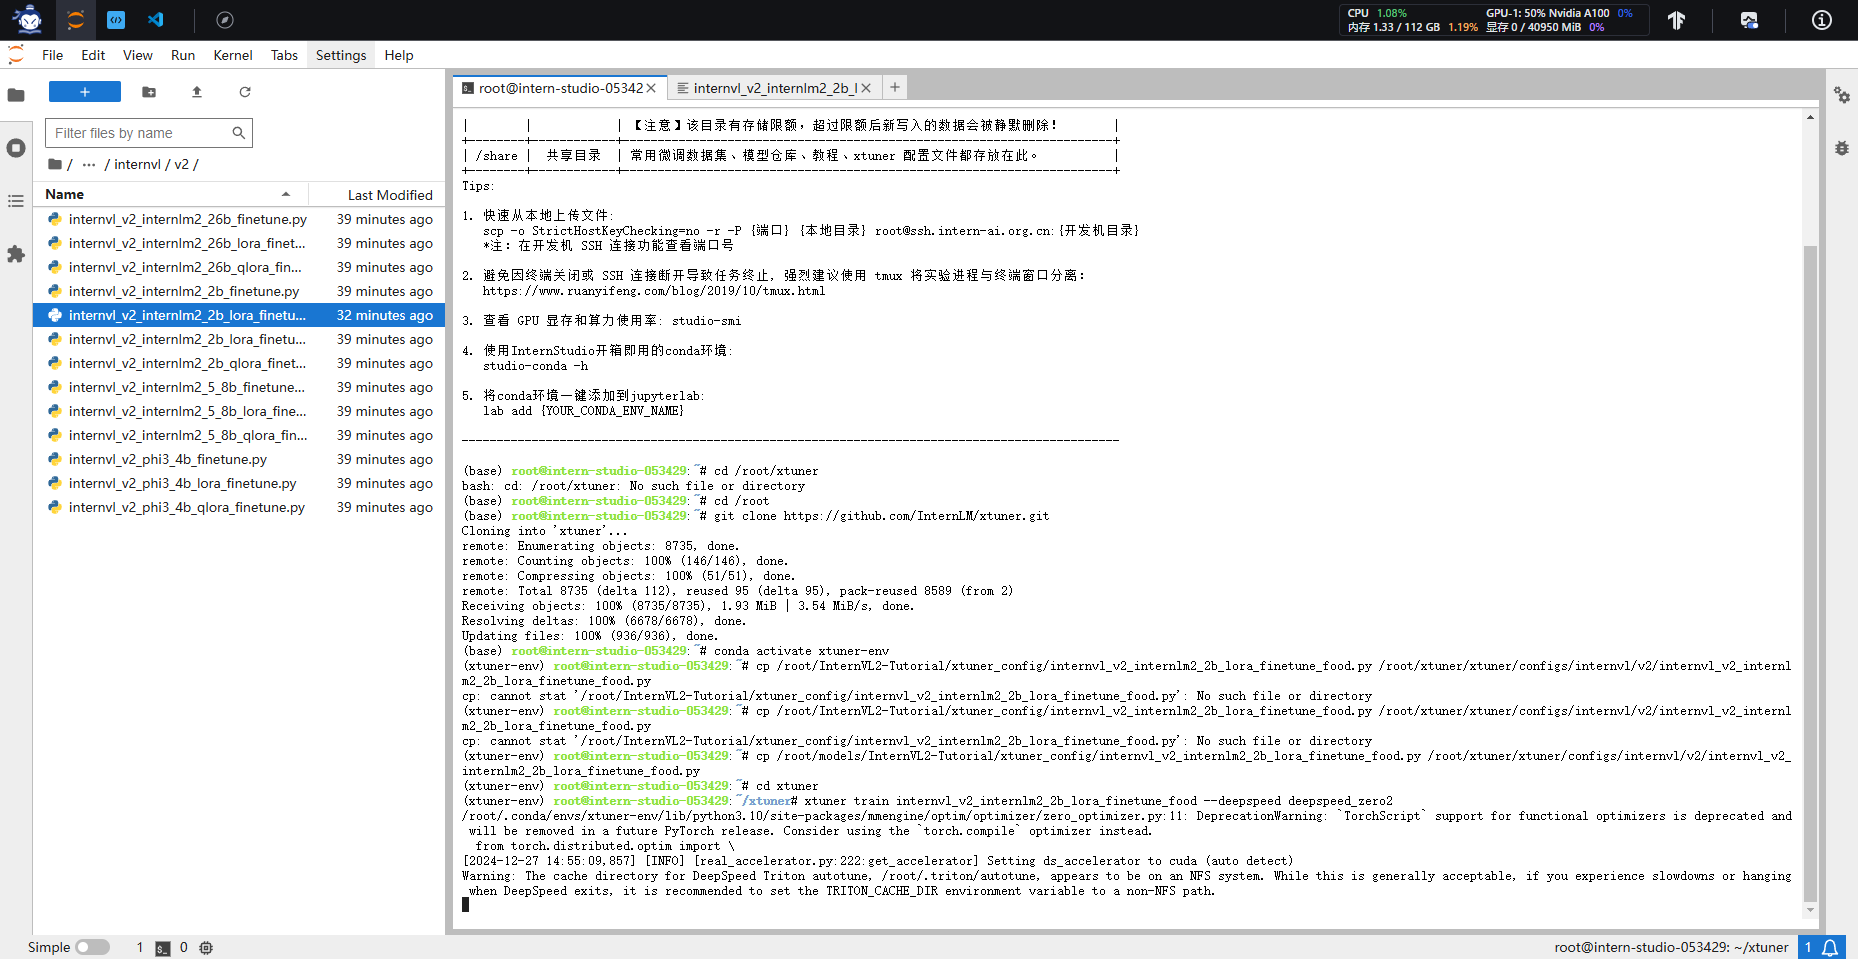
xtuner train internvl_v2_internlm2_2b_lora_finetune_food --deepspeed deepspeed_zero2
如果报错如:keyerror或者Filenotfound之类的,可能是XTuner没识别到新写的配置文件,需要指定配置文件的完整路径:
xtuner train /root/xtuner/xtuner/configs/internvl/v2/internvl_v2_internlm2_2b_lora_finetune_food.py --deepspeed deepspeed_zero2
把/root/xtuner/xtuner/configs/internvl/v2/internvl_v2_internlm2_2b_lora_finetune_food.py换成自己配置文件的路径即可。
微调后,把模型checkpoint的格式转化为便于测试的格式:
python xtuner/configs/internvl/v1_5/convert_to_official.py xtuner/configs/internvl/v2/internvl_v2_internlm2_2b_lora_finetune_food.py ./work_dirs/internvl_v2_internlm2_2b_lora_finetune_food/iter_640.pth ./work_dirs/internvl_v2_internlm2_2b_lora_finetune_food/lr35_ep10/
如果修改了超参数,iter_xxx.pth需要修改为对应的想要转的checkpoint。 ./work_dirs/internvl_v2_internlm2_2b_lora_finetune_food/lr35_ep10/为转换后的模型checkpoint保存的路径。
.与AI美食家玩耍
修改MODEL_PATH为刚刚转换后保存的模型路径:
就像在第2节中做的那样,启动网页应用:
cd /root/InternVL2-Tutorial
conda activate lmdeploy
python demo.py
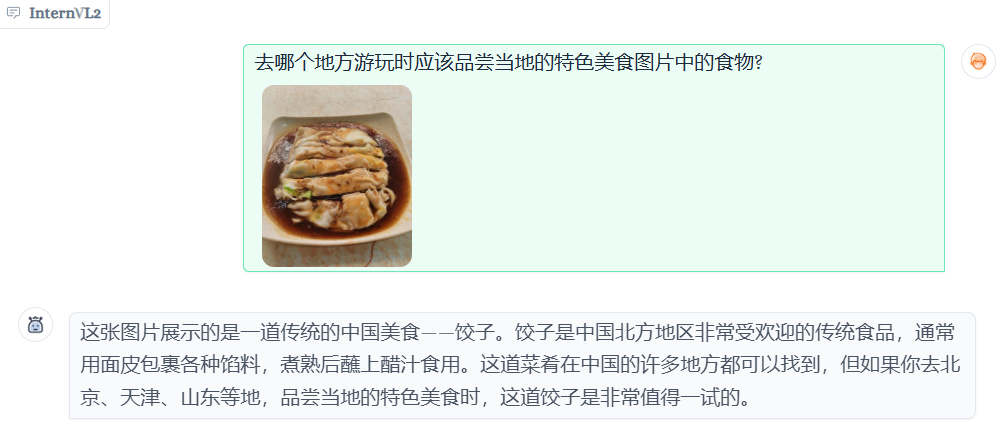
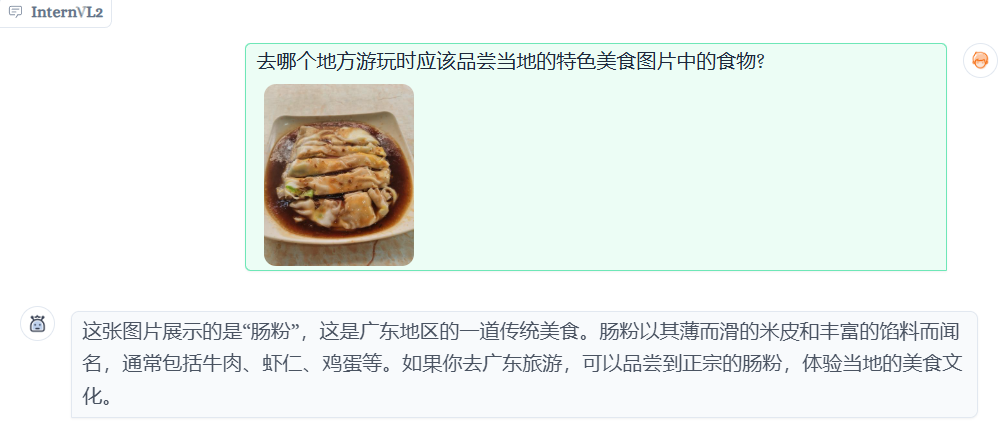
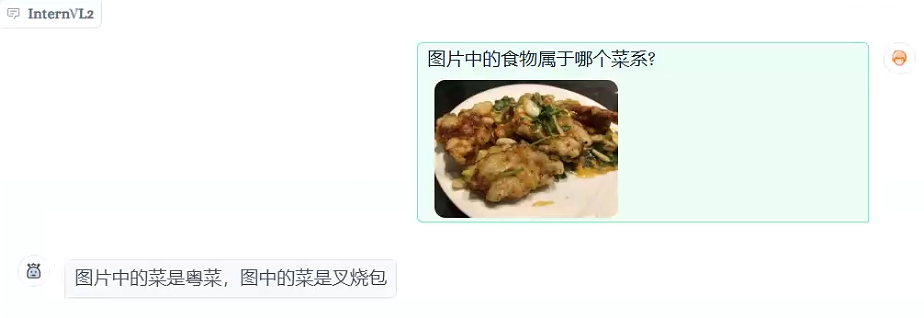
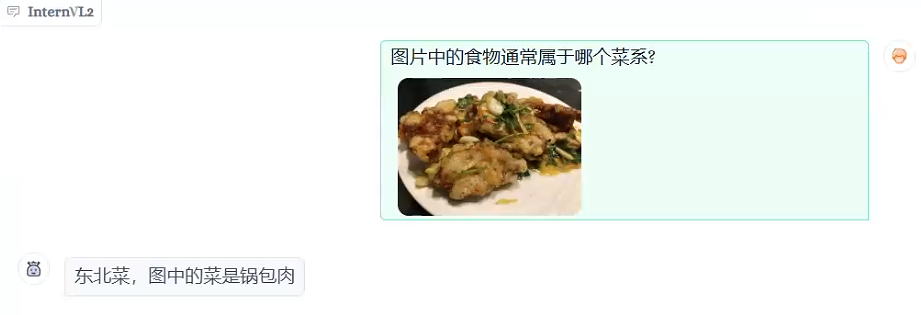
部分case展示:
微调前,把肠粉错认成饺子,微调后,正确识别:
微调前,不认识“锅包又”,微调后,可以正确识别:


 他的勋章
他的勋章


评论