 返回首页
返回首页
 回到顶部
回到顶部
闯关关卡
进阶岛 | |||
|---|---|---|---|
| 关卡编号 | 关卡名称 | 关卡资料 | |
| 第3关 | L2G3000 | LMDeploy 量化部署进阶实践 | 任务 https://github.com/InternLM/Tutorial/blob/camp4/docs/L2/LMDeploy/task.md 文档 https://github.com/InternLM/Tutorial/blob/camp4/docs/L2/LMDeploy 视频 |
基础任务(完成此任务即完成闯关)
- 使用结合W4A16量化与kv cache量化的internlm2_5-1_8b-chat模型封装本地API并与大模型进行一次对话,作业截图需包括显存占用情况与大模型回复,参考4.1 API开发(优秀学员必做),请注意2.2.3节与4.1节应使用作业版本命令。
- 使用Function call功能让大模型完成一次简单的"加"与"乘"函数调用,作业截图需包括大模型回复的工具调用情况,参考4.2 Function call(选做)
1 配置LMDeploy环境
1.1 InternStudio开发机创建与环境搭建
点选开发机,自拟一个开发机名称,选择Cuda12.2-conda镜像。
所以我们需要大于14GB的显存,选择 30%A100*1(24GB显存容量),后选择立即创建,等状态栏变成运行中,点击进入开发机,我们即可开始部署。
在终端中,让我们输入以下指令,来创建一个名为lmdeploy的conda环境,python版本为3.10,创建成功后激活环境并安装0.5.3版本的lmdeploy及相关包。
conda create -n lmdeploy python=3.10 -y
conda activate lmdeploy
conda install pytorch==2.1.2 torchvision==0.16.2 torchaudio==2.1.2 pytorch-cuda=12.1 -c pytorch -c nvidia -y
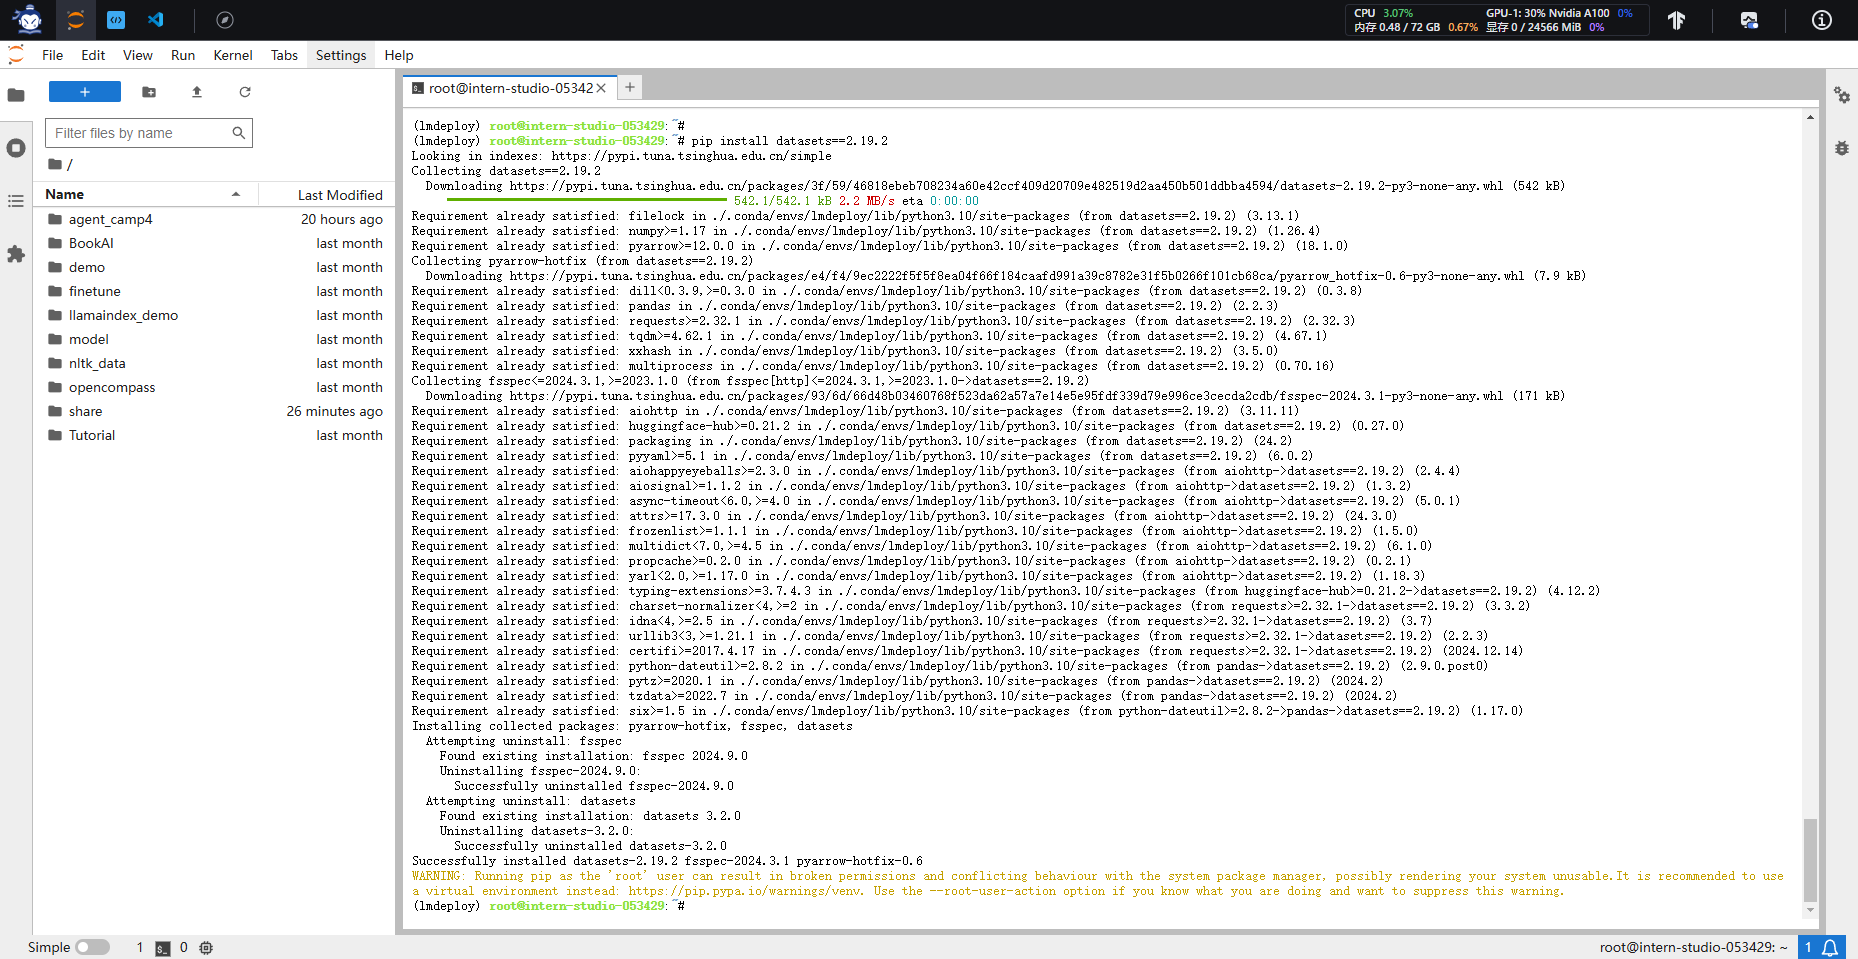
pip install timm==1.0.8 openai==1.40.3 lmdeploy[all]==0.5.3
pip install datasets==2.19.2
1.2 InternStudio环境获取模型
为方便文件管理,我们需要一个存放模型的目录,本教程统一放置在/root/models/目录。
运行以下命令,创建文件夹并设置开发机共享目录的软链接。
mkdir /root/models
ln -s /root/share/new_models/Shanghai_AI_Laboratory/internlm2_5-7b-chat /root/models
ln -s /root/share/new_models/Shanghai_AI_Laboratory/internlm2_5-1_8b-chat /root/models
ln -s /root/share/new_models/OpenGVLab/InternVL2-26B /root/models
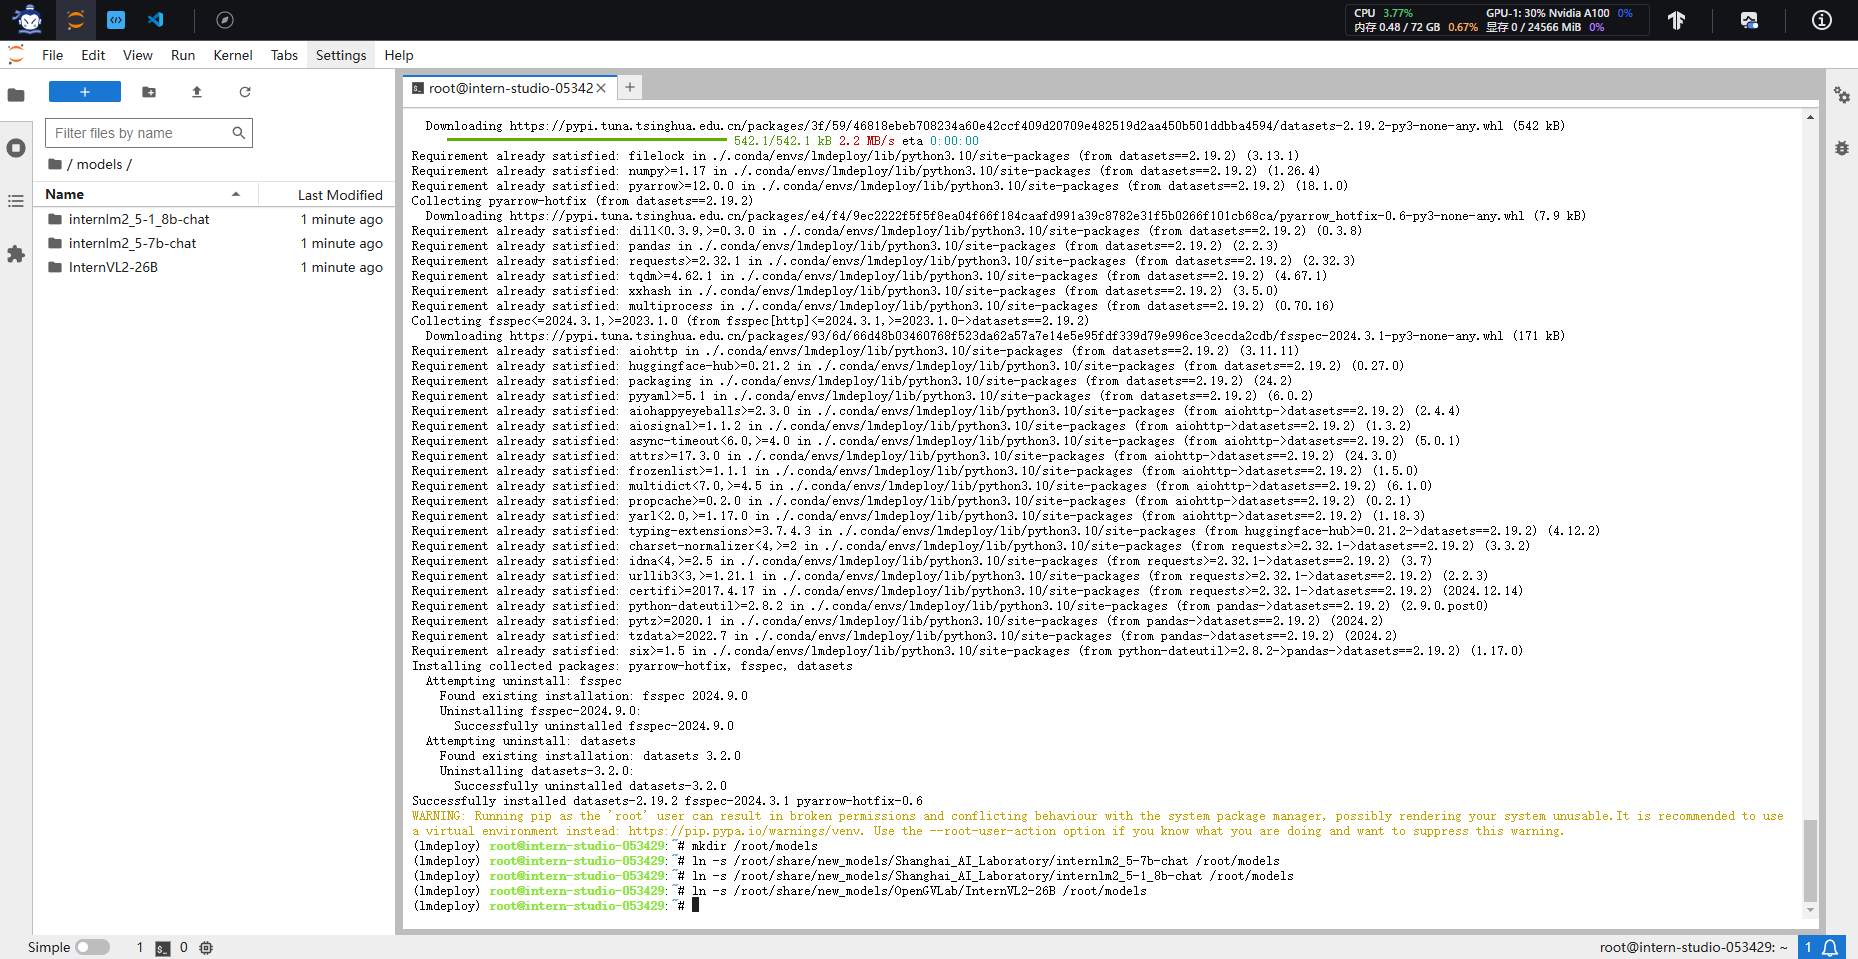
此时,我们可以看到/root/models中会出现internlm2_5-7b-chat、internlm2_5-1_8b-chat和InternVL2-26B文件夹。
教程使用internlm2_5-7b-chat和InternVL2-26B作为演示。由于上述模型量化会消耗大量时间(约8h),量化作业请使用internlm2_5-1_8b-chat模型完成。
1.3 LMDeploy验证启动模型文件
在量化工作正式开始前,我们还需要验证一下获取的模型文件能否正常工作,以免竹篮打水一场空。
让我们进入创建好的conda环境并启动InternLM2_5-7b-chat!
conda activate lmdeploy
lmdeploy chat /root/models/internlm2_5-7b-chat
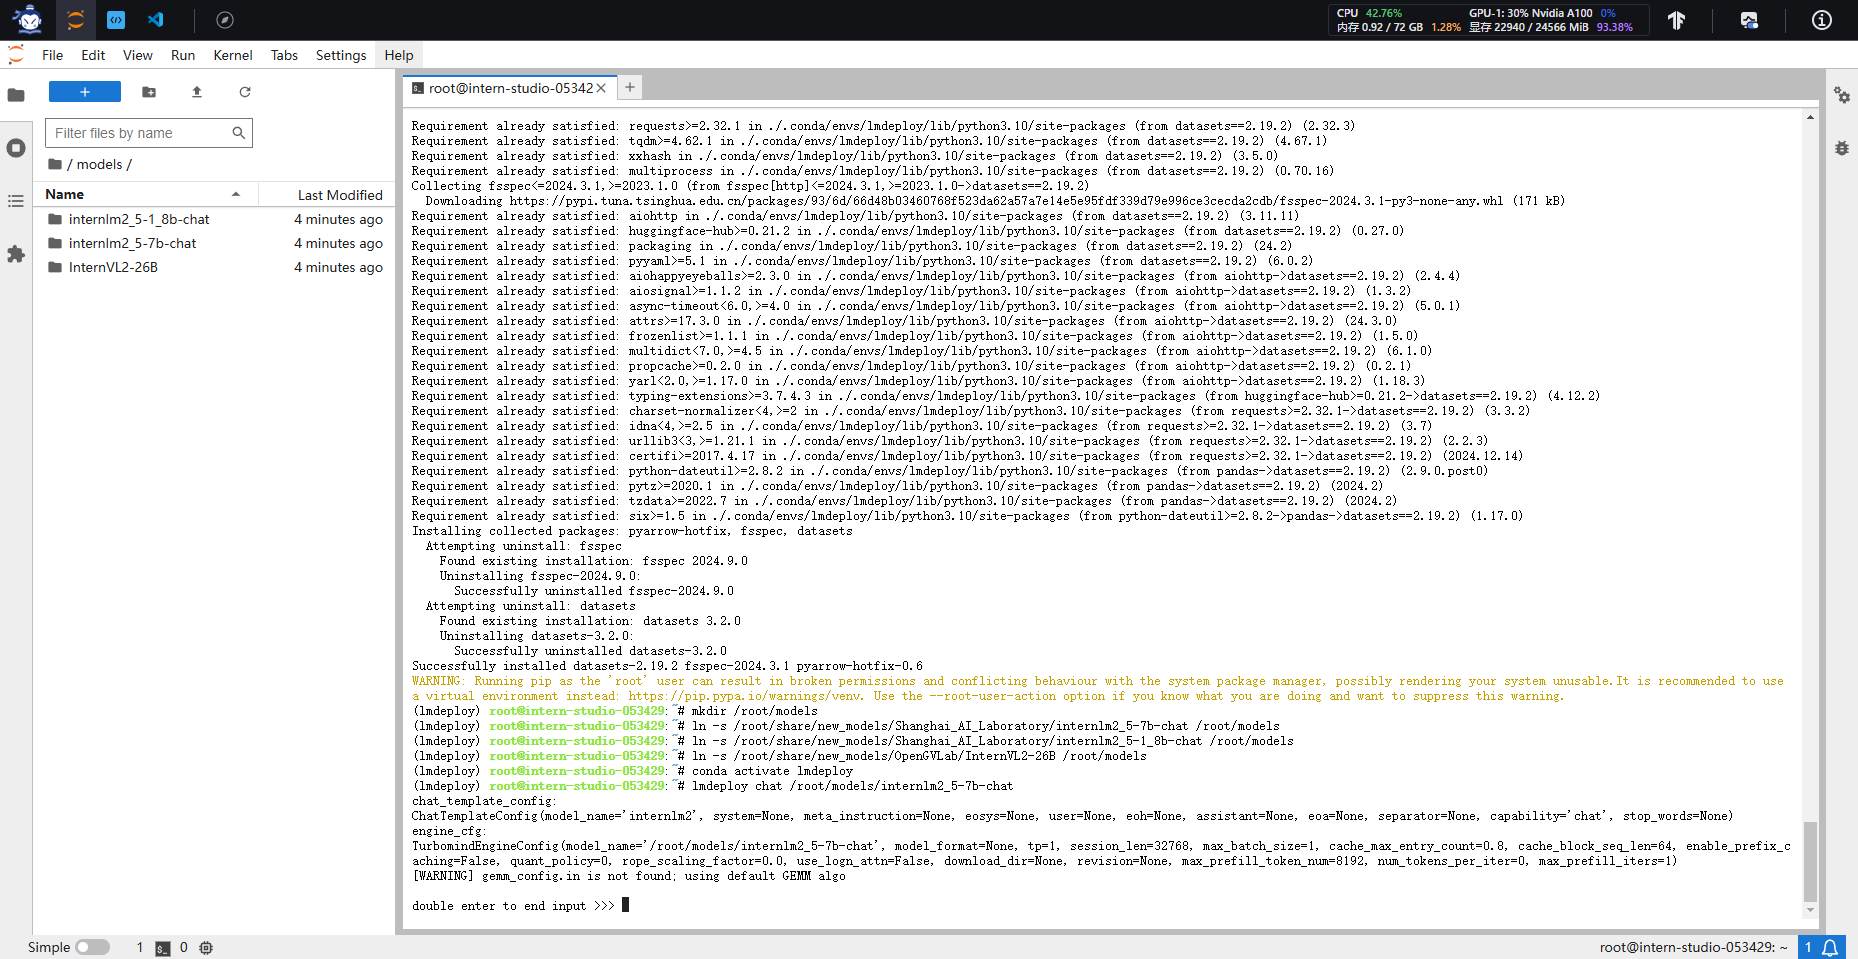
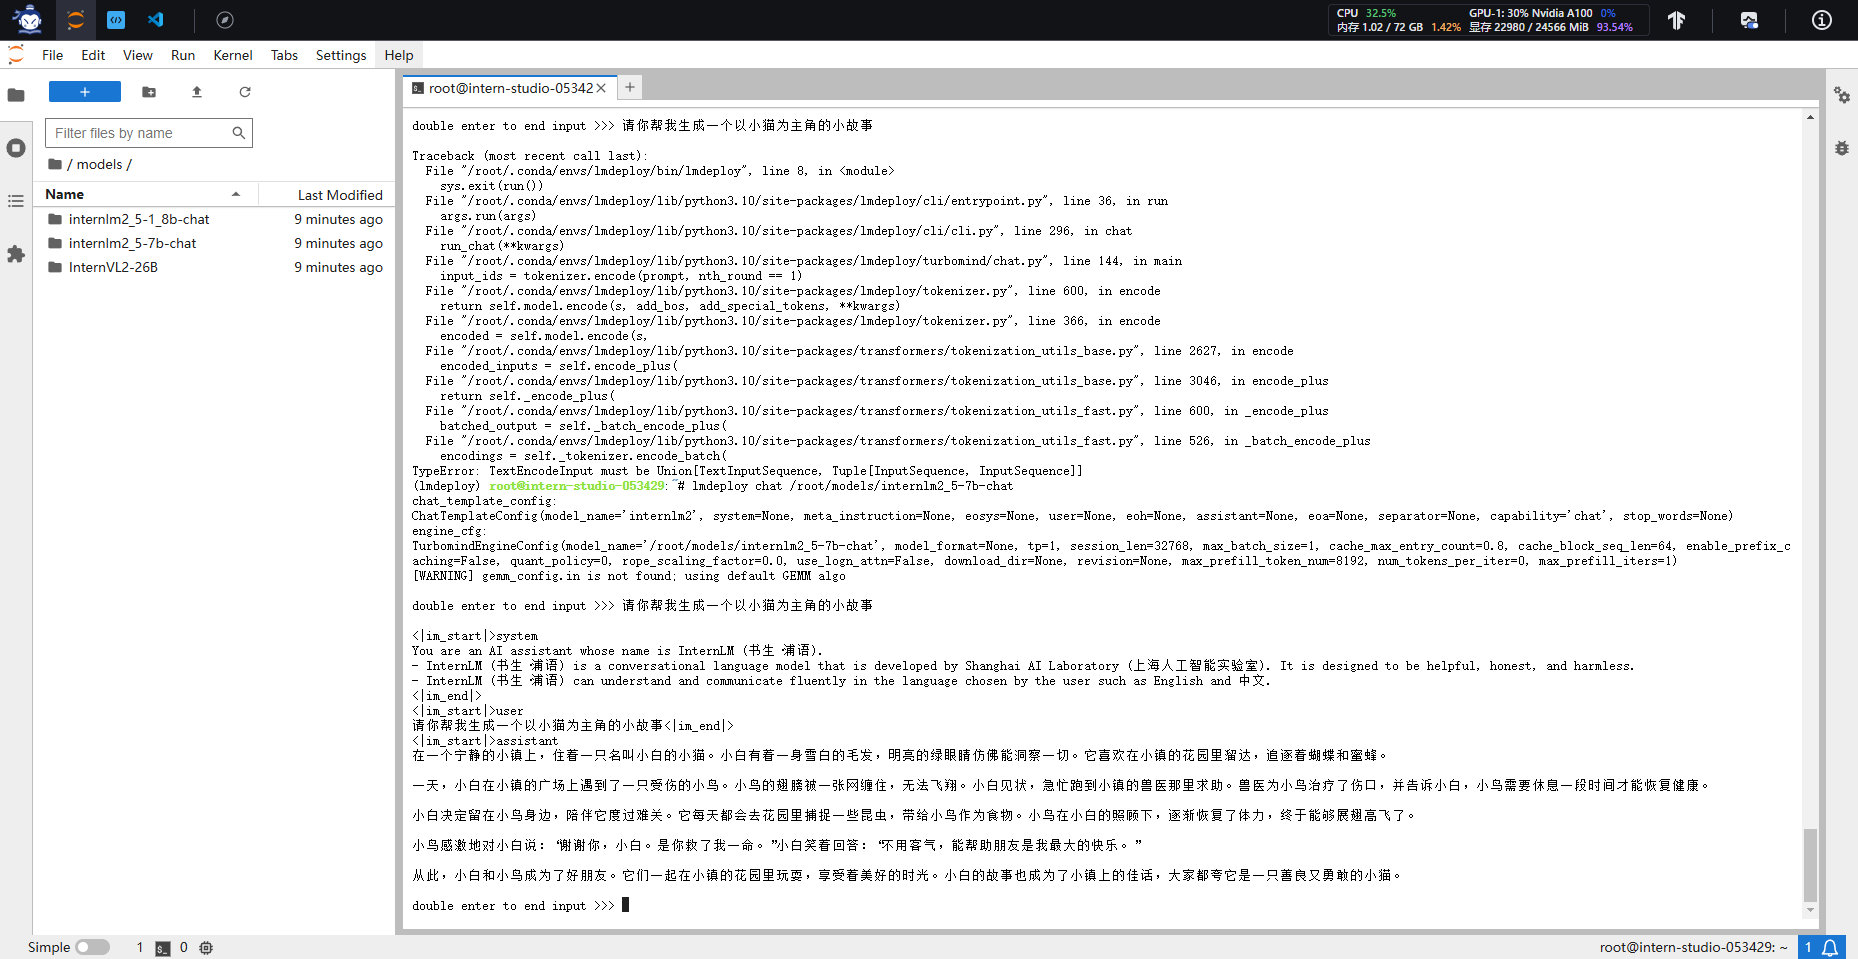
此时,我们可以在CLI(“命令行界面” Command Line Interface的缩写)中和InternLM2.5尽情对话了,注意输入内容完成后需要按两次回车才能够执行,以下为示例。
2 LMDeploy与InternLM2.5
2.1 LMDeploy API部署InternLM2.5
在上一章节,我们直接在本地部署InternLM2.5。而在实际应用中,我们有时会将大模型封装为API接口服务,供客户端访问。
2.1.1 启动API服务器
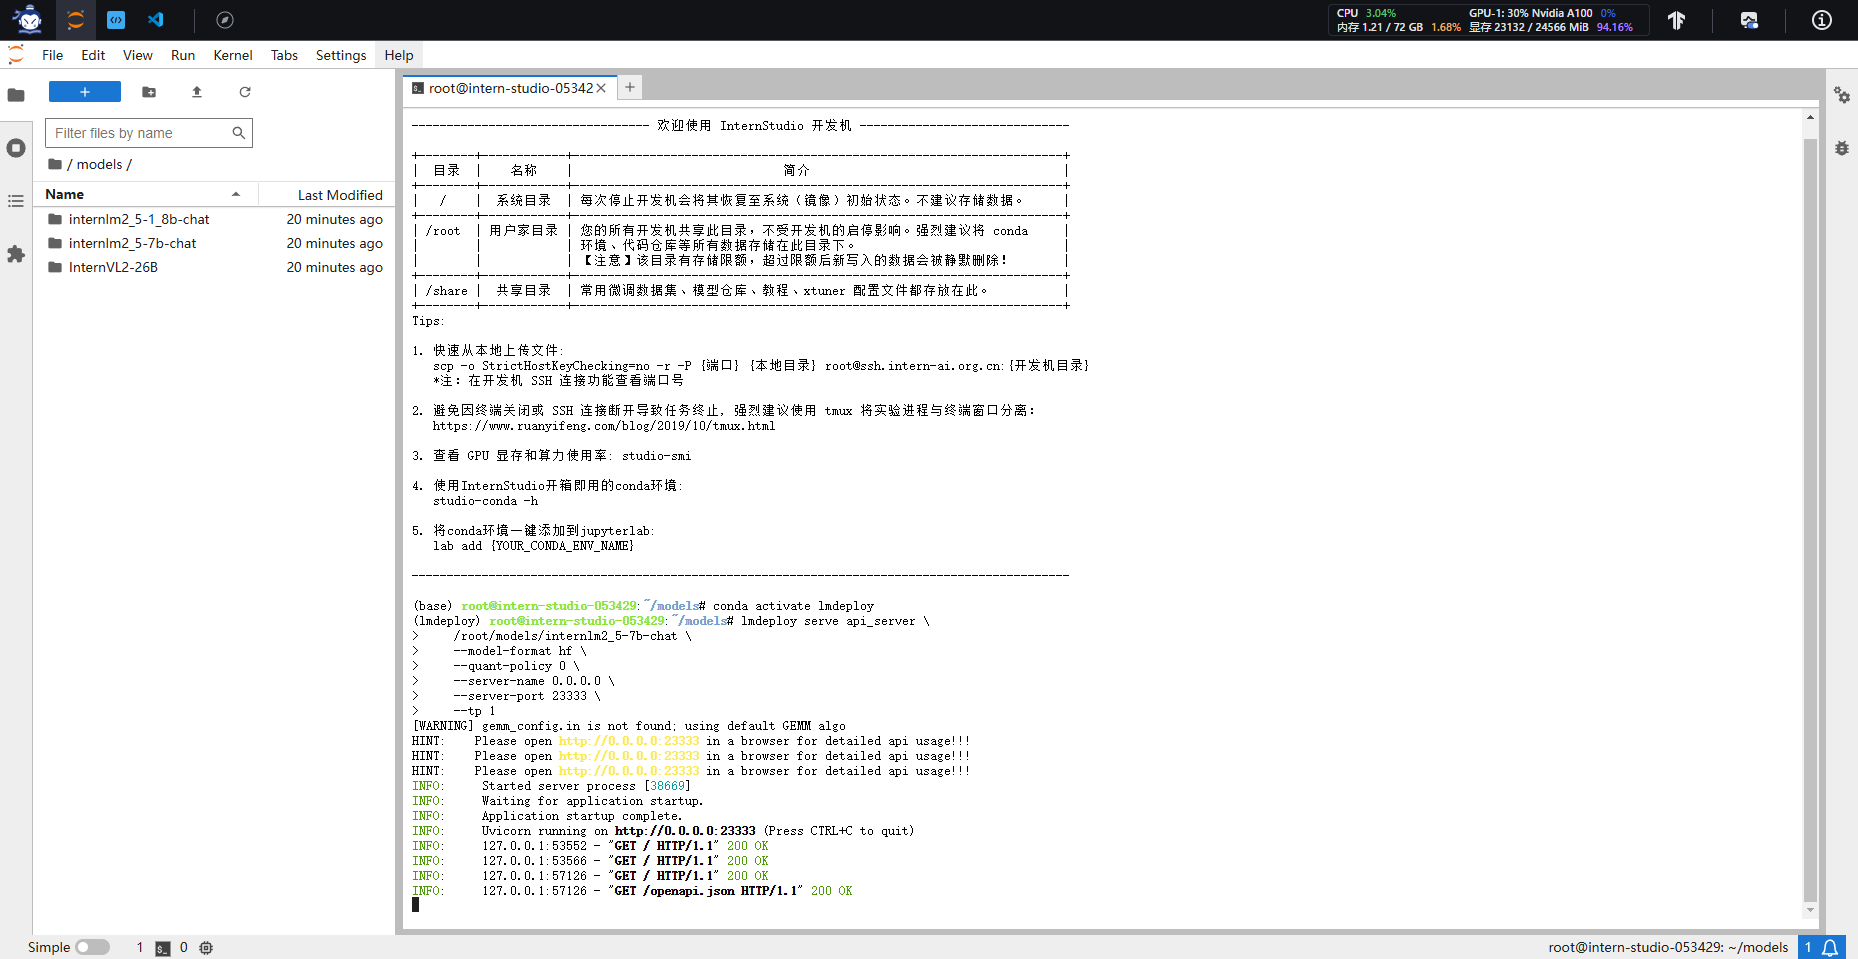
首先让我们进入创建好的conda环境,并通下命令启动API服务器,部署InternLM2.5模型:
conda activate lmdeploy
lmdeploy serve api_server \
/root/models/internlm2_5-7b-chat \
--model-format hf \
--quant-policy 0 \
--server-name 0.0.0.0 \
--server-port 23333 \
--tp 1
这一步由于部署在远程服务器上,所以本地需要做一下ssh转发才能直接访问。在你本地打开一个cmd或powershell窗口,输入命令如下:
ssh -CNg -L 23333:127.0.0.1:23333 root@ssh.intern-ai.org.cn -p 你的ssh端口号
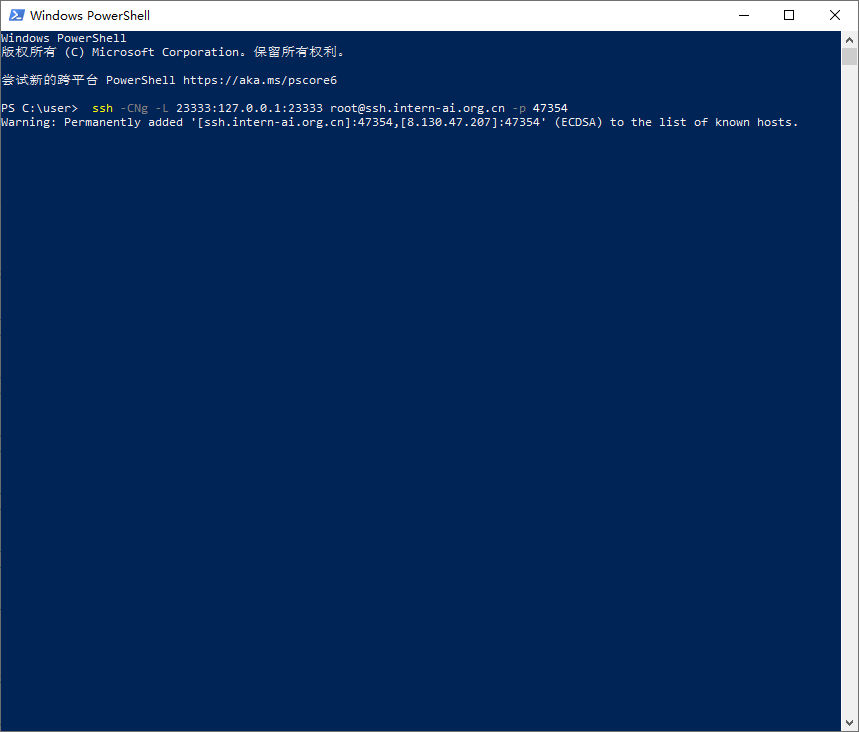
输入后,首次访问可能会询问你是否继续连接,敲入yes并回车即可。之后会要求输入密码,按下图所示复制密码。
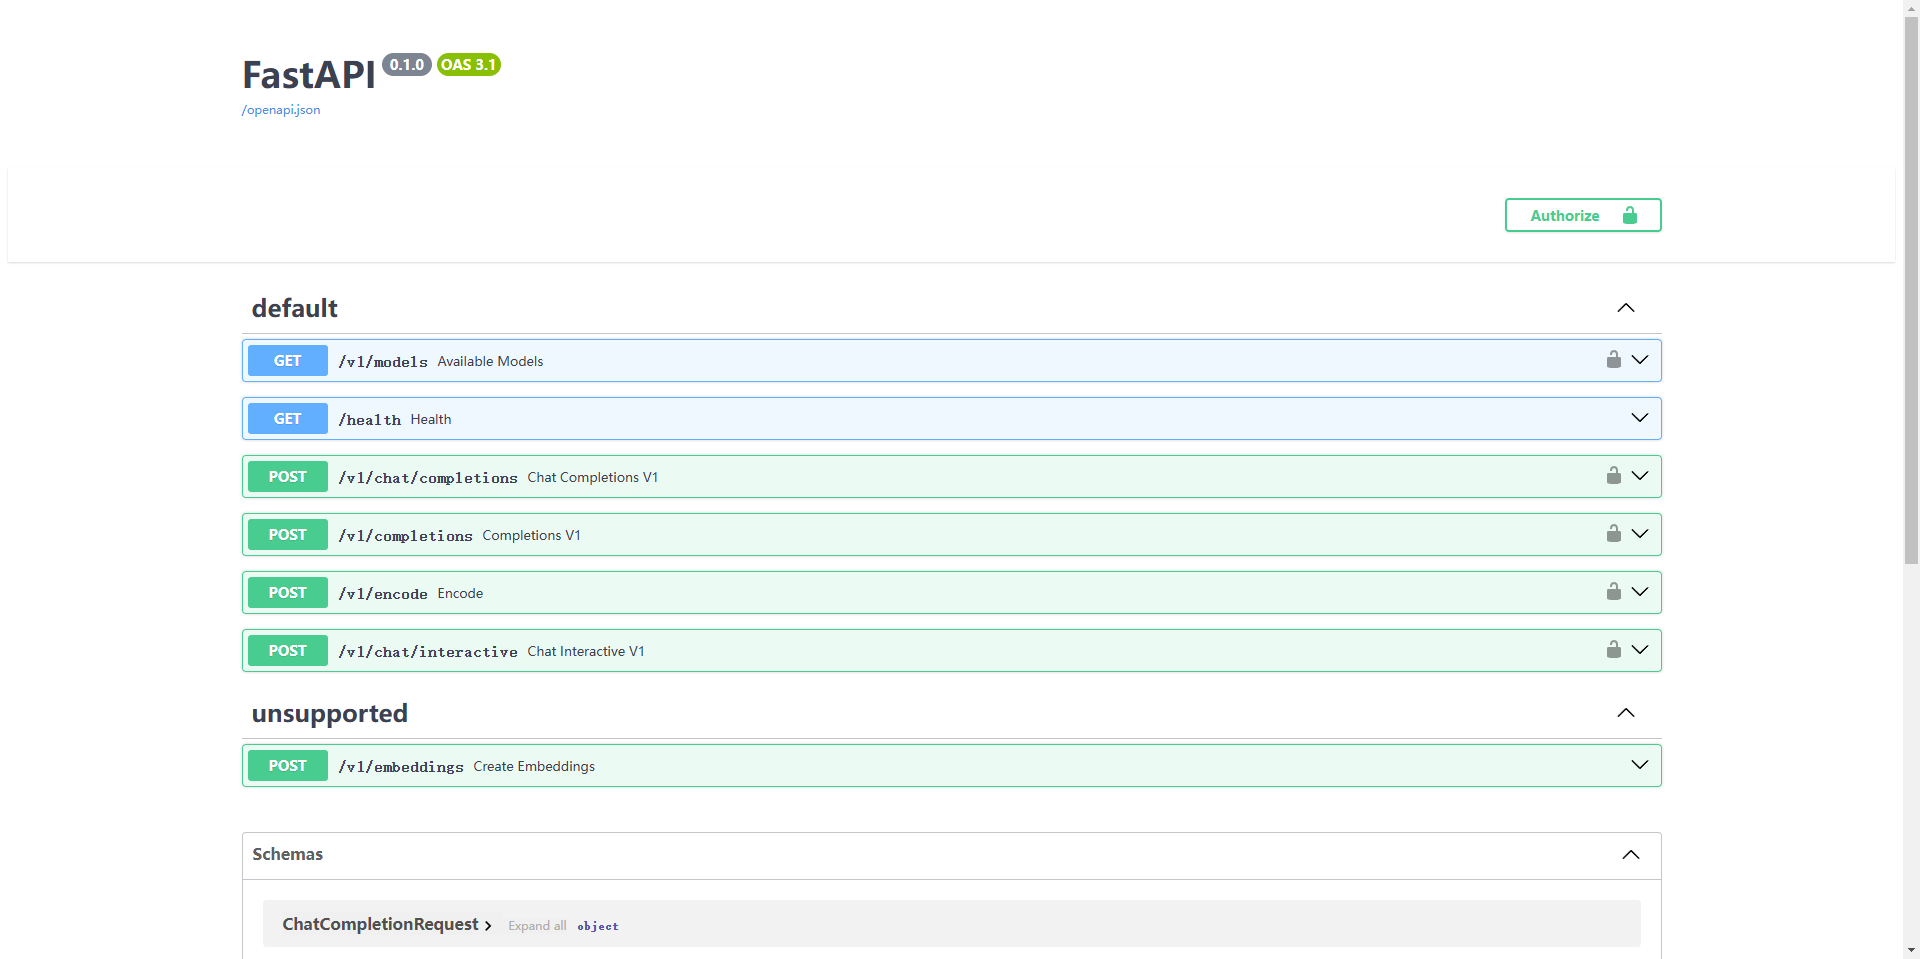
然后打开浏览器,访问http://127.0.0.1:23333看到如下界面即代表部署成功。
2.1.2 以命令行形式连接API服务器
关闭http://127.0.0.1:23333网页,但保持终端和本地窗口不动,按箭头操作新建一个终端。
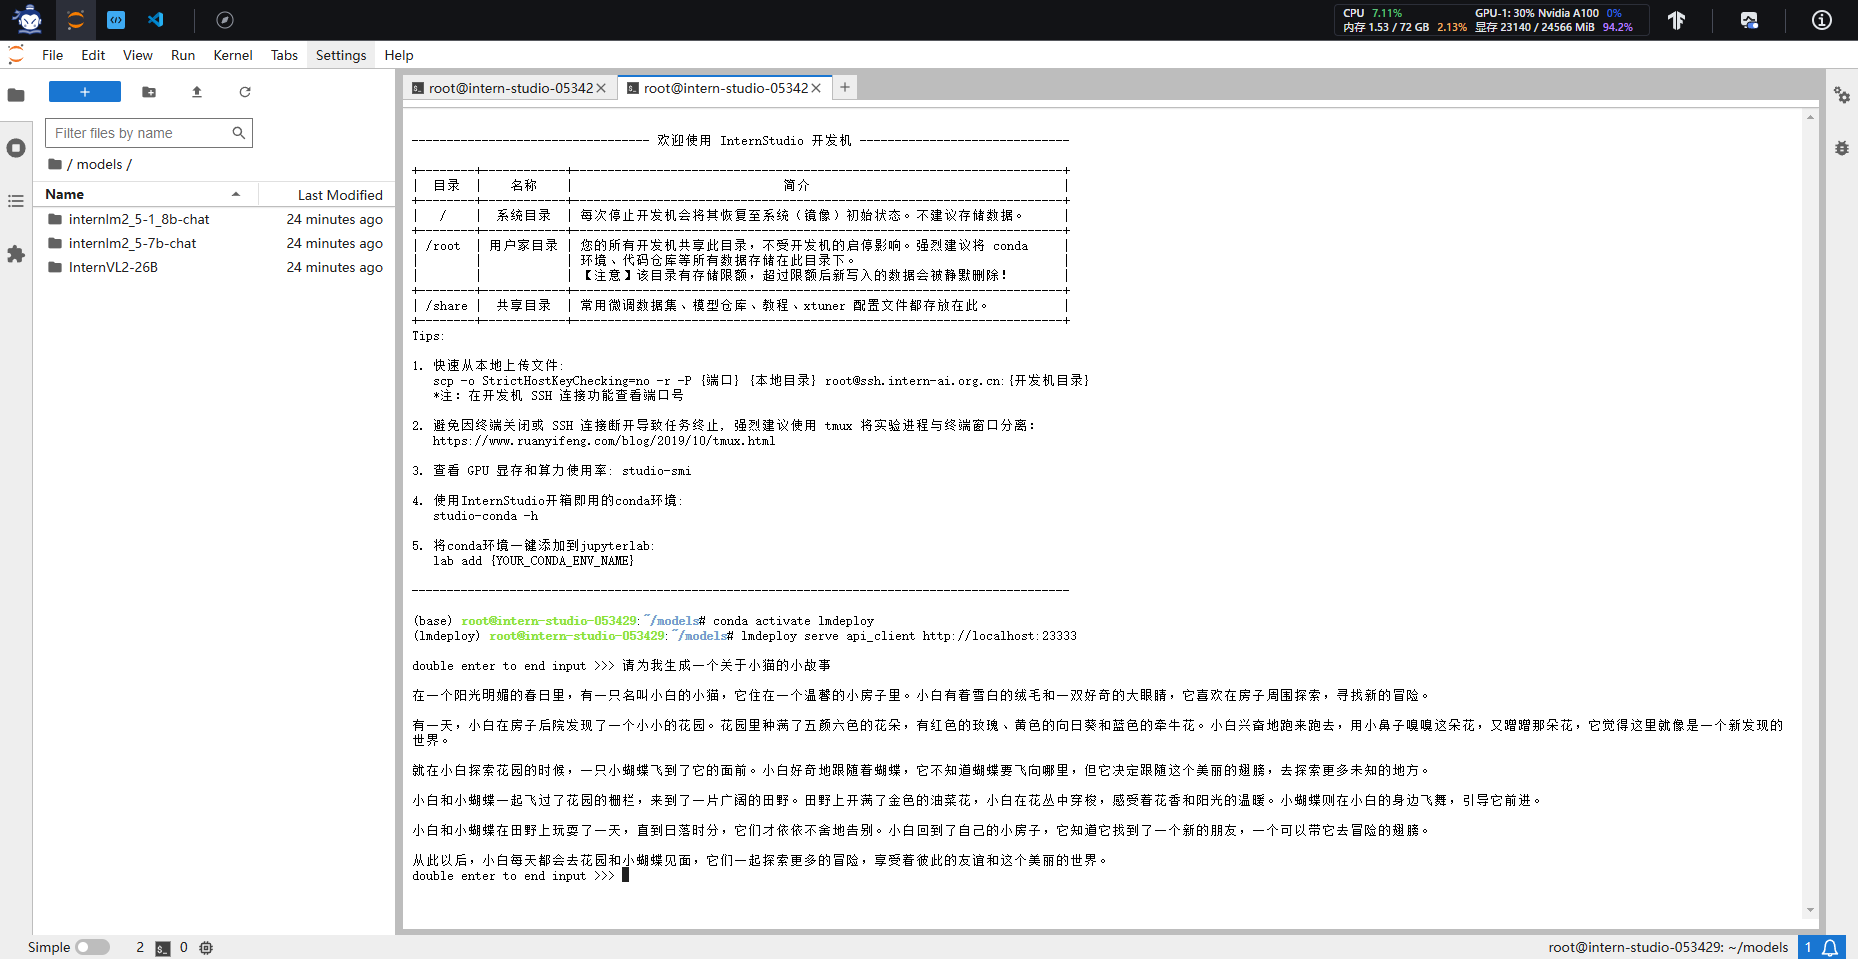
运行如下命令,激活conda环境并启动命令行客户端。
conda activate lmdeploy
lmdeploy serve api_client http://localhost:23333
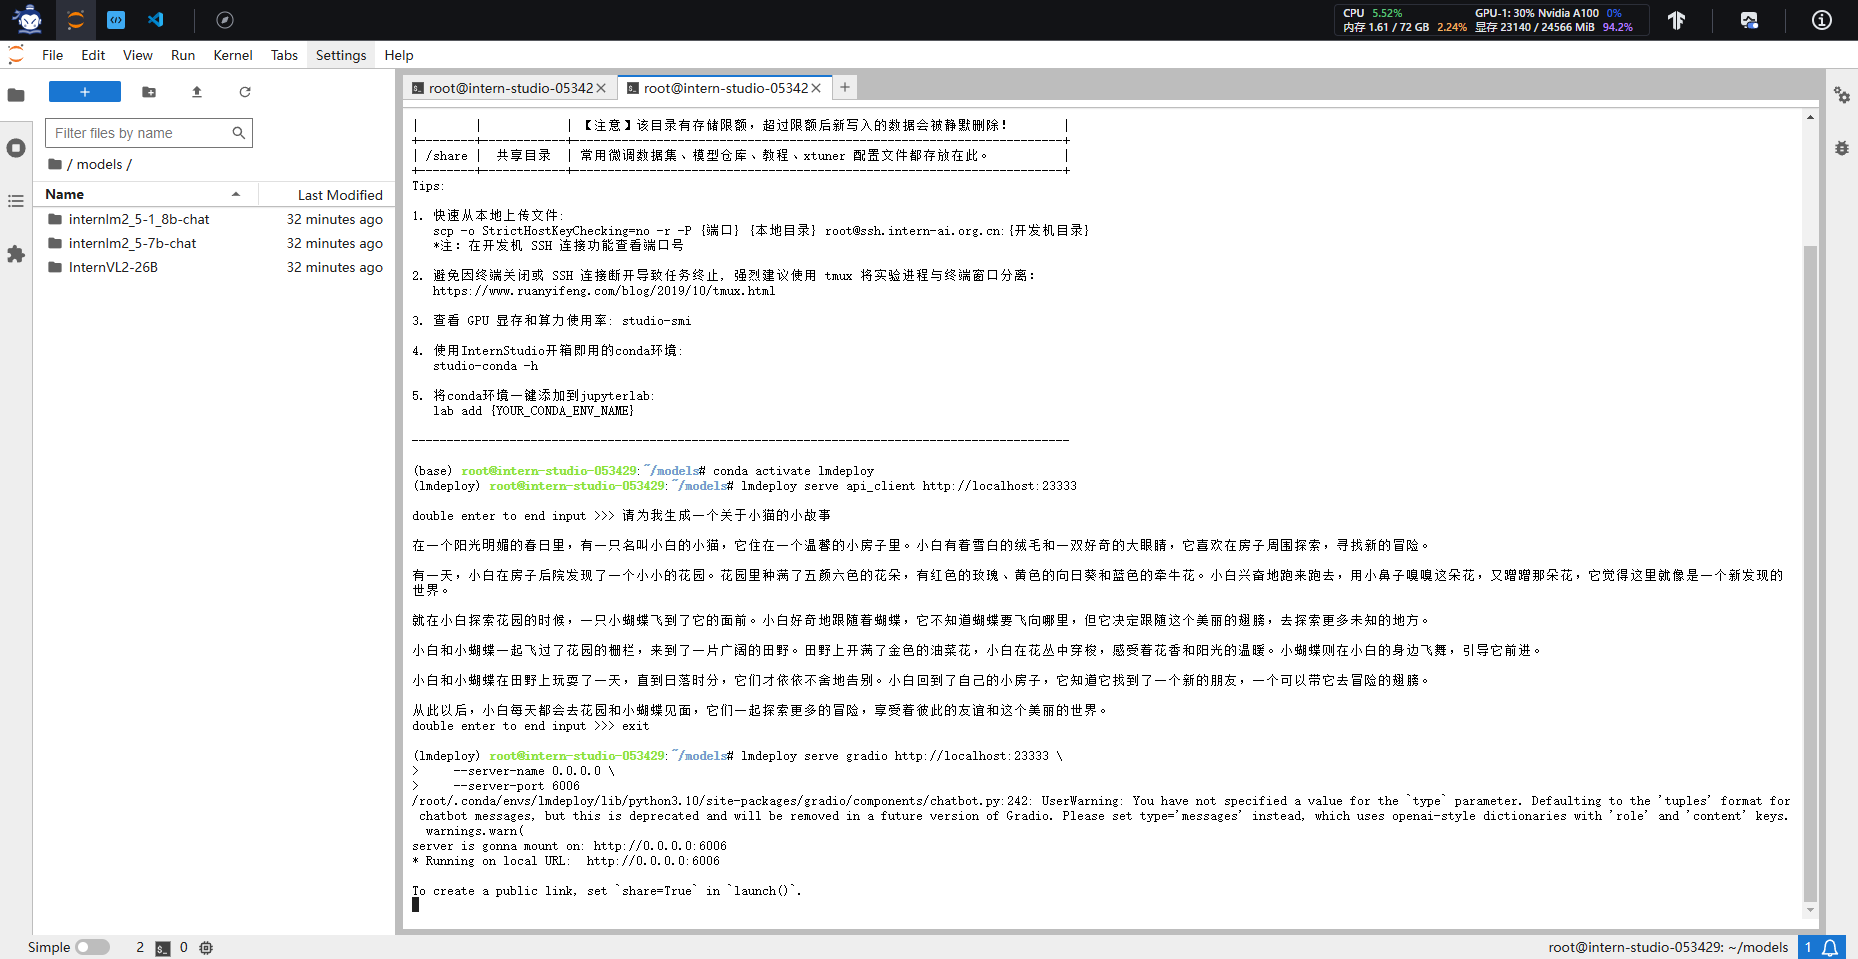
稍待片刻,等出现double enter to end input >>>的输入提示即启动成功,此时便可以随意与InternLM2.5对话,同样是两下回车确定,输入exit退出。
2.1.3 以Gradio网页形式连接API服务器
保持第一个终端不动,在新建终端中输入exit退出。
输入以下命令,使用Gradio作为前端,启动网页。
lmdeploy serve gradio http://localhost:23333 \
--server-name 0.0.0.0 \
--server-port 6006
稍待片刻,等终端如下图所示便保持两个终端不动。
关闭之前的cmd/powershell窗口,重开一个,再次做一下ssh转发(因为此时端口不同)。在你本地打开一个cmd或powershell窗口,输入命令如下。
ssh -CNg -L 6006:127.0.0.1:6006 root@ssh.intern-ai.org.cn -p <你的ssh端口号>
重复上述操作,待窗口保持在如下状态即可。
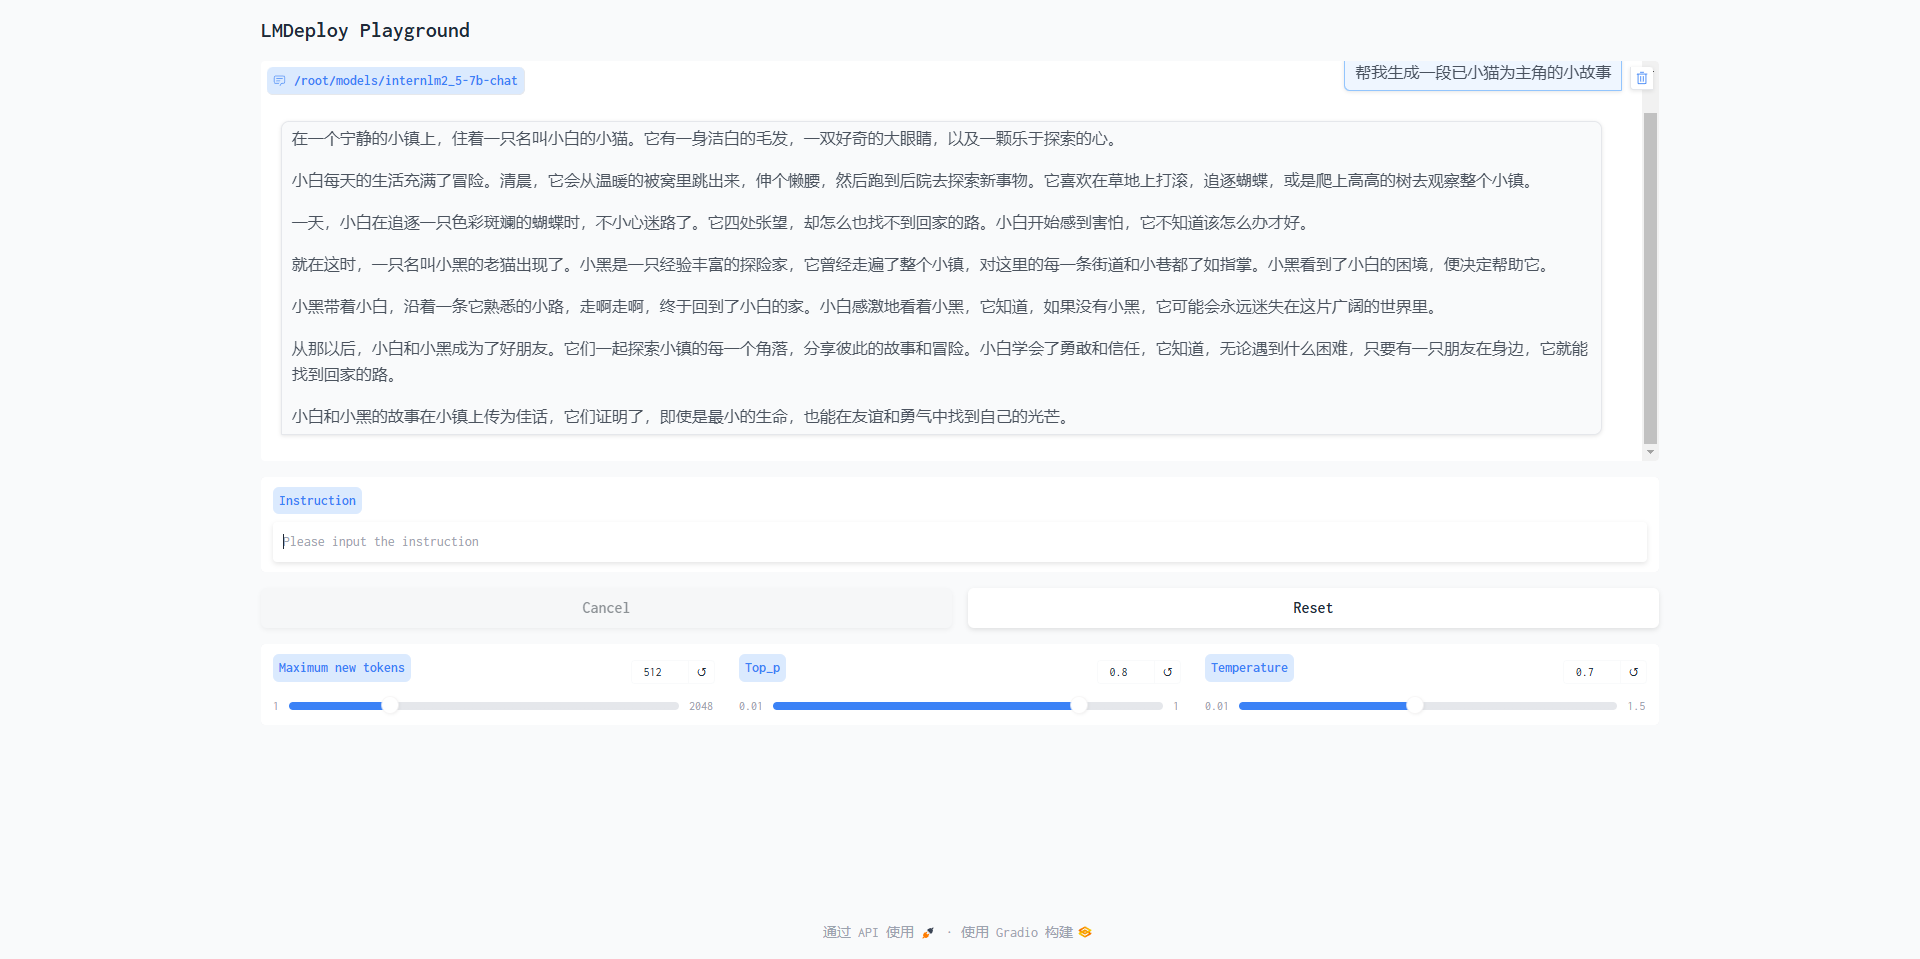
打开浏览器,访问地址http://127.0.0.1:6006,然后就可以与模型尽情对话了。
2.2 LMDeploy Lite
随着模型变得越来越大,我们需要一些大模型压缩技术来降低模型部署的成本,并提升模型的推理性能。LMDeploy 提供了权重量化和 k/v cache两种策略。
2.2.1 设置最大kv cache缓存大小
首先我们先来回顾一下InternLM2.5正常运行时占用显存。

占用了23GB,那么试一试执行以下命令,再来观看占用显存情况。
lmdeploy chat /root/models/internlm2_5-7b-chat --cache-max-entry-count 0.4
稍待片刻,观测显存占用情况,可以看到减少了约4GB的显存。

2.2.2 设置在线 kv cache int4/int8 量化
我们通过2.1 LMDeploy API部署InternLM2.5的实践为例,输入以下指令,启动API服务器。
lmdeploy serve api_server \
/root/models/internlm2_5-7b-chat \
--model-format hf \
--quant-policy 4 \
--cache-max-entry-count 0.4\
--server-name 0.0.0.0 \
--server-port 23333 \
--tp 1

想要和此时的模型对话的话可以回顾2.1.2 以命令行形式连接API服务器或者2.1.3 以Gradio网页形式连接API服务器的内容自行对话,步骤完全一致,本章主要观测显存状态。

2.2.3 W4A16 模型量化和部署
让我们回到LMDeploy,在最新的版本中,LMDeploy使用的是AWQ算法,能够实现模型的4bit权重量化。输入以下指令,执行量化工作。(不建议运行,在InternStudio上运行需要8小时)
lmdeploy lite auto_awq \
/root/models/internlm2_5-7b-chat \
--calib-dataset 'ptb' \
--calib-samples 128 \
--calib-seqlen 2048 \
--w-bits 4 \
--w-group-size 128 \
--batch-size 1 \
--search-scale False \
--work-dir /root/models/internlm2_5-7b-chat-w4a16-4bit
完成作业时请使用1.8B模型进行量化:(建议运行以下命令)
lmdeploy lite auto_awq \
/root/models/internlm2_5-1_8b-chat \
--calib-dataset 'ptb' \
--calib-samples 128 \
--calib-seqlen 2048 \
--w-bits 4 \
--w-group-size 128 \
--batch-size 1 \
--search-scale False \
--work-dir /root/models/internlm2_5-1_8b-chat-w4a16-4bit
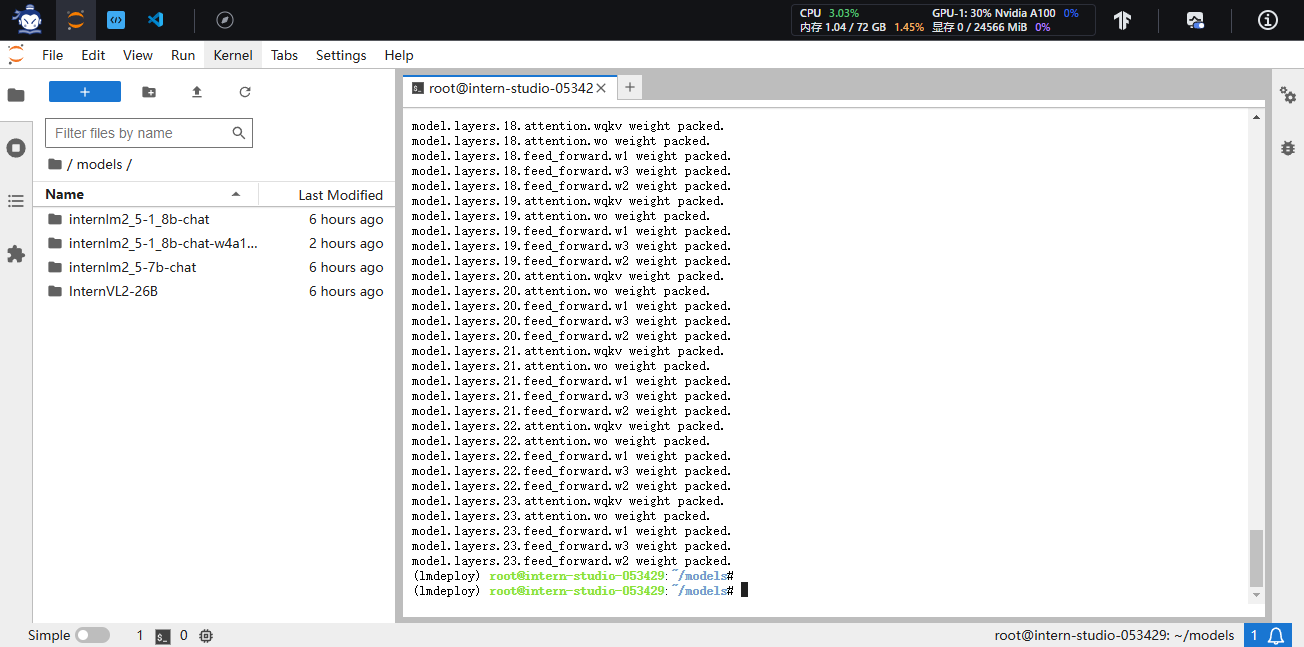
等待推理完成,便可以直接在你设置的目标文件夹看到对应的模型文件。
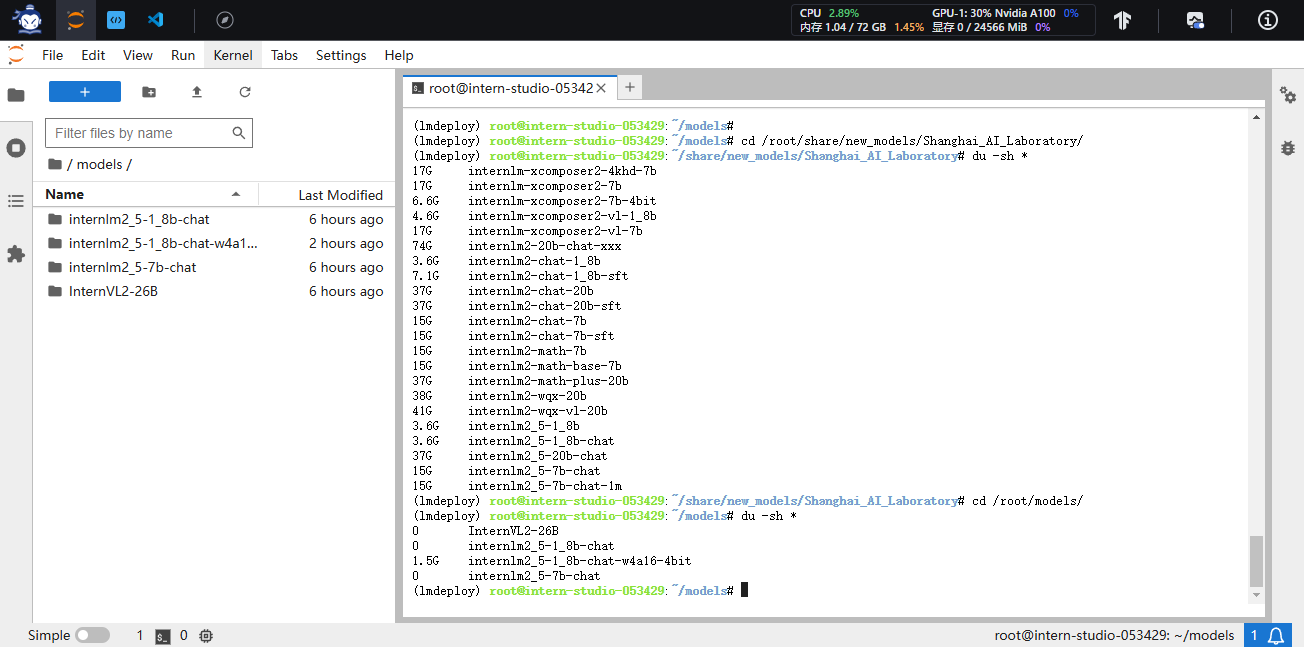
那么推理后的模型和原本的模型区别在哪里呢?最明显的两点是模型文件大小以及占据显存大小。
我们可以输入如下指令查看在当前目录中显示所有子目录的大小。
cd /root/models/
du -sh *
那么原模型大小呢?输入以下指令查看。
cd /root/share/new_models/Shanghai_AI_Laboratory/
du -sh *
那么显存占用情况对比呢?输入以下指令启动量化后的模型。
lmdeploy chat /root/models/internlm2_5-7b-chat-w4a16-4bit/ --model-format awq
稍待片刻,我们直接观测右上角的显存占用情况。

2.2.4 W4A16 量化+ KV cache+KV cache 量化
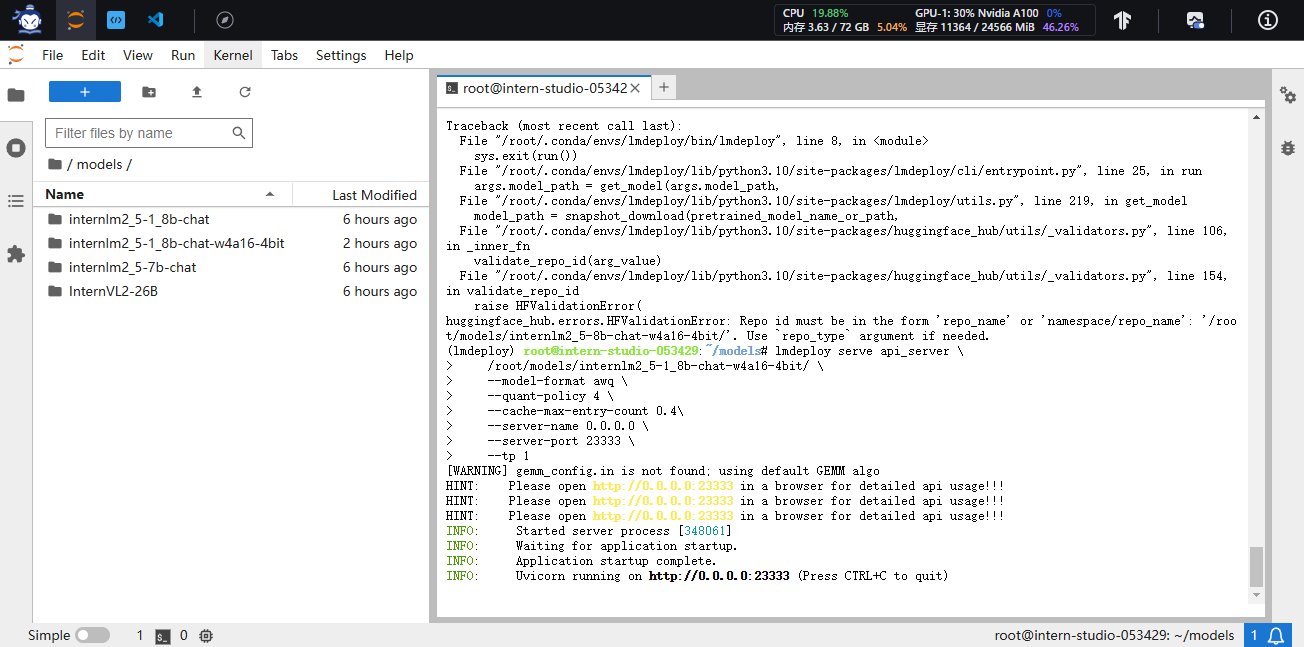
输入以下指令,让我们同时启用量化后的模型、设定kv cache占用和kv cache int4量化。
lmdeploy serve api_server \
/root/models/internlm2_5-1_8b-chat-w4a16-4bit/ \
--model-format awq \
--quant-policy 4 \
--cache-max-entry-count 0.4\
--server-name 0.0.0.0 \
--server-port 23333 \
--tp 1

3 LMDeploy与InternVL2
本次实践选用InternVL2-26B进行演示,其实就根本来说作为一款VLM和上述的InternLM2.5在操作上并无本质区别,仅是多出了"图片输入"这一额外步骤,但作为量化部署进阶实践,选用InternVL2-26B目的是带领大家体验一下LMDeploy的量化部署可以做到何种程度。
3.1 LMDeploy Lite
InternVL2-26B需要约70+GB显存,但是为了让我们能够在30%A100上运行,需要先进行量化操作,这也是量化本身的意义所在——即降低模型部署成本。
3.1.1 W4A16 模型量化和部署
针对InternVL系列模型,让我们先进入conda环境,并输入以下指令,执行模型的量化工作。(本步骤耗时较长,请耐心等待)
conda activate lmdeploy
lmdeploy lite auto_awq \
/root/models/InternVL2-26B \
--calib-dataset 'ptb' \
--calib-samples 128 \
--calib-seqlen 2048 \
--w-bits 4 \
--w-group-size 128 \
--batch-size 1 \
--search-scale False \
--work-dir /root/models/InternVL2-26B-w4a16-4bit
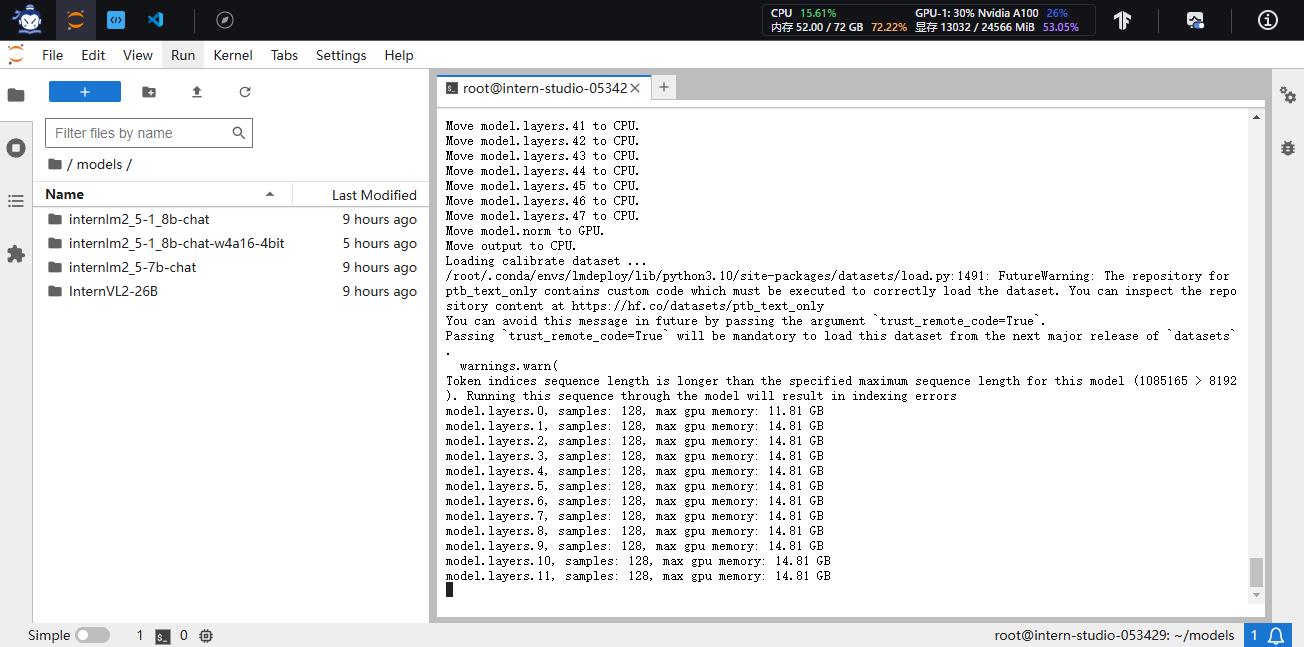
等待推理完成,便可以在左侧/models内直接看到对应的模型文件。
3.1.2 W4A16 量化+ KV cache+KV cache 量化
输入以下指令,让我们启用量化后的模型。
lmdeploy serve api_server \
/root/models/InternVL2-26B-w4a16-4bit \
--model-format awq \
--quant-policy 4 \
--cache-max-entry-count 0.1\
--server-name 0.0.0.0 \
--server-port 23333 \
--tp 1
启动后观测显存占用情况,此时只需要约23.8GB的显存,已经是一张30%A100即可部署的模型了。

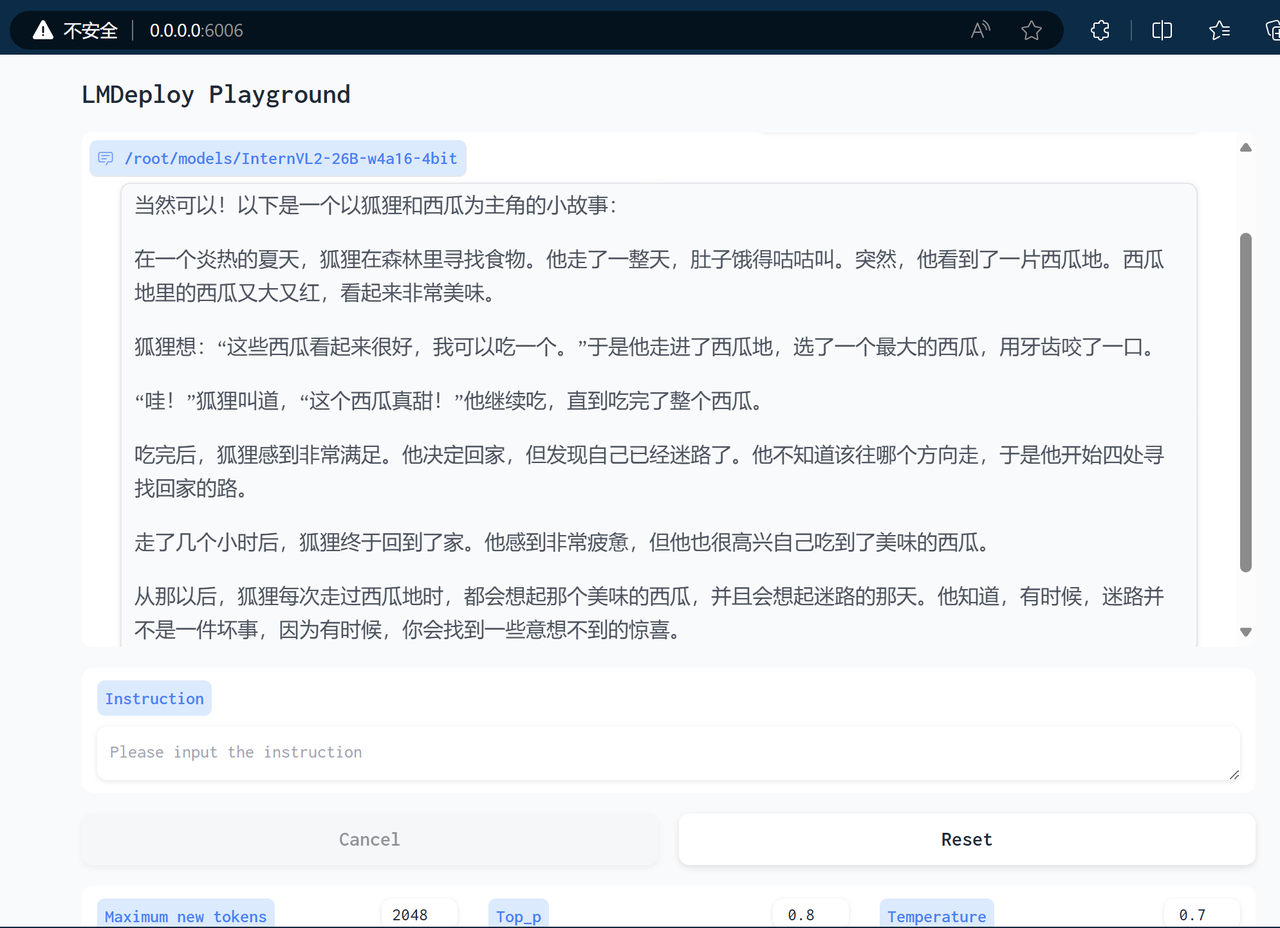
3.2 LMDeploy API部署InternVL2
具体封装操作与之前大同小异,仅仅在数个指令细节上作调整,故本章节大部分操作与2.1 LMDeploy API部署InternLM2.5中几近完全一样,同学们可自行"依葫芦画瓢",以下教程仅做参考。
通过以下命令启动API服务器,部署InternVL2模型:
lmdeploy serve api_server \
/root/models/InternVL2-26B-w4a16-4bit/ \
--model-format awq \
--quant-policy 4 \
--cache-max-entry-count 0.1 \
--server-name 0.0.0.0 \
--server-port 23333 \
--tp 1
其余步骤与2.1.1 启动API服务器剩余内容一致。
命令行形式、Gradio网页形式连接操作与
步骤流程、指令完全一致,不再赘述。
以下为Gradio网页形式连接成功后对话截图。
4 LMDeploy之FastAPI与Function call
之前在2.1.1 启动API服务器与3.2 LMDeploy API部署InternVL2均是借助FastAPI封装一个API出来让LMDeploy自行进行访问,在这一章节中我们将依托于LMDeploy封装出来的API进行更加灵活更具DIY的开发。
4.1 API开发
完成作业时请使用以下命令:
conda activate lmdeploy
lmdeploy serve api_server \
/root/models/internlm2_5-1_8b-chat-w4a16-4bit \
--model-format awq \
--cache-max-entry-count 0.4 \
--quant-policy 4 \
--server-name 0.0.0.0 \
--server-port 23333 \
--tp 1
保持终端窗口不动,按箭头操作新建一个终端。
在新建终端中输入如下指令,新建internlm2_5.py。
touch /root/internlm2_5.py
此时我们可以在左侧的File Broswer中看到internlm2_5.py文件,双击打开。将以下内容复制粘贴进internlm2_5.py。
按Ctrl+S键保存(Mac用户按Command+S)。
现在让我们在新建终端输入以下指令激活环境并运行python代码。
conda activate lmdeploy
python /root/internlm2_5.py
终端会输出如下结果。
4.2 Function call
关于Function call,即函数调用功能,它允许开发者在调用模型时,详细说明函数的作用,并使模型能够智能地根据用户的提问来输入参数并执行函数。完成调用后,模型会将函数的输出结果作为回答用户问题的依据。
首先让我们进入创建好的conda环境并启动API服务器。
conda activate lmdeploy
lmdeploy serve api_server \
/root/models/internlm2_5-7b-chat \
--model-format hf \
--quant-policy 0 \
--server-name 0.0.0.0 \
--server-port 23333 \
--tp 1
目前LMDeploy在0.5.3版本中支持了对InternLM2, InternLM2.5和llama3.1这三个模型,故我们选用InternLM2.5 封装API。
让我们使用一个简单的例子作为演示。输入如下指令,新建internlm2_5_func.py。
touch /root/internlm2_5_func.py
双击打开,并将以下内容复制粘贴进internlm2_5_func.py。
按Ctrl+S键保存(Mac用户按Command+S)。
现在让我们输入以下指令运行python代码。
python /root/internlm2_5_func.py
稍待片刻终端输出如下。
我们可以看出InternLM2.5将输入'Compute (3+5)*2'根据提供的function拆分成了"加"和"乘"两步,第一步调用function add实现加,再于第二步调用function mul实现乘,再最终输出结果16。


 他的勋章
他的勋章


评论