 返回首页
返回首页
 回到顶部
回到顶部
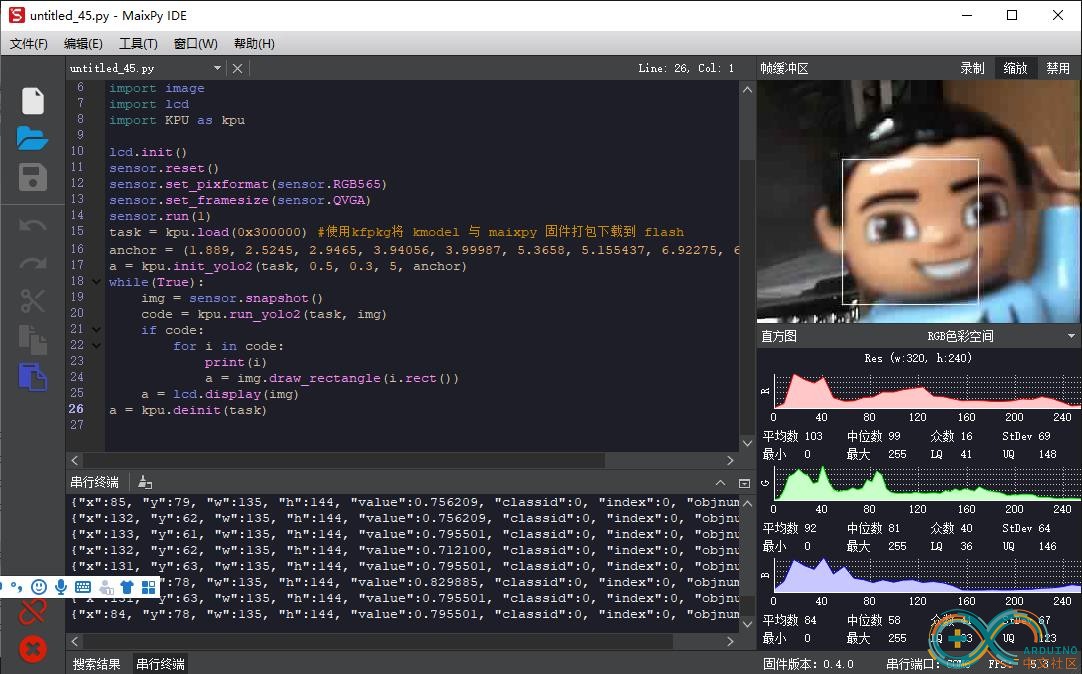
自己打包kfpkg,试着整了好几次,都是无法烧录,只好不做第七步了,直接把前面获得的人脸识别模型烧录了
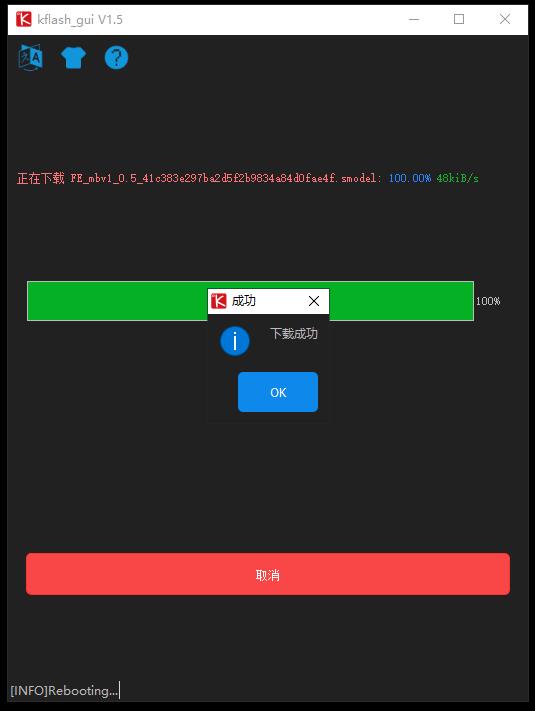
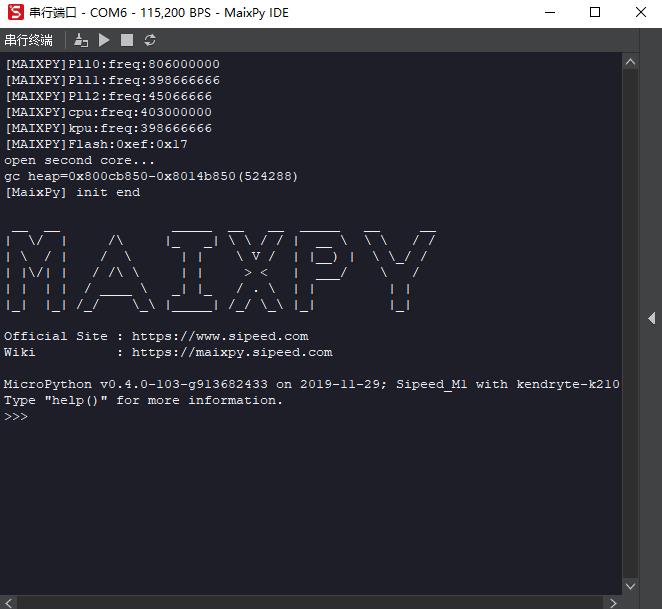
烧录完成后,打开IDE串口,确认开发板Maixpy固件的版本,好像是前期的稳定版本V0.4.0
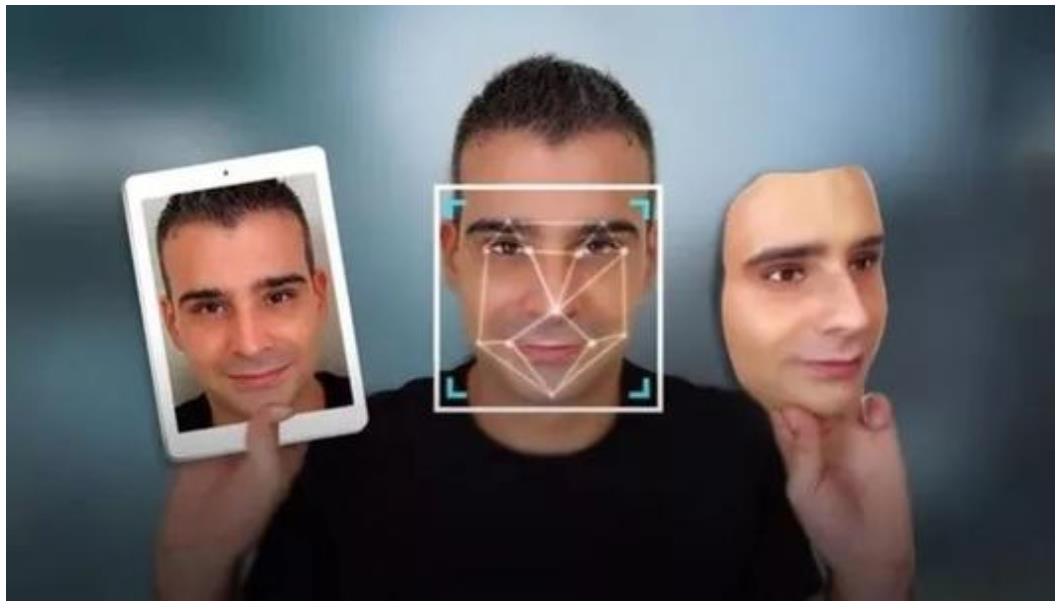
第九步:使用 MaixPy IDE 运行 MaixPy 人脸识别脚本
Run MaixPy Face Recognition Script with MaixPy IDE
#MicroPython动手做(09)——零基础学MaixPy之人脸识别
#实验程序:简单的人脸识别之一
#MicroPython动手做(09)——零基础学MaixPy之人脸识别
#实验程序:简单的人脸识别之一

import sensor,image,lcd
import KPU as kpu

lcd.init()
sensor.reset()
sensor.set_pixformat(sensor.RGB565)
sensor.set_framesize(sensor.QVGA)
sensor.set_hmirror(0)
sensor.run(1)

task = kpu.load(0x300000)
anchor = (1.889, 2.5245, 2.9465, 3.94056, 3.99987, 5.3658, 5.155437, 6.92275, 6.718375, 9.01025)
a = kpu.init_yolo2(task, 0.5, 0.3, 5, anchor)
img_lcd=image.Image()

while(True):
    img = sensor.snapshot()
    code = kpu.run_yolo2(task, img)
    if code:
        for i in code:
            a = img.draw_rectangle(i.rect())
    a = lcd.display(img)
a = kpu.deinit(task)
运行出错,串口输出
init i2c2
[MAIXPY]: find gc3028
True
encryp[MAIXPY]kpu: img w=320,h=240, but model w=128,h=128
Traceback (most recent call last):
File “
ValueError: [MAIXPY]kpu: check img format err!
MicroPython v0.4.0-103-g913682433 on 2019-11-29; Sipeed_M1 with kendryte-k210
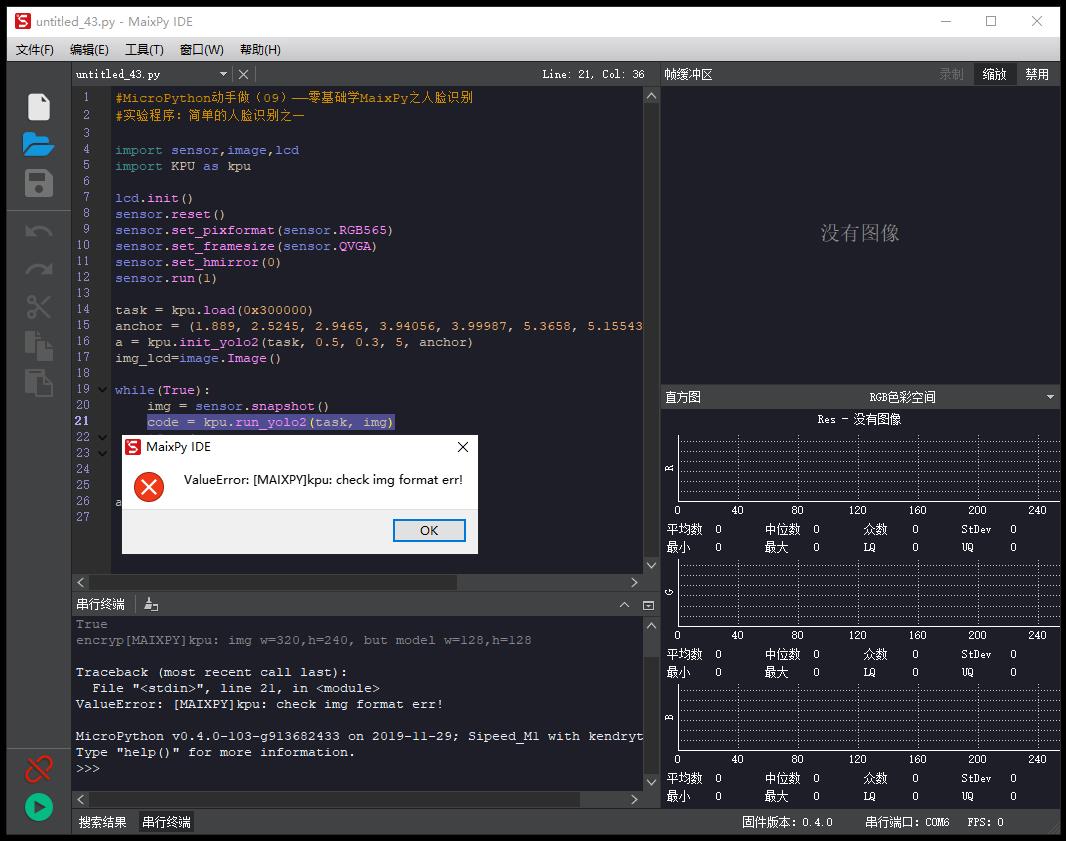
继续实验,调整更换程序
#MicroPython动手做(09)——零基础学MaixPy之人脸识别
#实验程序:简单的人脸识别之二
#MicroPython动手做(09)——零基础学MaixPy之人脸识别
#实验程序:简单的人脸识别之二

import sensor,image,lcd
import KPU as kpu
import time
from Maix import FPIOA,GPIO
task_fd = kpu.load(0x200000)
task_ld = kpu.load(0x300000)
task_fe = kpu.load(0x400000)
clock = time.clock()
key_pin=16
fpioa = FPIOA()
fpioa.set_function(key_pin,FPIOA.GPIO7)
key_gpio=GPIO(GPIO.GPIO7,GPIO.IN)
last_key_state=1
key_pressed=0
def check_key():
    global last_key_state
    global key_pressed
    val=key_gpio.value()
    key_pressed=0
    if last_key_state == 1 and val == 0:
        time.sleep(0.02)        # debouncing
        val=key_gpio.value()    # read again
        if val == 0:
            key_pressed=1
    last_key_state = val

lcd.init()
sensor.reset()
sensor.set_pixformat(sensor.RGB565)
sensor.set_framesize(sensor.QVGA)
sensor.set_hmirror(1)
sensor.set_vflip(1)
sensor.run(1)
anchor = (1.889, 2.5245, 2.9465, 3.94056, 3.99987, 5.3658, 5.155437, 6.92275, 6.718375, 9.01025) #anchor for face detect
dst_point = [(44,59),(84,59),(64,82),(47,105),(81,105)] #standard face key point position
a = kpu.init_yolo2(task_fd, 0.5, 0.3, 5, anchor)
img_lcd=image.Image()
img_face=image.Image(size=(128,128))
a=img_face.pix_to_ai()
record_ftr=[]
record_ftrs=[]
names = ['Mr.1', 'Mr.2', 'Mr.3', 'Mr.4', 'Mr.5', 'Mr.6', 'Mr.7', 'Mr.8', 'Mr.9' , 'Mr.10']
while(1):
    check_key()
    img = sensor.snapshot()
    clock.tick()
    code = kpu.run_yolo2(task_fd, img)
    if code:
        for i in code:
            # Cut face and resize to 128x128
            a = img.draw_rectangle(i.rect())
            face_cut=img.cut(i.x(),i.y(),i.w(),i.h())
            face_cut_128=face_cut.resize(128,128)
            a=face_cut_128.pix_to_ai()
            #a = img.draw_image(face_cut_128, (0,0))
            # Landmark for face 5 points
            fmap = kpu.forward(task_ld, face_cut_128)
            plist=fmap[:]
            le=(i.x()+int(plist[0]*i.w() - 10), i.y()+int(plist[1]*i.h()))
            re=(i.x()+int(plist[2]*i.w()), i.y()+int(plist[3]*i.h()))
            nose=(i.x()+int(plist[4]*i.w()), i.y()+int(plist[5]*i.h()))
            lm=(i.x()+int(plist[6]*i.w()), i.y()+int(plist[7]*i.h()))
            rm=(i.x()+int(plist[8]*i.w()), i.y()+int(plist[9]*i.h()))
            a = img.draw_circle(le[0], le[1], 4)
            a = img.draw_circle(re[0], re[1], 4)
            a = img.draw_circle(nose[0], nose[1], 4)
            a = img.draw_circle(lm[0], lm[1], 4)
            a = img.draw_circle(rm[0], rm[1], 4)
            # align face to standard position
            src_point = [le, re, nose, lm, rm]
            T=image.get_affine_transform(src_point, dst_point)
            a=image.warp_affine_ai(img, img_face, T)
            a=img_face.ai_to_pix()
            #a = img.draw_image(img_face, (128,0))
            del(face_cut_128)
            # calculate face feature vector
            fmap = kpu.forward(task_fe, img_face)
            feature=kpu.face_encode(fmap[:])
            reg_flag = False
            scores = []
            for j in range(len(record_ftrs)):
                score = kpu.face_compare(record_ftrs[j], feature)
                scores.append(score)
            max_score = 0
            index = 0
            for k in range(len(scores)):
                if max_score < scores[k]:
                    max_score = scores[k]
                    index = k
            if max_score > 85:
                a = img.draw_string(i.x(),i.y(), ("%s :%2.1f" % (names[index], max_score)), color=(0,255,0),scale=2)
            else:
                a = img.draw_string(i.x(),i.y(), ("X :%2.1f" % (max_score)), color=(255,0,0),scale=2)
            if key_pressed == 1:
                key_pressed = 0
                if len(record_ftrs) < len(names): # prevent appending more than the number of names.
                    record_ftr = feature
                    record_ftrs.append(record_ftr)
            break
    fps =clock.fps()
    print("%2.1f fps"%fps)
    a = lcd.display(img)
    #kpu.memtest()

#a = kpu.deinit(task_fe)
#a = kpu.deinit(task_ld)
#a = kpu.deinit(task_fd)
运行程序,可以识别,阴天情况下大约9-12fps

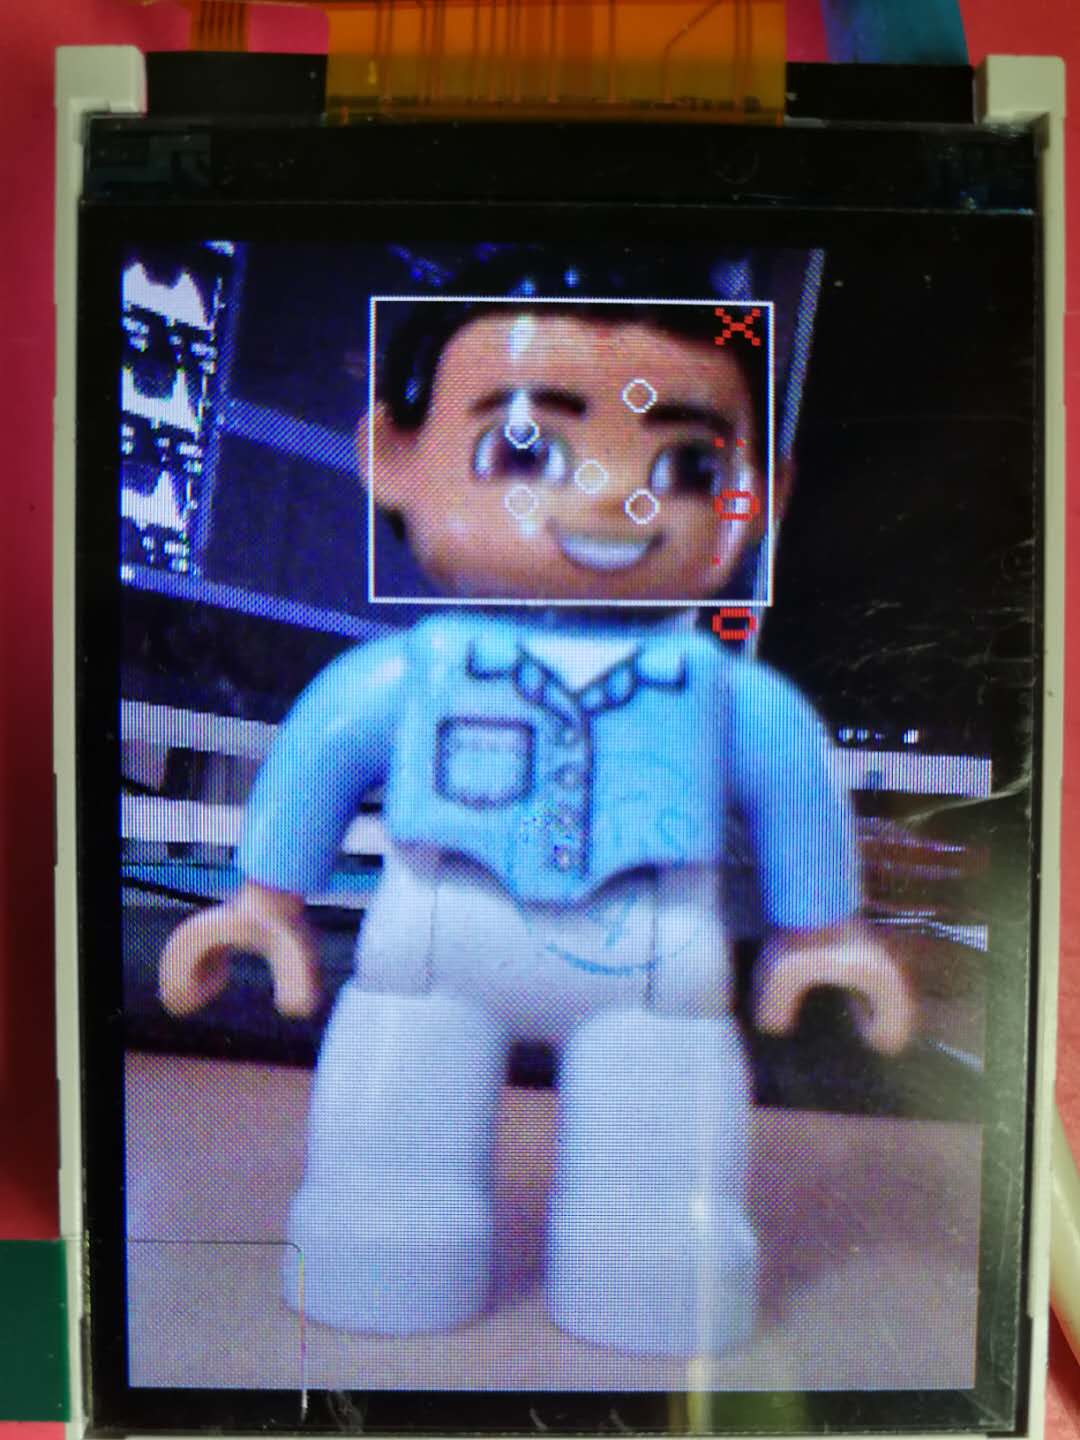
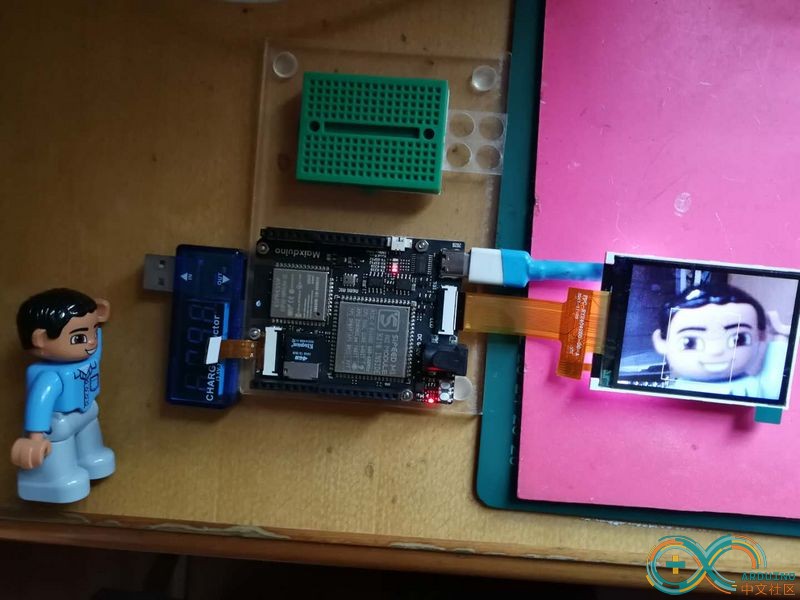
视频记录:人脸识别的小实验
https://v.youku.com/v_show/id_XNDYyMjA0NjcxMg==.html?spm=a2h0k.11417342.soresults.dtitle
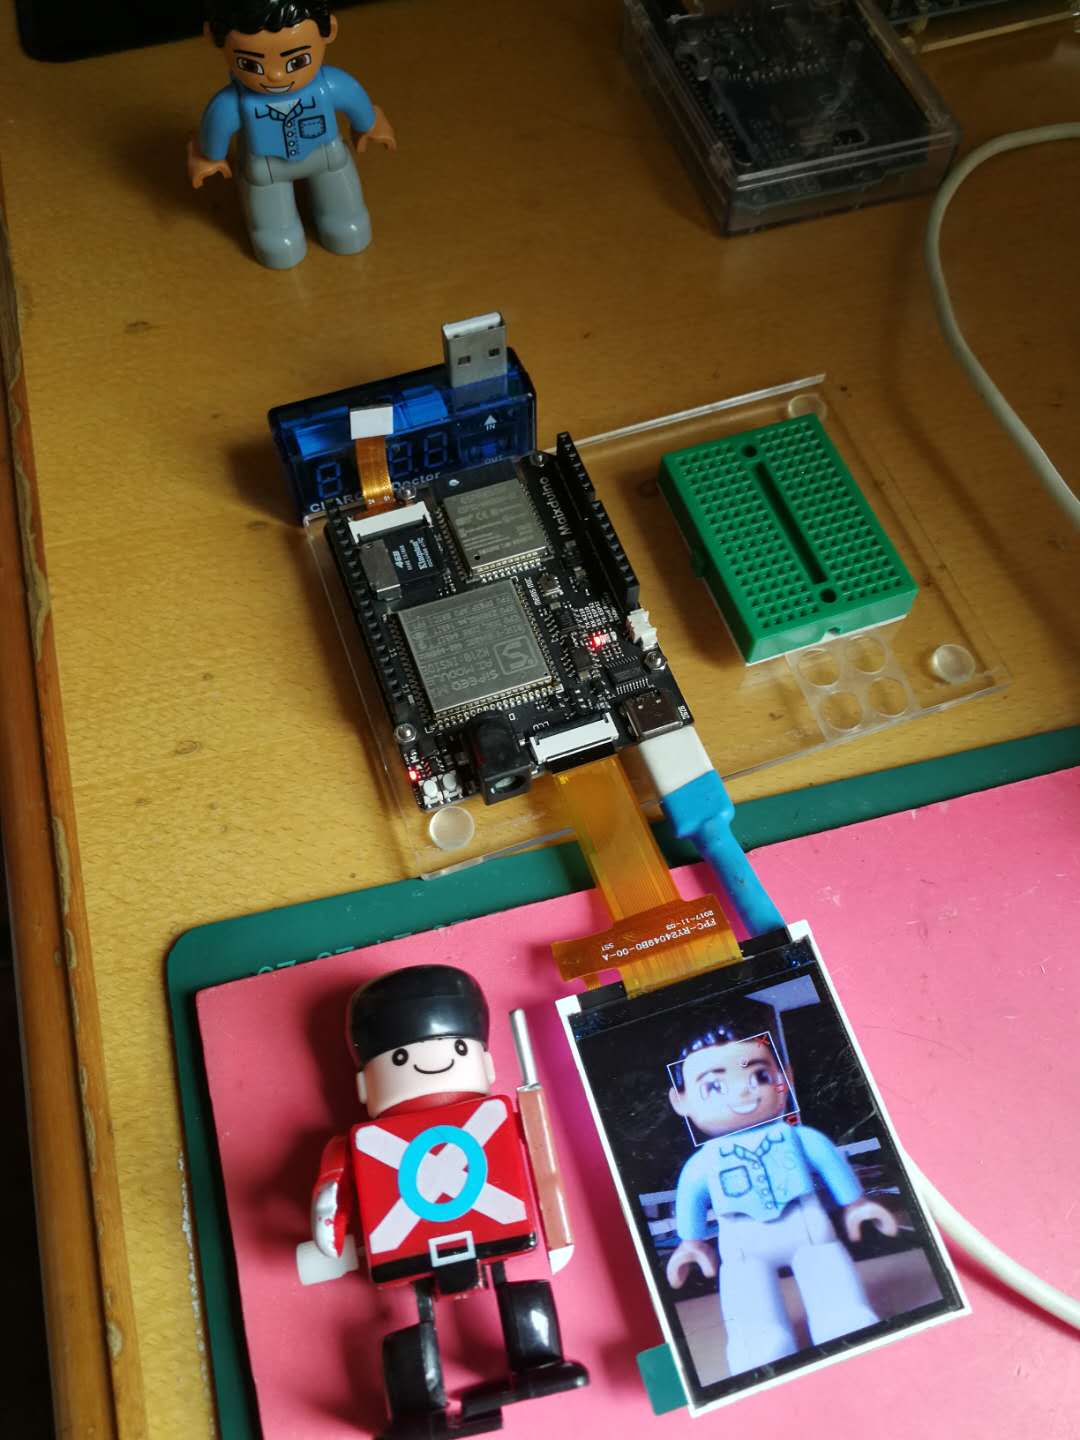
实验场景图
人脸识别脚本解读
Interpretation of face recognition script
import sensor,image,lcd # import 相关库
import KPU as kpu
import time
from Maix import FPIOA,GPIO
task_fd = kpu.load(0x200000) # 从flash 0x200000 加载人脸检测模型
task_ld = kpu.load(0x300000) # 从flash 0x300000 加载人脸五点关键点检测模型
task_fe = kpu.load(0x400000) # 从flash 0x400000 加载人脸196维特征值模型
clock = time.clock() # 初始化系统时钟,计算帧率
key_pin=16 # 设置按键引脚 FPIO16
fpioa = FPIOA()
fpioa.set_function(key_pin,FPIOA.GPIO7)
key_gpio=GPIO(GPIO.GPIO7,GPIO.IN)
last_key_state=1
key_pressed=0 # 初始化按键引脚 分配GPIO7 到 FPIO16
def check_key(): # 按键检测函数,用于在循环中检测按键是否按下,下降沿有效
global last_key_state
global key_pressed
val=key_gpio.value()
if last_key_state == 1 and val == 0:
key_pressed=1
else:
key_pressed=0
last_key_state = val
lcd.init() # 初始化lcd
sensor.reset() #初始化sensor 摄像头
sensor.set_pixformat(sensor.RGB565)
sensor.set_framesize(sensor.QVGA)
sensor.set_hmirror(1) #设置摄像头镜像
sensor.set_vflip(1) #设置摄像头翻转
sensor.run(1) #使能摄像头
anchor = (1.889, 2.5245, 2.9465, 3.94056, 3.99987, 5.3658, 5.155437, 6.92275, 6.718375, 9.01025) #anchor for face detect 用于人脸检测的Anchor
dst_point = [(44,59),(84,59),(64,82),(47,105),(81,105)] #standard face key point position 标准正脸的5关键点坐标 分别为 左眼 右眼 鼻子 左嘴角 右嘴角
a = kpu.init_yolo2(task_fd, 0.5, 0.3, 5, anchor) #初始化人脸检测模型
img_lcd=image.Image() # 设置显示buf
img_face=image.Image(size=(128,128)) #设置 128 * 128 人脸图片buf
a=img_face.pix_to_ai() # 将图片转为kpu接受的格式
record_ftr=[] #空列表 用于存储当前196维特征
record_ftrs=[] #空列表 用于存储按键记录下人脸特征, 可以将特征以txt等文件形式保存到sd卡后,读取到此列表,即可实现人脸断电存储。
names = ['Mr.1', 'Mr.2', 'Mr.3', 'Mr.4', 'Mr.5', 'Mr.6', 'Mr.7', 'Mr.8', 'Mr.9' , 'Mr.10'] # 人名标签,与上面列表特征值一一对应。
while(1): # 主循环
check_key() #按键检测
img = sensor.snapshot() #从摄像头获取一张图片
clock.tick() #记录时刻,用于计算帧率
code = kpu.run_yolo2(task_fd, img) # 运行人脸检测模型,获取人脸坐标位置
if code: # 如果检测到人脸
for i in code: # 迭代坐标框
# Cut face and resize to 128x128
a = img.draw_rectangle(i.rect()) # 在屏幕显示人脸方框
face_cut=img.cut(i.x(),i.y(),i.w(),i.h()) # 裁剪人脸部分图片到 face_cut
face_cut_128=face_cut.resize(128,128) # 将裁出的人脸图片 缩放到128 * 128像素
a=face_cut_128.pix_to_ai() # 将猜出图片转换为kpu接受的格式
#a = img.draw_image(face_cut_128, (0,0))
# Landmark for face 5 points
fmap = kpu.forward(task_ld, face_cut_128) # 运行人脸5点关键点检测模型
plist=fmap[:] # 获取关键点预测结果
le=(i.x()+int(plist[0]*i.w() - 10), i.y()+int(plist[1]*i.h())) # 计算左眼位置, 这里在w方向-10 用来补偿模型转换带来的精度损失
re=(i.x()+int(plist[2]*i.w()), i.y()+int(plist[3]*i.h())) # 计算右眼位置
nose=(i.x()+int(plist[4]*i.w()), i.y()+int(plist[5]*i.h())) #计算鼻子位置
lm=(i.x()+int(plist[6]*i.w()), i.y()+int(plist[7]*i.h())) #计算左嘴角位置
rm=(i.x()+int(plist[8]*i.w()), i.y()+int(plist[9]*i.h())) #右嘴角位置
a = img.draw_circle(le[0], le[1], 4)
a = img.draw_circle(re[0], re[1], 4)
a = img.draw_circle(nose[0], nose[1], 4)
a = img.draw_circle(lm[0], lm[1], 4)
a = img.draw_circle(rm[0], rm[1], 4) # 在相应位置处画小圆圈
# align face to standard position
src_point = [le, re, nose, lm, rm] # 图片中 5 坐标的位置
T=image.get_affine_transform(src_point, dst_point) # 根据获得的5点坐标与标准正脸坐标获取仿射变换矩阵
a=image.warp_affine_ai(img, img_face, T) #对原始图片人脸图片进行仿射变换,变换为正脸图像
a=img_face.ai_to_pix() # 将正脸图像转为kpu格式
#a = img.draw_image(img_face, (128,0))
del(face_cut_128) # 释放裁剪人脸部分图片
# calculate face feature vector
fmap = kpu.forward(task_fe, img_face) # 计算正脸图片的196维特征值
feature=kpu.face_encode(fmap[:]) #获取计算结果
reg_flag = False
scores = [] # 存储特征比对分数
for j in range(len(record_ftrs)): #迭代已存特征值
score = kpu.face_compare(record_ftrs[j], feature) #计算当前人脸特征值与已存特征值的分数
scores.append(score) #添加分数总表
max_score = 0
index = 0
for k in range(len(scores)): #迭代所有比对分数,找到最大分数和索引值
if max_score < scores[k]:
max_score = scores[k]
index = k
if max_score > 85: # 如果最大分数大于85, 可以被认定为同一个人
a = img.draw_string(i.x(),i.y(), ("%s :%2.1f" % (names[index], max_score)), color=(0,255,0),scale=2) # 显示人名 与 分数
else:
a = img.draw_string(i.x(),i.y(), ("X :%2.1f" % (max_score)), color=(255,0,0),scale=2) #显示未知 与 分数
if key_pressed == 1: #如果检测到按键
key_pressed = 0 #重置按键状态
record_ftr = feature
record_ftrs.append(record_ftr) #将当前特征添加到已知特征列表
break
fps =clock.fps() #计算帧率
print("%2.1f fps"%fps) #打印帧率
a = lcd.display(img) #刷屏显示
#kpu.memtest()
#a = kpu.deinit(task_fe)
#a = kpu.deinit(task_ld)
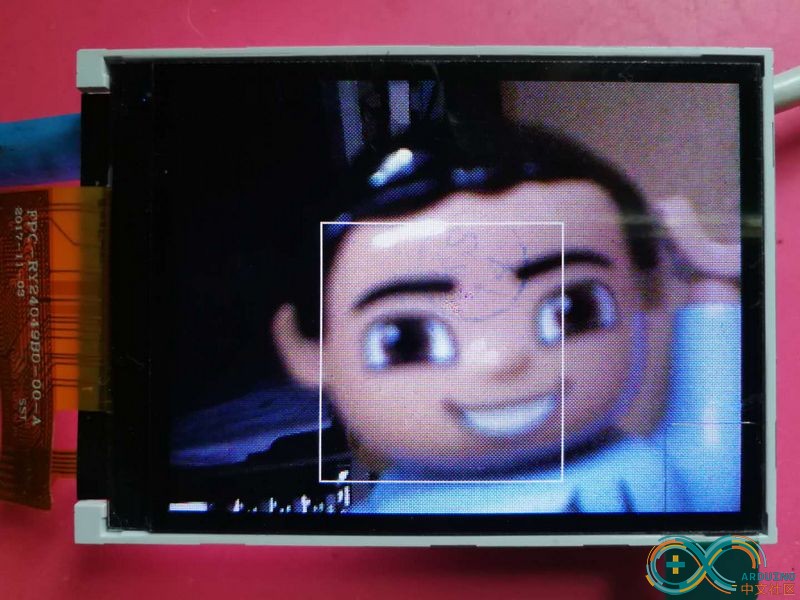
#a = kpu.deinit(task_fd)横过来效果好多了


 他的勋章
他的勋章

9mm2023.07.28
666